Speco Technologies O6MDP4 handleiding
Handleiding
Je bekijkt pagina 30 van 54
26
Non-motor Vehicle: Select it and then alarms will be triggered if a vehicle with two wheels (eg. a motorcycle or bicycle) intrudes into
the pre-defined area.
Note: When the installation method is set to “Ceiling”, only “Human” can be selected.
All of the three types of objects can be selected simultaneously. Please select the detection objects as needed. If no object/target is
selected, alarms will not be triggered even if intrusion detection is enabled.
Push target trajectory with a persistent connection: Push target trajectory (moving coordinate) to API test tool with a persistent
connection. If enabled, the system will push the target trajectory upon detecting a target. If disabled, the system will push the target
trajectory only when triggering region intrusion alarm.
2. Set the alarm holding time.
3. Set alarm trigger options. The setup steps are the same as motion detection alarm. Please refer to motion detection section for
details.
4. Click the “Save” button to save the settings.
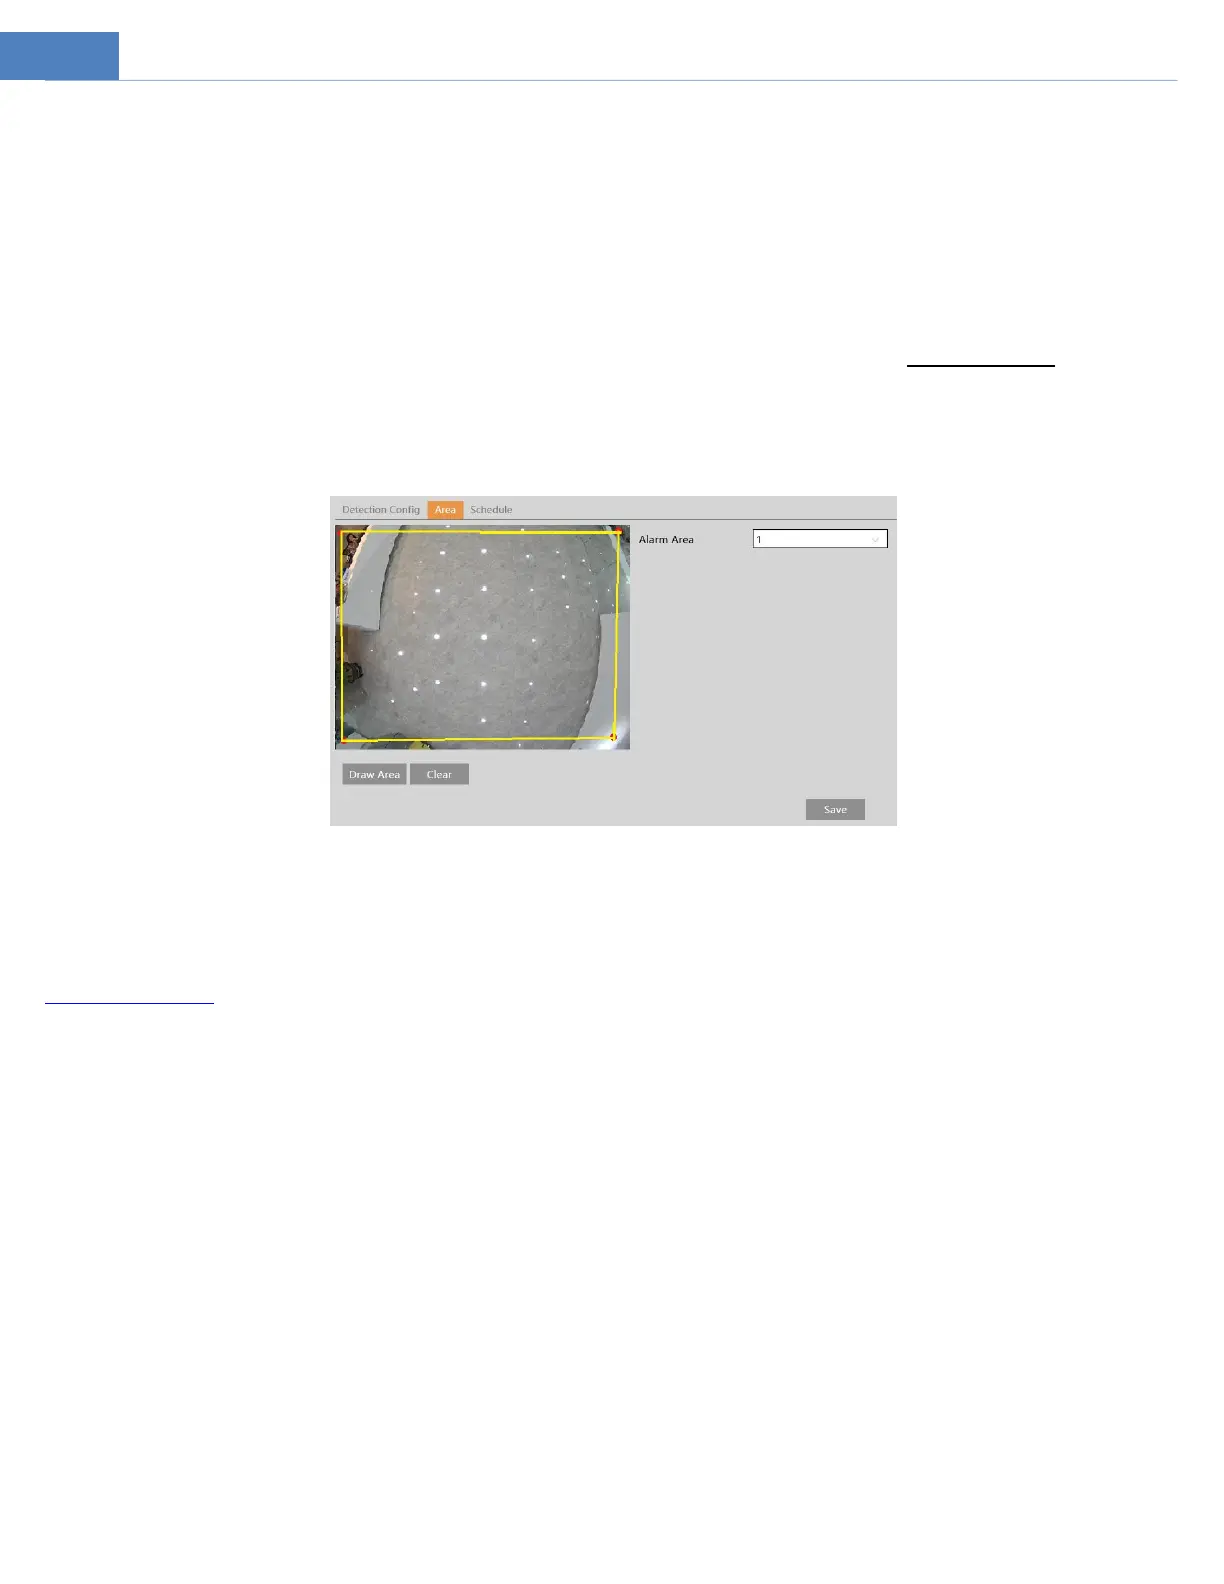
5. Set alarm areas for the intrusion detection. Click the “Area” tab to go to the interface as shown below.
Note: The image display may be different due to different installation modes. The following picture is for reference only.
Set the alarm area number on the right side. Up to 4 alarm areas can be added.
Click the “Draw Area” button and then click around the area where you want to set as the alarm area in the image on the left side
(the alarm area should be a closed area). Click the “Stop Draw” button to stop drawing. Click the “Clear” button to delete the alarm
area. Click the “Save” button to save the settings.
6. Set the schedule of the intrusion detection. The setup steps of the schedule are the same as schedule recording setup (See
Schedule Recording).
In the live view interface, click “Panoramic view” (desktop or wall mounting mode) or “Fisheye” (ceiling mounting mode) to view
region intrusion detection.
※Configuration requirements of camera and surrounding area
1. Auto-focusing function should not be enabled for intrusion detection.
2. Avoid the scenes with many trees or the scenes with various light changes (like many flashing headlights). The ambient brightness
of the scenes shouldn’t be too low.
3. Cameras should be mounted at a height of 10ft or above.
4. Keep the mounting angle of the camera at about 45°.
5. The detected objects should not be less than 1% of the entire image and the largest sizes of the detected objects should not be
more than 1/8 of the entire image.
6. Make sure cameras can view objects for at least 2 seconds in the detected area for accurate detection.
7. Adequate light and clear scenery are crucial to line crossing detection.
4.4.3 Region Entrance
Region Entrance: Alarms will be triggered if the target enters the pre-defined areas.
Go to ConfigEventRegion Entrance interface as shown below.
1. Enable region entrance detection and select the snapshot type and the detection target.
2. Set the alarm holding time and alarm trigger options.
Bekijk gratis de handleiding van Speco Technologies O6MDP4, stel vragen en lees de antwoorden op veelvoorkomende problemen, of gebruik onze assistent om sneller informatie in de handleiding te vinden of uitleg te krijgen over specifieke functies.
Productinformatie
| Merk | Speco Technologies |
| Model | O6MDP4 |
| Categorie | Niet gecategoriseerd |
| Taal | Nederlands |
| Grootte | 13394 MB |

