Nord Stage 4 handleiding
Handleiding
Je bekijkt pagina 42 van 76
42 | NORD STAGE 4 USER MANUAL OS V1.4X
setting to On, on the first page of the AUX KB menu (Shift+Program 4).
Page 2 of the Aux KB menu lets you assign which Layers should be part
of the Aux KB configuration and be played by incoming MIDI rather than
by the internal keyboard. Focus the Organ, Piano or Synth sections,
using the 1-3 soft buttons, and use the dial to select the appropriate
Layers for each section.
When a Layer is in Aux KB mode its Aux KB LED, below the Layer fader,
is lit to indicate that it is not controlled by the internal keyboard.
i The MIDI Channel for the Aux KB feature is set in the MIDI Menu on
the Nord Stage 4. Read more on this on page 59.
ABOUT PEDALS AND OTHER DEVICES IN AUX KB MODE
The Nord Stage 4 pitch stick, and sustain pedal will affect the selected
sound engine according to how the respective panel controls are set.
If SUSTPED and PSTICK are turned off on the panel, these are only
controlled by incoming MIDI on the Aux KB channel.
i A Swell pedal connected to the Nord Stage 4 also affects an
externally played Organ in Aux KB mode.
SHIFT / EXIT BUTTONS
Many buttons, as well as a few of the knobs, have a
secondary function which is accessed by holding SHIFT
and pressing the button or turning the knob. Shift activated
functions are always printed below the corresponding control.
For example, holding Shift and pressing the Program 7
button will open up the MIDI Menu.
There are two Shift buttons on the Nord Stage 4 with the same
functionality; one located at the bottom right of the Program area and
one conveniently placed on the left side of the Layer Effects Section.
Shift is also used as an EXIT function for menus, and for cancelling Store
operations.
HOLD TO SHIFT FUNCTION
Most Shift functions on the panel can also be activated
by pressing down the corresponding button for a short
while. This functionality is indicated by a non-filled arrow
( )next to the button text.
LIVE MODE
The Nord Stage 4 has eight easy-to-access Live
program locations, differing from other programs in that
any edits to them are automatically stored. When leaving
a Live program or powering off the machine all edits are
saved, without the need for a manual Store operation.
To select a Live Program, press LIVE MODE and then any of the 1-8
buttons in the Program area.
The selected Live program can be stored to a program bank location,
using the standard Store methods (see previous page for details).
Conversely, a regular program can also be stored to a Live program
location if desired. Pressing Shift+Live Mode activates the Numeric Pad
(NUM PAD) navigation mode, read more about this below.
was in before the undoable operation was performed, meaning that
other edits that have been done since will be undone as well.
SECTION EDIT
While SECTION EDIT is pressed, edits done to a parameter are
performed on all Layers of that Section. This is especially useful for
synchronizing Synth parameters across Layers, or for setting up just
some of the effects the same for a whole Section.
The Section Edit button can be double-tapped, as indicated by the
double arrows, to enter “sticky” mode which allows for using Section
Edit without keeping the button pressed down. Press Section Edit again,
or Shift/Exit, to exit sticky mode.
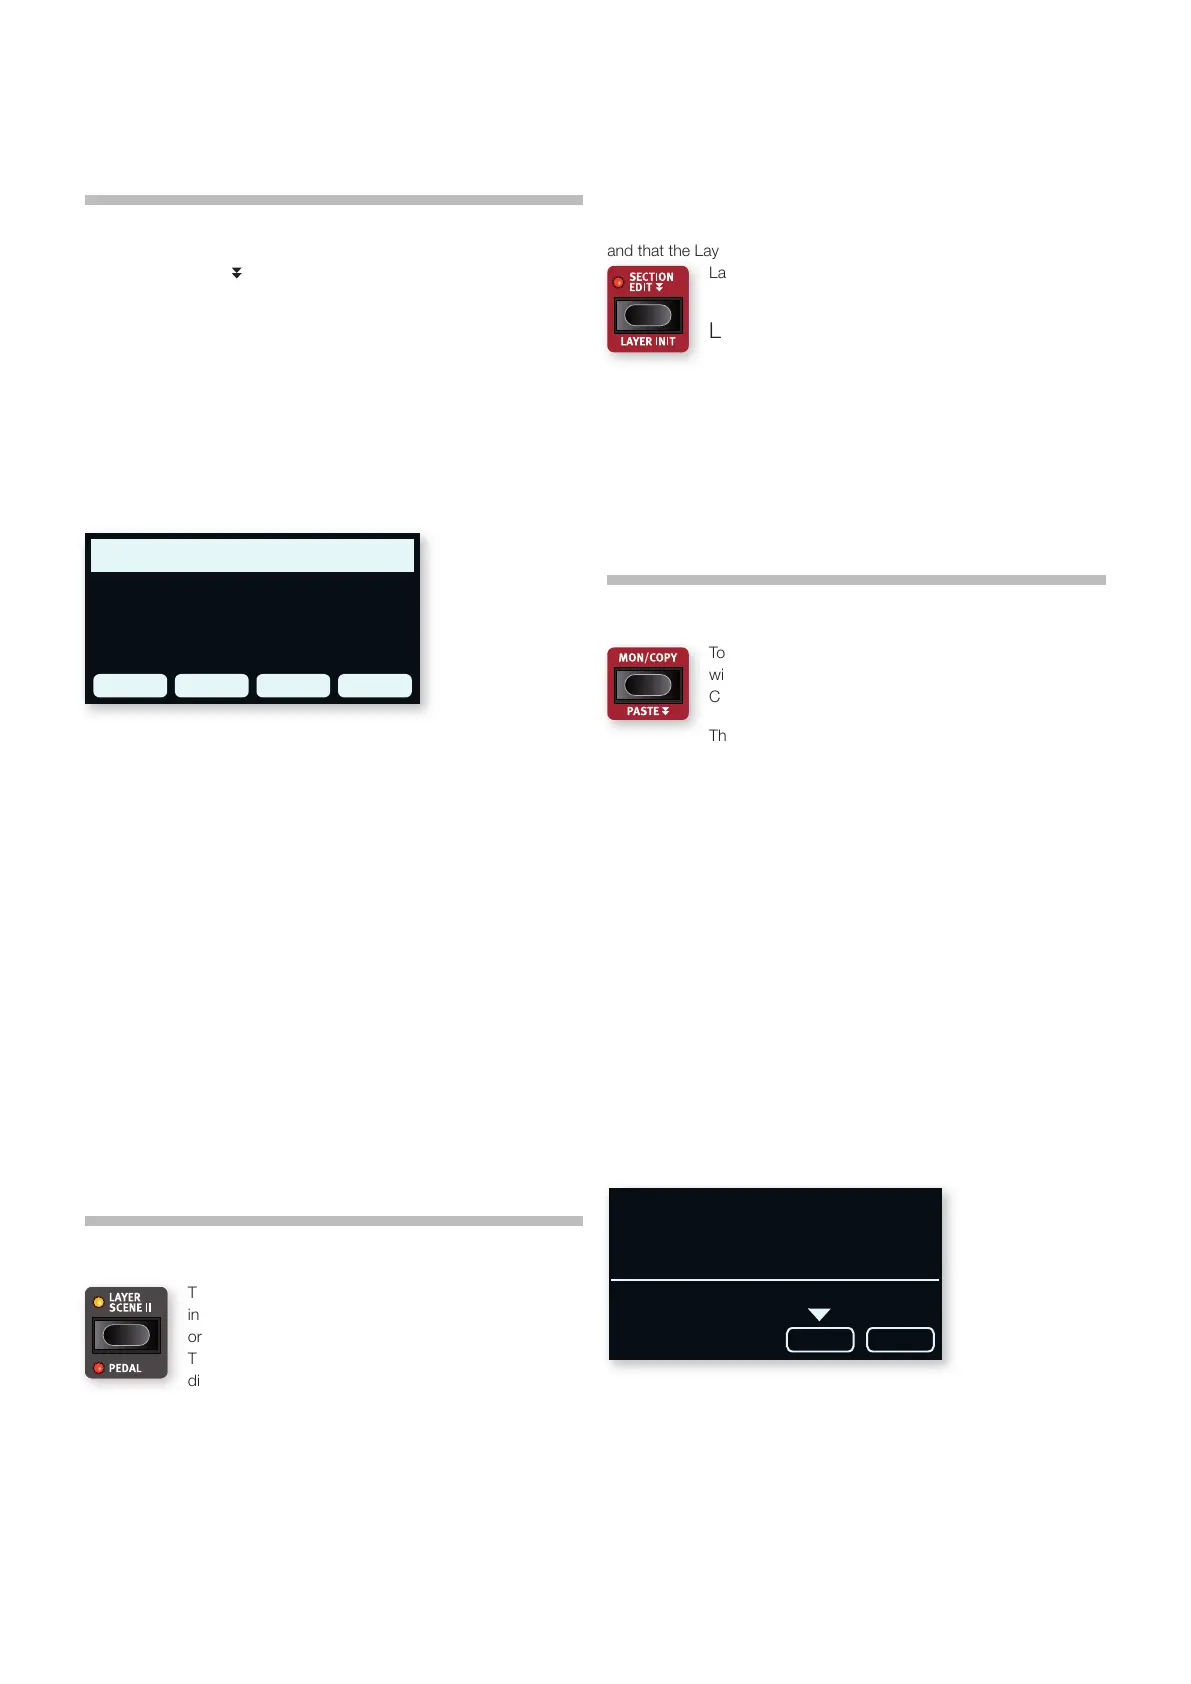
LAYER INIT
The LAYER INIT (Shift+Section Edit) functions can be used to quickly
initialize the entire Program or individual Layers:
All: Initializes the entire Program so that only Piano A is active, with no
effects turned on.
Organ AB: Initializes both Organ Layers to a B3 sound, with Layer A
turned On. All Organ effects are reset and turned Off, except for the
Rotary Speaker which is On.
Piano A/B: Initializes the focused Layer, as indicated by the soft button
label, to the default Piano sound and parameters. All effects for the
focused Layer are turned Off and reset to default values. Note that if
the Piano effects were in Group mode, they will be per Layer after this
operation.
Synth A/B/C: Initializes the focused Layer, as indicated by the
soft button label, to the default Synth Waveform and resets Synth
parameters. All effects for the focused Layer are turned Off and reset to
default values. If any Synth parameters or effects were in Group mode,
they will be per Layer after this operation.
LAYER SCENE II
The Layer Scene functionality allows for creating two
independent Layer configurations where individual Layers
or Sections can be turned On or Off as desired in each.
This lets you instantly and seamlessly switch between
different sound combinations within the same Program,
without having to press multiple Layer or Section buttons.
Each Layer can be active in one or both of the Scenes, such that Layer
Scene I for instance could be a single piano sound and Layer Scene II
the same piano layered with a second piano and any number of Synth
or Organ Layers. Note that the contents of each Layer is always the
same in both Layer Scenes.
SETTING UP LAYER SCENES
Pressing the LAYER SCENE II button switches from Layer Scene I to II
or vice versa. Each Layer Scene is configured by turning Sections and
Layers On or Off as desired for each Scene respectively. Again, note that
any specific Layer uses the same sound and settings for both Scenes,
and that the Layer Scene configuration only determines whether the
Layer or Section is turned On or Off.
LAYER SCENES AND PRESETS
There are a couple of things to keep in mind when loading Organ, Piano
or Synth Presets, in relation to the Layer Scenes:
• When loading a Preset for an entire Section (i.e. when not using Layer
Preset) that Section will be turned off in the non-active Layer Scene.
• When loading a Single Layer Preset using the Single Layer function,
the On/Off state for the loaded Layer is not altered for the non-active
Layer Scene.
MONITOR / COPY / PASTE
To display what a parameter on the panel is set to,
without changing it, hold down the MON/COPY (Monitor/
Copy) button and turn the associated parameter knob.
The COPY function can be used for copying Layers,
Effects, Programs and Morphs:
1 Make a copy by holding down the MON/COPY button in
combination with one of the options below:
• To copy a Layer, press any Layer A, B or C buttons
• To copy an Effect, press any Effect ON button
• To copy a Morph, press the WHEEL, A.T. or CTRLPED buttons
• To copy a Program, press one of the PROGRAM 1-8 buttons.
2 To paste the copied settings, hold down PASTE (Shift + Mon/
Copy) and the button corresponding to the Layer, Effect, Morph or
Program/Live Program the settings should be pasted into. Layers,
Effects and Morphs can either be pasted within the program they
were copied from, or into another program.
When pasting a Layer to another Layer in the same Program it is
possible to instead Swap the two Layers: With PASTE (Shift+Mon/Copy)
pressed down, use the soft buttons or lift and press Mon/Copy
repeatedly to toggle between Paste and Swap modes.
AUX KB
The AUX KB (Auxilliary Keyboard) feature allows for playing and
controlling any Layer or combination of Layers from an external
keyboard connected to the MIDI input of the Nord Stage 4. This can be
handy in live situations where a secondary keyboard can be used as a
controller for parts of the Nord Stage 4, on a per-program basis.
AUX KB SETTINGS
To use the Aux KB functionality in a Program, set the Aux KB Enable
LAYER INIT
All
Pno AOrg AB Syn A
C:87
Synth Saga
PasteSwapSynth B
Swap
Bekijk gratis de handleiding van Nord Stage 4, stel vragen en lees de antwoorden op veelvoorkomende problemen, of gebruik onze assistent om sneller informatie in de handleiding te vinden of uitleg te krijgen over specifieke functies.
Productinformatie
| Merk | Nord |
| Model | Stage 4 |
| Categorie | Niet gecategoriseerd |
| Taal | Nederlands |
| Grootte | 10906 MB |


