Nord Stage 4 handleiding
Handleiding
Je bekijkt pagina 41 van 76
7. PRO G R A M | 41
The PAGE/BANK buttons can also be used for quick navigation of the
banks. Apart from the default Numeric (Num) sort mode, presets can be
sorted and browsed by Category by pressing Cat, with the currently
selected category being shown in the display.
In Category mode, the PAGE buttons can be used for switching between
categories. Holding down the Cat soft button lets you select the desired
category from a list using the dial.
Once the desired Preset has been found, press Shift/Exit or the
corresponding Preset Library button to leave the Preset screen. Pressing
Cancel instead reverts to the sound that was loaded prior to entering
the Preset Library.
LOADING SINGLE LAYER PRESETS
Loading Presets for individual Layers is done by focusing the Piano or
Synth Layer (A, B or C) for which a Preset should be loaded and then
pressing SINGLE LAYER (Shift + Piano/Synth Preset Library).
The Preset which is selected when the Preset view is entered is not
loaded into the focused Layer until the dial is turned. Once the dial is
operated, the Preset sound is actually loaded and can be monitored.
When the appropriate Preset has been found you can either select
a different Layer to load a Preset into, or press Shift/Exit or the
corresponding Preset Library button to leave the Preset screen. Pressing
Cancel reverts to the sound that was loaded prior to entering the Preset
Library.
STORING PRESETS TO THE PRESET LIBRARY
To Store a Section configuration, including all its Layers and Effects, as a
Preset, follow these steps:
1 Press STORE – which will show the “Store Program To” screen as
usual.
2 Now press the the ORGAN, PIANO or SYNTH Preset Library button
to instead enter the “Store Preset To” screen.
3 To select a store location use the dial and/or PAGE/BANK 3/4
buttons.
i To cancel an ongoing Store operation, press EXIT.
4 When a suitable location has been selected, press STORE again to
confirm the operation.
l It is also possible to Store Presets by first pressing the
corresponding Preset Library button and then Store.
STORE AS
To Store and name your preset, press STORE AS (Shift+Store) and then
the Preset Library button of your choice. Naming and categorizing a
Preset is done the same way as for a Program, see “Storing a Program”,
beginning on the previous page.
Note that the Store procedures are the same regardless of if storing a
single- or a multi-Layer Preset.
PROG VIEW
The Program View (PROG VIEW) button switches between four distinct
view modes for the display. The first view mode shows only the Program
name and number, with the lower half of the display reserved for
showing parameter hints as panel controls are changed.
The second view mode shows the Program name and number in
smaller print and utilizes the lower half of the display to show the current
selection for each focused Layer.
i The lower half of the display shows parameter hints as panel
controls are adjusted in this view mode too, temporarily hiding the
Piano and Sample Synth Layer information.
The third view mode shows the Program name and number as well as
the complete Program configuration including all Sections and Layers.
The fourth view mode shows all eight Programs of the current Page,
with the currently seleted Program highlighted.
PRESET NAME
When a Preset is loaded for any of the Sections or individual Layers,
its location and name will be shown in the display, according to the
selected Prog View mode. To bypass this, and instead see the sound
source (which could be an Organ model, a Piano, a Waveform or a
Sample depending on the Preset) press PRESET NAME (Shift+Prog
View). The Preset Name state is reset when a Program is loaded.
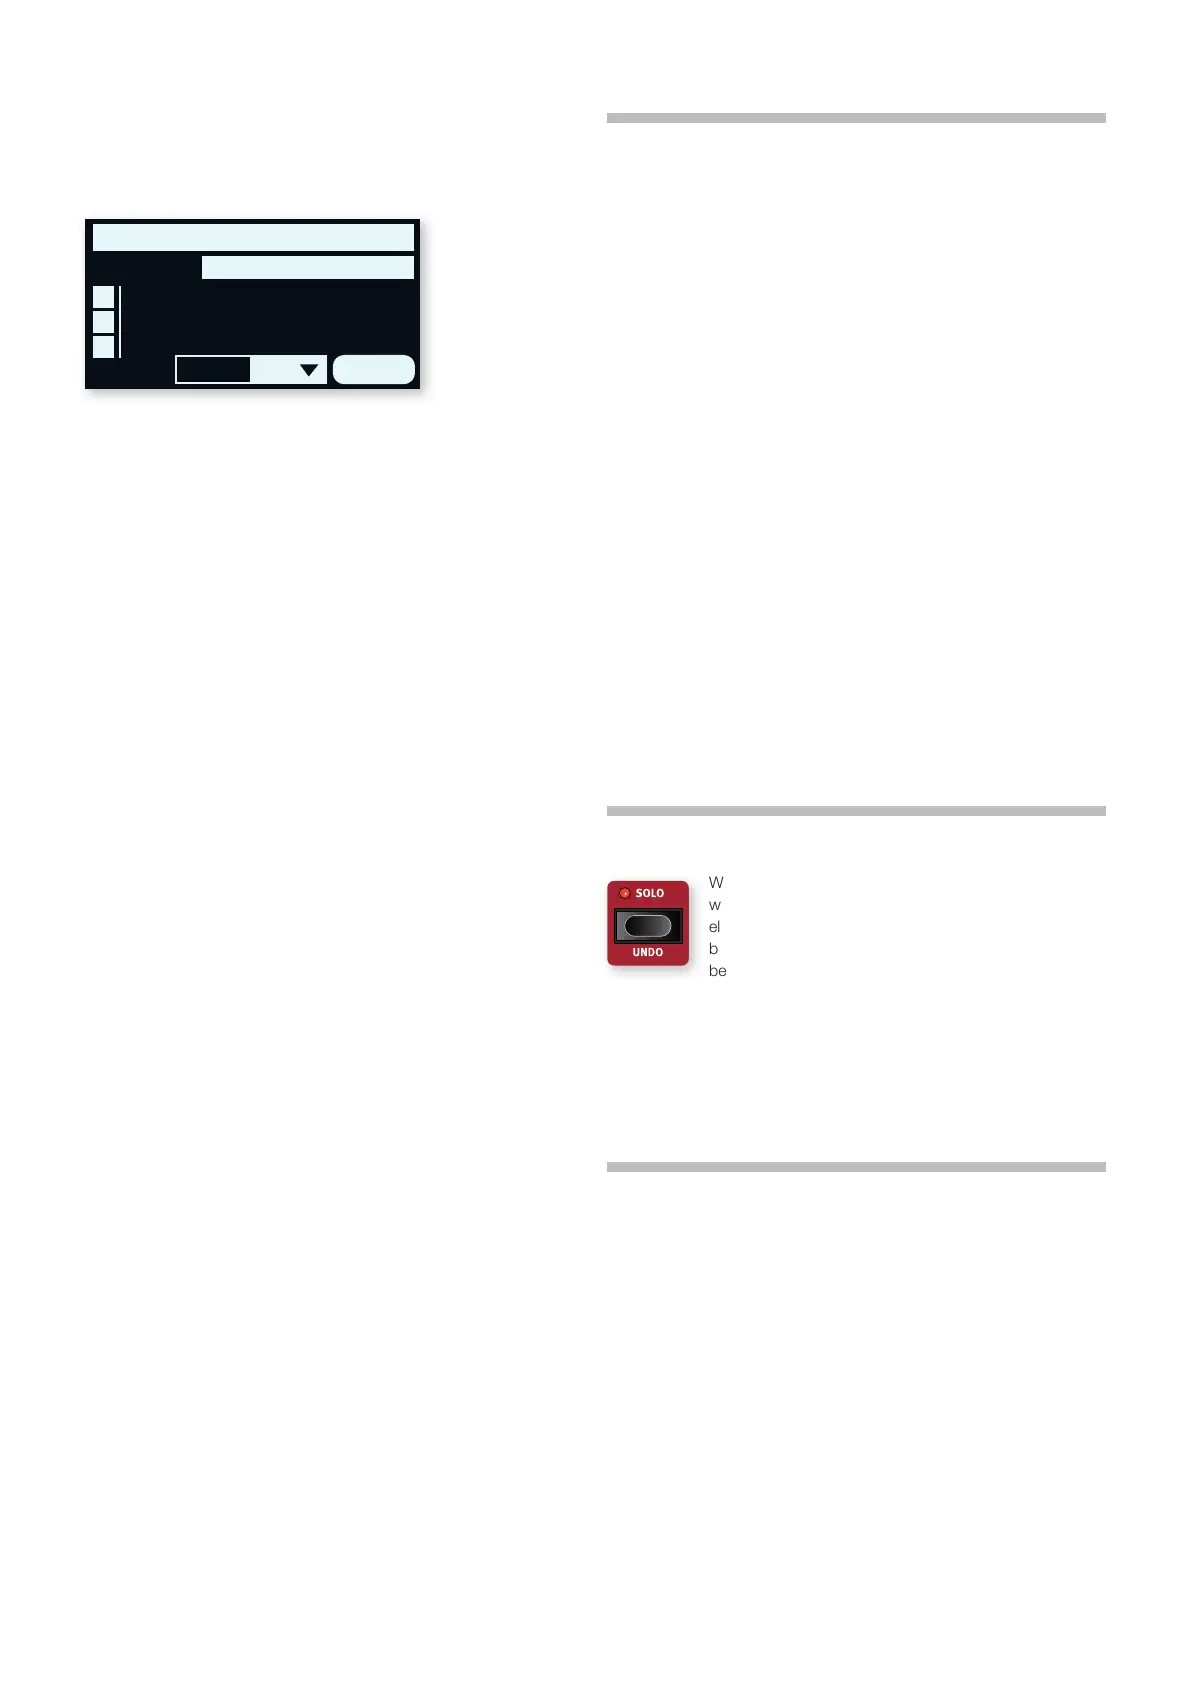
SOLO
When SOLO is active only one Layer is heard at a time,
which is useful for monitoring and adjusting individual
elements when tweaking a Program. Use the Layer
buttons of each Section for selecting which Layer should
be heard.
In Solo mode, muted Layers are indicated with a single LED while the
entire LED graph for the currently focused Layer is blinking.
Exit Solo mode by pressing Shift/Exit or the Solo button.
i The state of the Solo function is not stored as part of a Program.
UNDO
Certain operations on the Nord Stage 4 can be undone by using the
UNDO function (Shift+Solo). These include the following:
• Loading Presets
• Group function for the LFO, Filter or Arpeggiator in the Synth
• Group function for Organ, Piano or Synth in the FX Focus area
• Global mode On or Off for Effects
• All FX Off function
• Clearing Morphs
• Copy/Paste operations
• Synth Init and Layer Init functions
• Program change from an edited Program
When Undo is pressed, the display will show which operation is possible
to undo. Press the UNDO soft button to go through with the operation,
or Shift/Exit to cancel. Note that Undo reverts to the state a Program
SYNTH PRESET
Plucked
A
B
C
4:27
Big Analog Pluck
CancelCatNum
Bekijk gratis de handleiding van Nord Stage 4, stel vragen en lees de antwoorden op veelvoorkomende problemen, of gebruik onze assistent om sneller informatie in de handleiding te vinden of uitleg te krijgen over specifieke functies.
Productinformatie
| Merk | Nord |
| Model | Stage 4 |
| Categorie | Niet gecategoriseerd |
| Taal | Nederlands |
| Grootte | 10906 MB |


