D-Link DPS-PWR1200AC handleiding
Handleiding
Je bekijkt pagina 22 van 46
DXS-3130-28-P Layer 3 Stackable Managed Switch Hardware Installation Guide
22
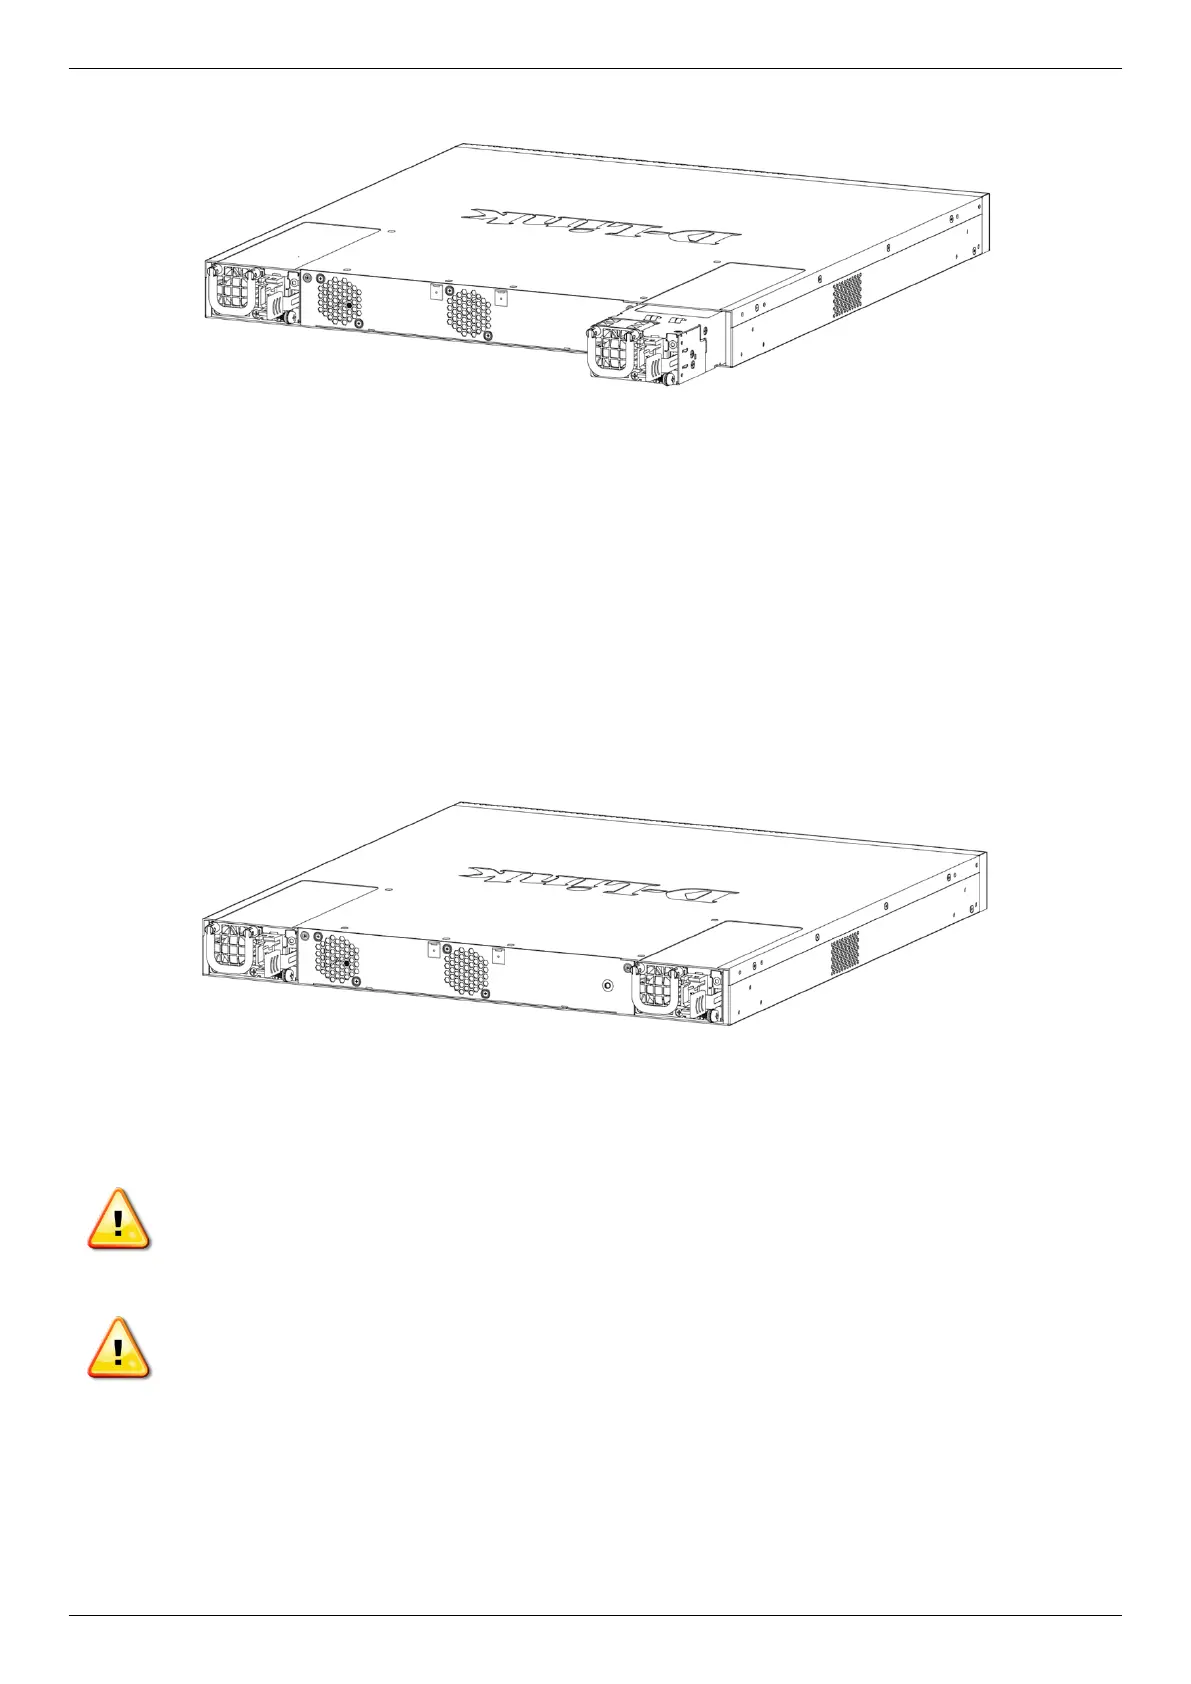
Figure 3-7 Installing a DC Power Supply Module
1. Remove the DC power cord and then press the release clip inwards to remove an existing DC PSU module.
2. Gently pull the DC PSU module out of the PSU module slot.
3. Insert a new DC PSU module into the PSU module slot until its release clip securely clicks into place.
4. Plug one end of the DC power cord into the DC power socket on the DC PSU module and the other end into a
properly grounded DC power source outlet.
Figure 3-8 Installed DC Power Supply Module
There is no power switch/button on the Switch. The DC PSU module will receive power automatically.
CAUTION: Before connecting the DC power cable to the DC power input socket on the switch, the DC
power cable must be properly connected to a DC source, at your facility, by a qualified, licensed electrician.
CAUTION: When installing a DC-powered switch, ground the chassis and follow the following instructions
before connecting the switch to the DC power source:
Use a minimum of 18 AWG stranded copper wire for grounding. The wire should be long enough to
reach from the installed switch to the facility ground point.
Torque screwdriver with a 1/4-inch flat blade.
Ground additional hardware appropriately to the earth ground connection at your site.
You can also install the other PSU module slot with an AC or DC PSU module. When the DC PSU module fails, the
other AC or DC PSU module will immediately and automatically provide power to the Switch.
Bekijk gratis de handleiding van D-Link DPS-PWR1200AC, stel vragen en lees de antwoorden op veelvoorkomende problemen, of gebruik onze assistent om sneller informatie in de handleiding te vinden of uitleg te krijgen over specifieke functies.
Productinformatie
| Merk | D-Link |
| Model | DPS-PWR1200AC |
| Categorie | Niet gecategoriseerd |
| Taal | Nederlands |
| Grootte | 7634 MB |


