Carrier 39G handleiding
Handleiding
Je bekijkt pagina 12 van 20
12
9.0 GUIDE TO STARTING UP
9.1 Ensure that all construction debris are removed
from the interior of the unit.
9.2 Install filter media in all filter section. When roll filter
are used, ensure that the filter media is correctly
installed and that the roll filter mechanism is
functioning property.
9.3 Check that the fan, motor bearing and linkages
are adequately lubricated.
a) Bearings are normally shipped full of grease
for corrosion protection and may run warm
temporarily on start up until excess grease
has been discharged.
9.4 Hand operate all linkages, such as variable inlet
guide vanes and dampers to check for freedom
of movement.
9.5 Check tightness of bearing set screws or locking
collars.
9.6 Check tightness of set screws on blower wheel hub
and pulley.
9.7 Double check the alignment and tension of the
V-belts.
9.8 VERY IMPORTANT
Before energising any power to the unit, double
check that all restraints that might have been used
during shipping are removed from the fan shaft.
The fan shaft and motor shaft must both be free-
wheeling before the power is turned on. Remove
all holding down bracket used to prevent the fan
and motor base moving during transit.
9.9 Check the fan speed with a strobe type tachometer,
or use an approximation technique with the
following formula. Obtain the motor RPM from the
fan motor plate. Measure the fan and motor pulley
outer diameter (OD).
Fan RPM = Motor RPM x Motor Pulley OD
Fan Pulley OD
eg. Nameplate Motor RPM = 1500
Motor Pulley OD = 200mm
Fan Pulley OD = 300mm
Fan RPM = 1500 x 200 = 1000
300
Check that this fan RPM measured or calculated is
approximately equal to the speed shown on the sticker.
If the fan RPM measured or calculated, exceeds the
value shown on the sticker by much, re-balancing of
the fan in the field may be required.
In doubt, please refer to your nearest Carrier
representatives.
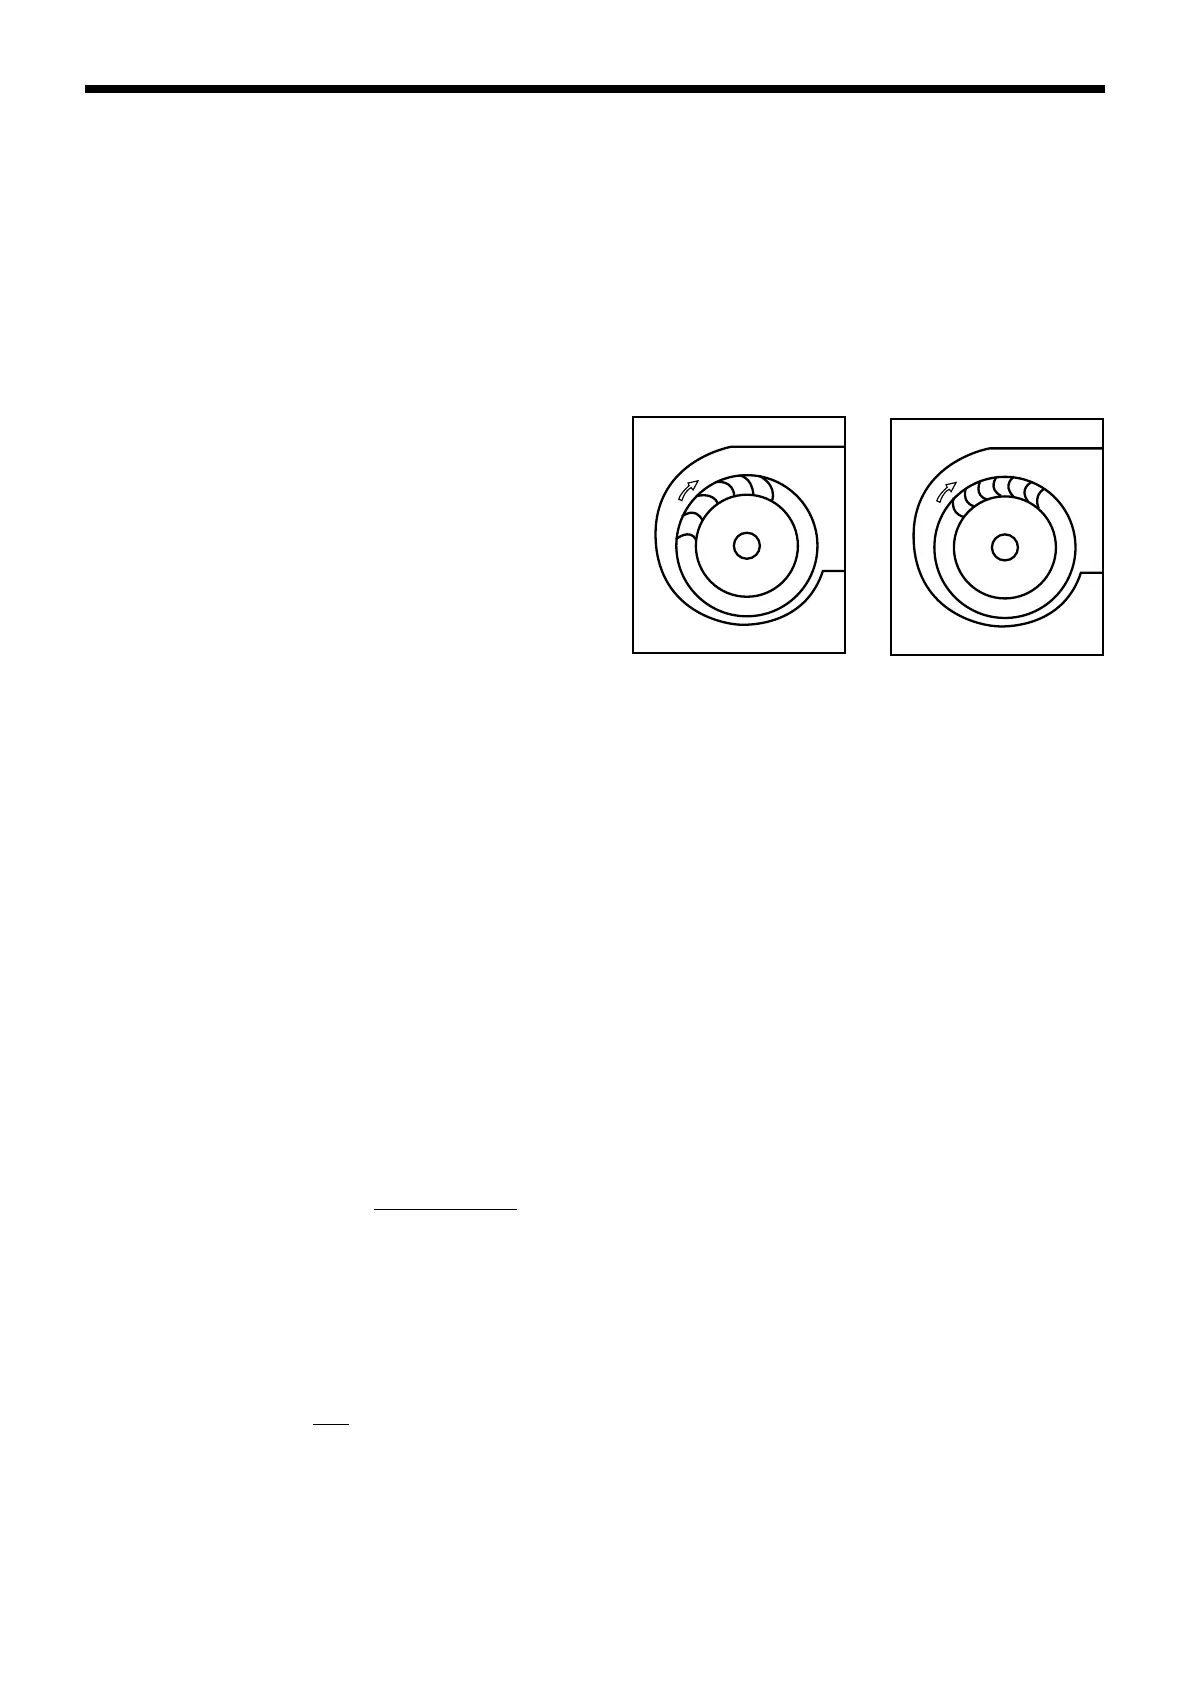
9.10 Check the direction of rotation arrow label on the
drive side of the fan housing indicates the correct
direction of rotation. (Refer Fig 17)
9.11 Check the vibration level. If excessive vibration
occurs, check the following :-
a) Variable pitch pulleys.
Normally variable pitch pulley specified to make
the job of air balancing easier. Once the air
balance of the system has been accomplished,
replace the variable pitch pulley with the correct
fixed pitch pulley for continuous application.
b) Drive misalignment.
c) Mismatched, worn or loose V-belts.
d) Blower wheel or pulley loose on the shaft.
e) Loose bearings.
f ) Loose mountings.
g) Motor out of balance.
h) Pulleys (eccentric) or out of balance.
i ) Vibration isolation improperly adjusted.
j ) Out of balance or corroded blower wheel
(re-balance or replace as necessary).
k) Accumulation of material on blower material
(remove as necessary).
l) Shipping brackets preventing the fan housing
from moving during shipment. These must
be removed prior to start-up.
Backward Curved
Forward Curved
Fig. 17
Bekijk gratis de handleiding van Carrier 39G, stel vragen en lees de antwoorden op veelvoorkomende problemen, of gebruik onze assistent om sneller informatie in de handleiding te vinden of uitleg te krijgen over specifieke functies.
Productinformatie
| Merk | Carrier |
| Model | 39G |
| Categorie | Niet gecategoriseerd |
| Taal | Nederlands |
| Grootte | 3661 MB |


