Atlona AT-ETU-SYNC handleiding
Handleiding
Je bekijkt pagina 8 van 23
AT-ETU-SYNC
8
Installation
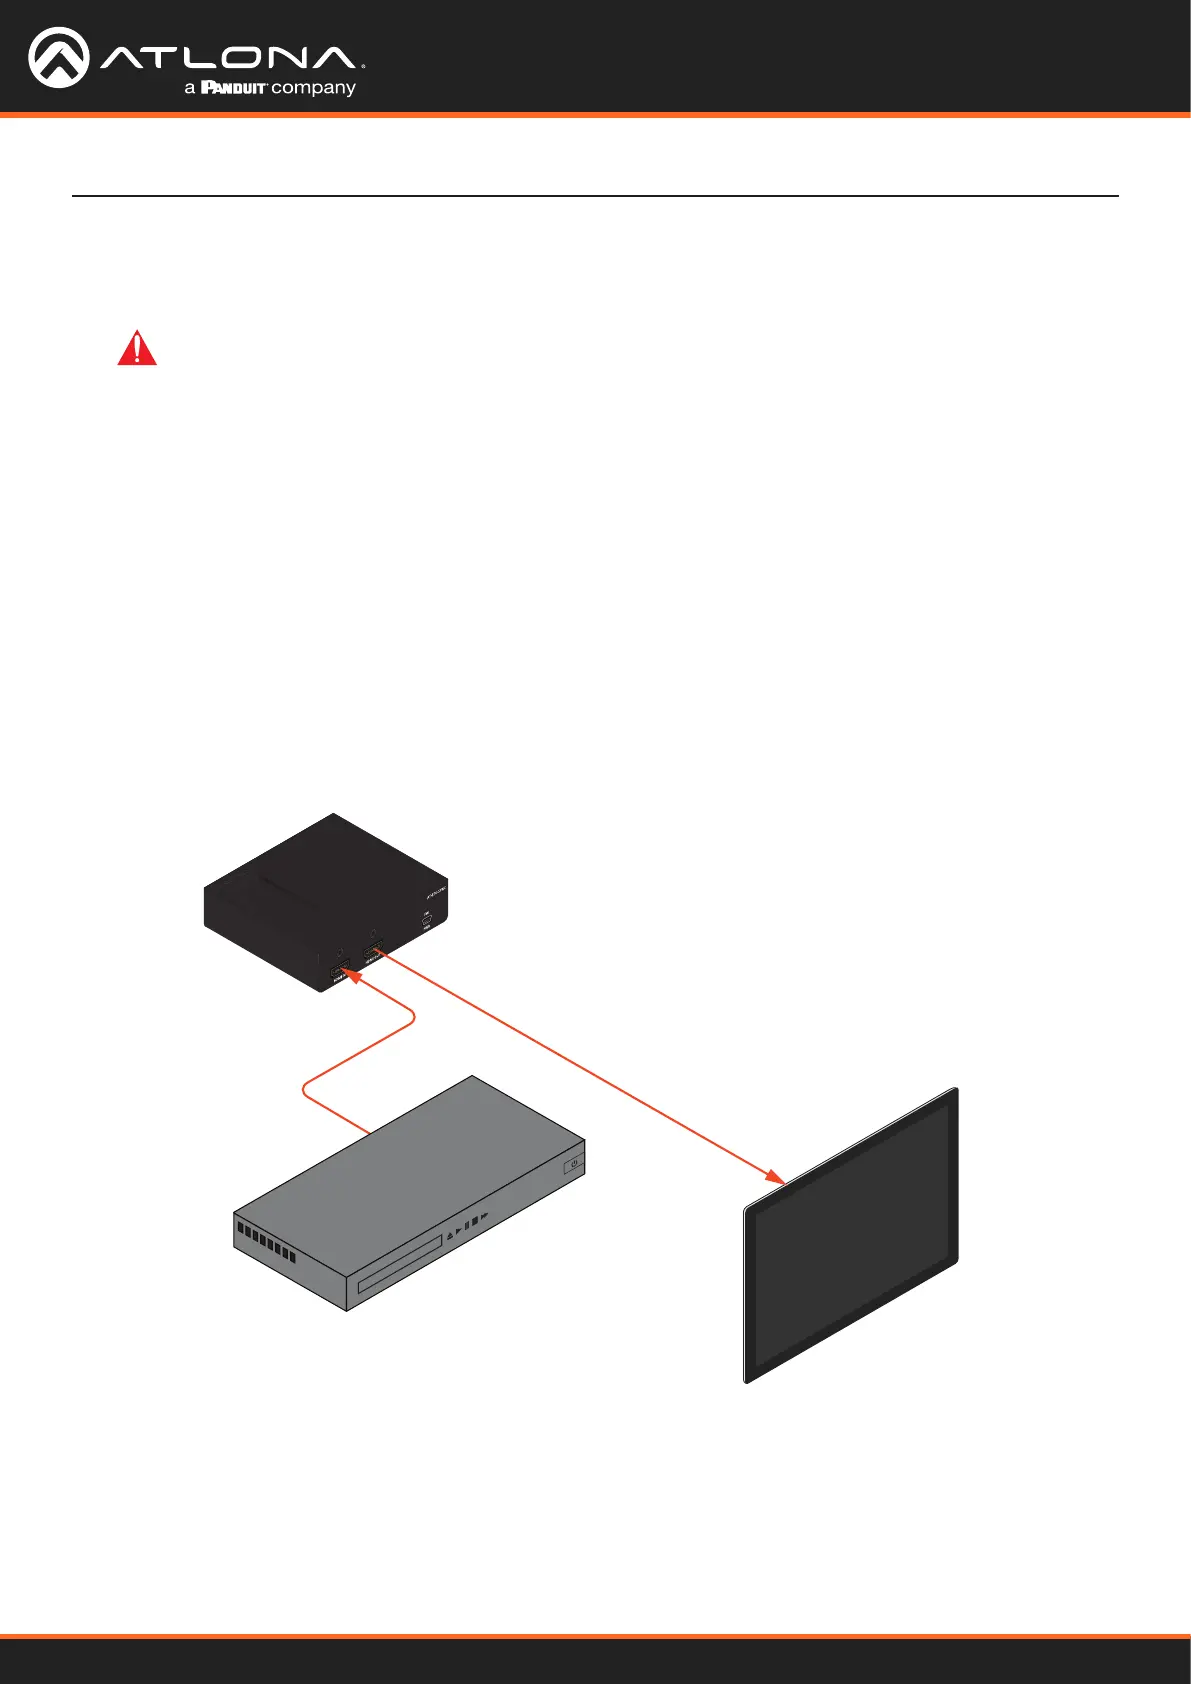
1. Connect an HDMI cable from the source to the HDMI IN port on the AT-ETU-SYNC.
2. Connect an HDMI cable from the sink (display) to the HDMI OUT port on the AT-ETU-SYNC.
3. Connect the included 5V DC power supply to the FW / PWR port on the AT-ETU-SYNC.
4. Connect the 5V DC power supply to an available AC outlet.
Video
Video
AT-ETU-SYNC
HD/UHD Source
Display (Sink)
The illustration below, shows the proper location of the AT-ETU-SYNC in a basic source-sink setup. The location of
the AT-ETU-SYNC will vary, depending on the system. Before using the AT-ETU-SYNC as an EDID emulator, an EDID
must be selected or learned. Refer to Selecting an EDID (page 9) and Learning an EDID (page 10) for more
information.
Connection Diagram
IMPORTANT: The AT-ETU-SYNC is a High Dynamic Range (HDR) device. For best performance,
use premium HDMI cables that are HDR-certied. The HDMI cable between the AT-ETU-SYNC and
the display (sink) and the should not exceed 15 feet (4.5 meters).
Bekijk gratis de handleiding van Atlona AT-ETU-SYNC, stel vragen en lees de antwoorden op veelvoorkomende problemen, of gebruik onze assistent om sneller informatie in de handleiding te vinden of uitleg te krijgen over specifieke functies.
Productinformatie
| Merk | Atlona |
| Model | AT-ETU-SYNC |
| Categorie | Niet gecategoriseerd |
| Taal | Nederlands |
| Grootte | 2950 MB |


