Handleiding
Je bekijkt pagina 9 van 27
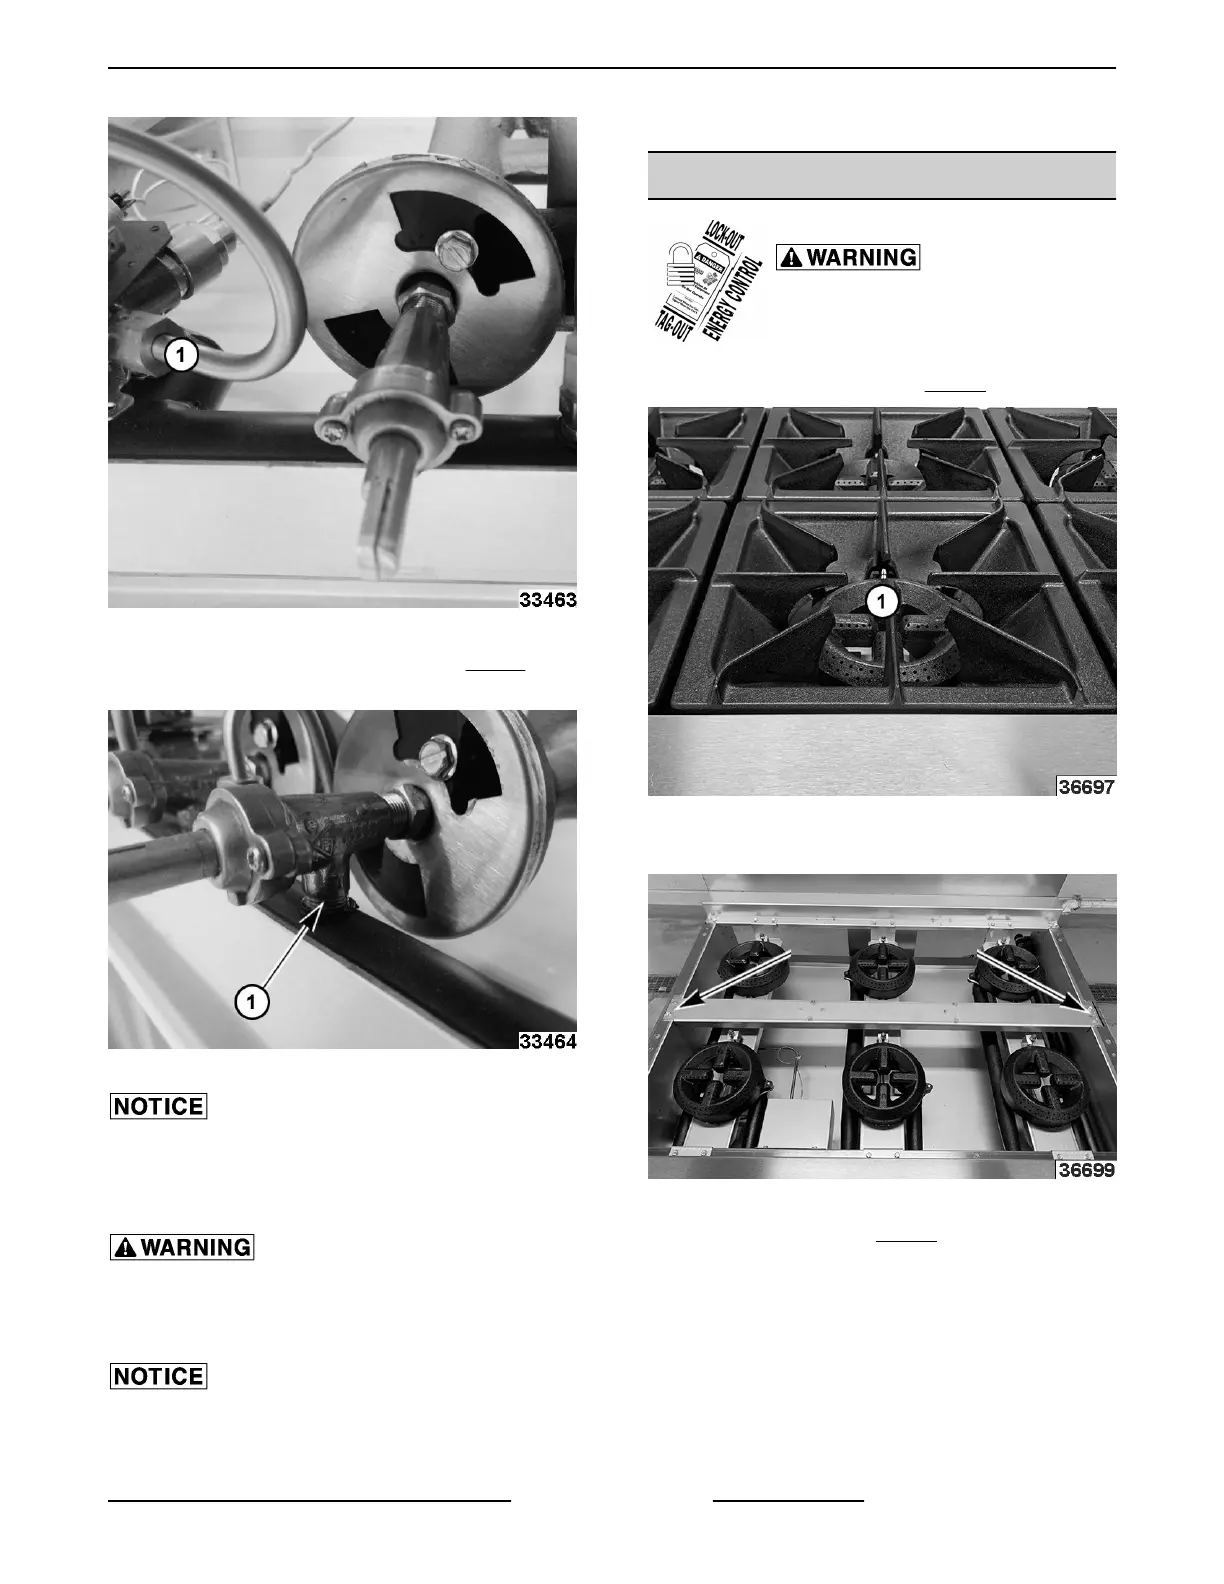
Fig. 22
5. Remove top burner control valve (1, Fig. 23) from
manifold.
Fig. 23
Inspect top control valve for wear or damage and
replace as necessary.
6.
Reverse procedure to install.
All gas joints disturbed during servicing must be
checked for leaks. Check with a soap and water
solution (bubbles). Do not use an open flame.
Ensure top burner control valve is aligned and
centered in the burner assembly opening. The valve
must be perpendicular to the manifold.
7. Verify proper operation.
TOP BURNER ASSEMBLY
Shut off the gas before servicing the
unit and follow lockout / tagout
procedures.
1.
Remove burner grates (1,
Fig. 24).
Fig. 24
2. Remove center burner grate support.
Fig. 25
3.
Lift burner heads (1,
Fig. 26) off.
WX RANGE - 2. REMOVAL AND REPLACEMENT PARTS
Page 9 of 27 F45992 (1123)
Bekijk gratis de handleiding van Wolf WX36, stel vragen en lees de antwoorden op veelvoorkomende problemen, of gebruik onze assistent om sneller informatie in de handleiding te vinden of uitleg te krijgen over specifieke functies.
Productinformatie
| Merk | Wolf |
| Model | WX36 |
| Categorie | Fornuis |
| Taal | Nederlands |
| Grootte | 11749 MB |


