Whirlpool WDPS8024SZ handleiding
Handleiding
Je bekijkt pagina 3 van 16
3
Sand holes smooth
Wood
Cabinet
Metal
Cabinet
Wood cabinet: Sand the hole until smooth.
Metal cabinet: Cover edges of hole with grommet included with
power cord kit.
WATER SUPPLY REQUIREMENTS
■ This dishwasher has a water heating feature and also requires a
connection to a hot water supply line.
■ A hot water line with 20 psi to 120 psi (138 kPa to 862 kPa)
water pressure can be veried by a licensed plumber.
■ 120°F (49°C) water at dishwasher.
■ 3/8" (0.95 cm) O.D. copper tubing with compression tting or
exible braided water supply line.
NOTE: 1/2" (1.3 cm) minimum plastic tubing is not
recommended.
■ A 90° elbow with 3/4" (0.95 cm) hose connection with rubber
washer.
FILL HOSE TO FILL VALVE CONNECTION
Be sure rubber washer is properly seated in tting. Slide the 3/4"
(19 mm) tting of the 90 elbow up to the valve and hand tighten
it to avoid cross-threading. Hand tighten until the coupling is
tight.
Using pliers, check the tightness of the coupling. An additional
1/4 to 1/2 turn may be required to seal the rubber gasket. Rout
ll hose out the rear left side of unit.
NOTE: Do not use tape with compression tting. Do not
over-tighten. Damage to the coupling can result. Route water
supply line out rear of unit before setting unit up.
ELECTRICAL REQUIREMENTS
DRAIN REQUIREMENTS
■ A new drain hose is supplied with your dishwasher. If drain
hose is not long enough, be sure to purchase only Whirlpool
factory-certied parts. To order, refer to the contact information
referenced in your Quick Start Guide.
NOTE: Do not connect multiple drain hoses together.
■ Make sure to connect drain hose to waste tee or disposer
inlet above drain trap in house plumbing and 20" (50.8 cm)
minimum above the oor. It is recommended that the drain
hose either be looped up and securely fastened to the
underside of the counter or be connected to an air gap.
■ Make sure to use an air gap if the drain hose is connected to
house plumbing lower than 20" (50.8 cm) above suboor or
oor.
■ If required, the air gap should be installed in accordance with
the air gap installation instructions. When you are connecting
the air gap, a rubber hose (not provided) will be needed to
connect to the waste tee or disposer inlet.
■ Use 1/2" (1.3 cm) minimum I.D. drain line ttings.
Use of air gap
■ Do not solder within 6" (15.2 cm) of the water inlet valve.
■ If installed in new construction, make sure the house water
supply lines have been ushed prior to connecting the
dishwasher to remove any debris that may exist in the supply
line.
IMPORTANT: Do not kink or pinch water line, drain hose,
power cord, or direct wire between dishwasher and cabinet.
Remove cardboard from under dishwasher (if used).
NOTE: If replacing an existing dishwasher, it is recommended
to install a new water line and drain hose (supplied) with the
new dishwasher.
NOTE: If using a exible braided hose, replace inlet hose
after 5 years to reduce the risk of hose failure. Record hose
installation or replacement dates on the hose for future
reference.
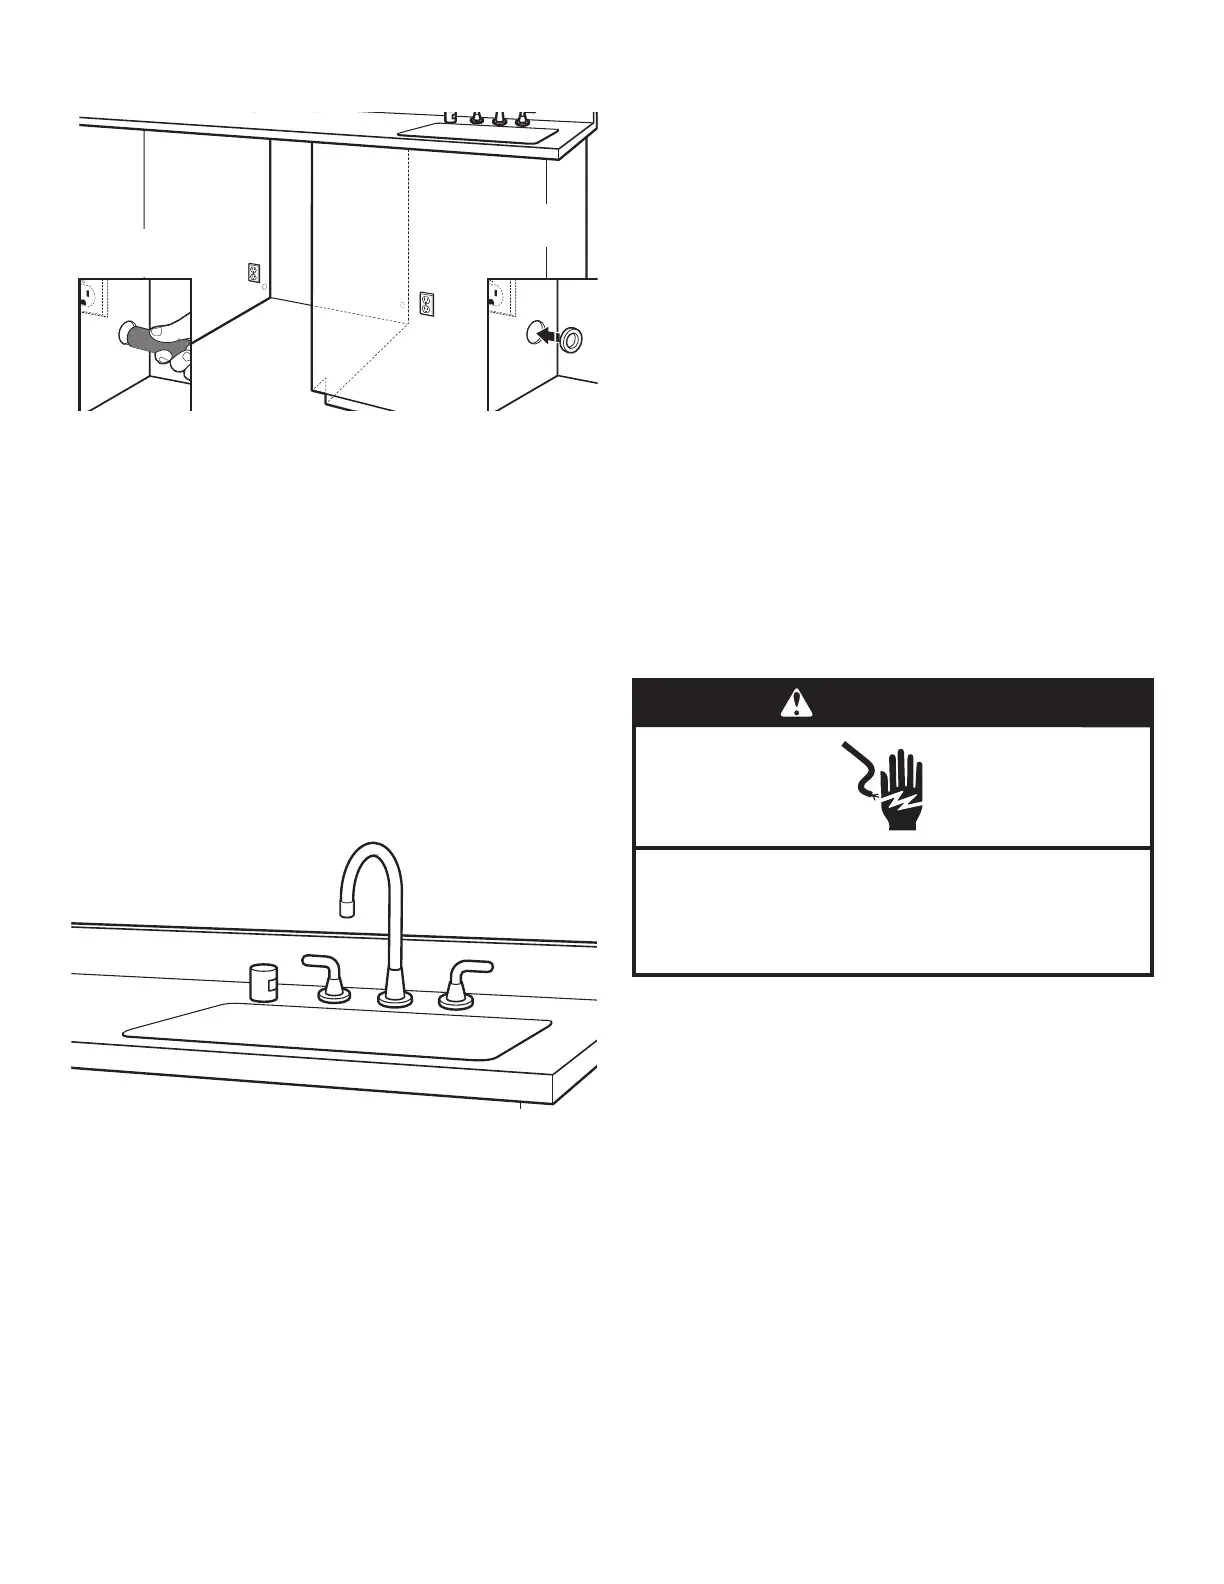
WARNING
Disconnect electrical power at the fuse box or circuit
breaker box before installing dishwasher.
Failure to do so can result in death or electrical shock.
Electrical Shock Hazard
You Must Have:
■ 120 V, 60 Hz, AC only, 15 A or 20 A, fused electrical supply
Bekijk gratis de handleiding van Whirlpool WDPS8024SZ, stel vragen en lees de antwoorden op veelvoorkomende problemen, of gebruik onze assistent om sneller informatie in de handleiding te vinden of uitleg te krijgen over specifieke functies.
Productinformatie
| Merk | Whirlpool |
| Model | WDPS8024SZ |
| Categorie | Vaatwasser |
| Taal | Nederlands |
| Grootte | 2767 MB |


