True TH-23G~FGD01 handleiding
Handleiding
Je bekijkt pagina 6 van 13
5
TRUE
th models: heated cabinets
www
.truemfg.com
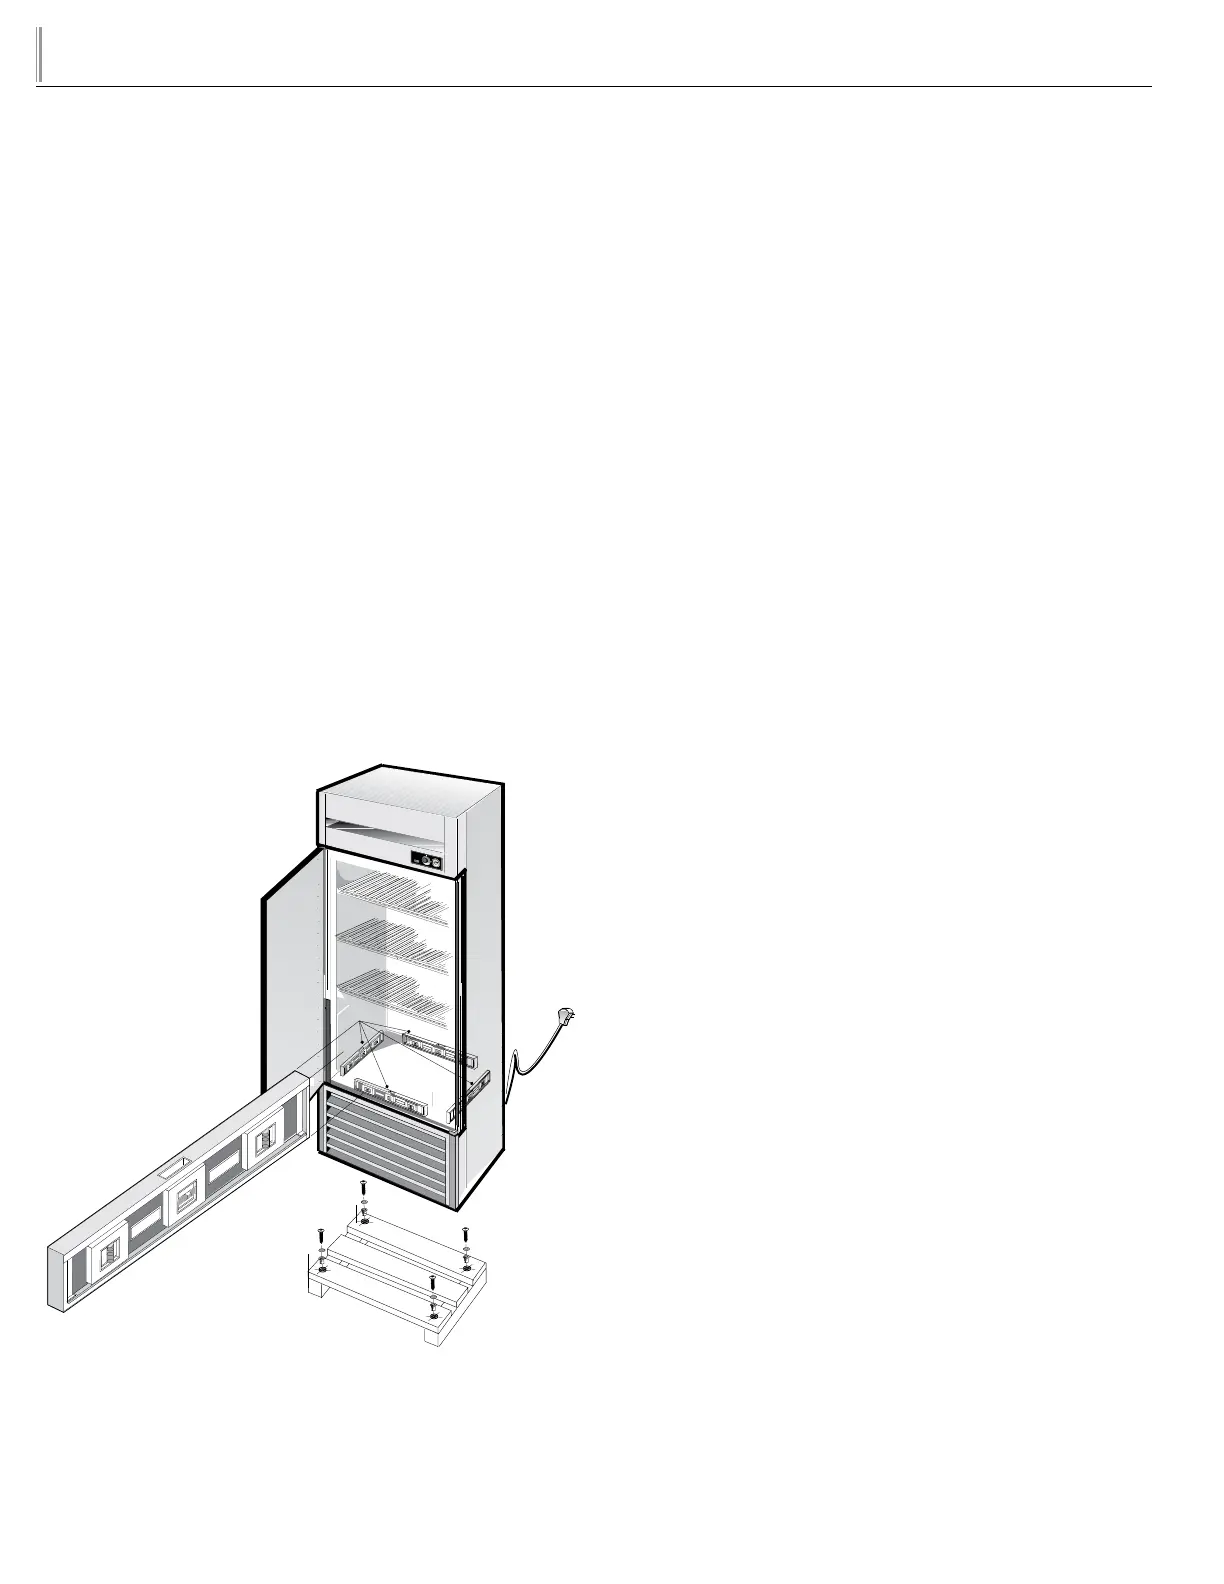
LEVELING
A. Set unit in its final location. Be sure there is adequate ventilation
in your room. Under extreme heat conditions, (100°F+,
38°C+), you may want to install an exhaust fan.
WARNING: WARRANTY IS VOID IF VENTILATION IS
INSUFFICIENT.
B. Proper leveling of your TRUE heated cabinet is critical to
operating success. Refer to "Installation of Legs and Castors" on
page 5.
C. The cabinet should be leveled from the inside front to back and
side to side with a level.
D. Ensure that the drain hose or hoses are positioned in the pan.
E. Free plug and cord from inside the lower rear of the unit (do
not plug in).
F. The unit should be placed close enough to the electrical supply
so that extension cords are never used.
WARNING: CABINET WARRANTIES ARE VOID IF
OEM POWER CORD IS TAMPERED WITH. TRUE
WILL NOT WARRANTY ANY UNITS THAT ARE
CONNECTED TO AN EXTENSION CORD.
INSTALLATION OF CASTORS OR
OPTIONAL LEGS
Important Safeguard for installation of leg/castor. Images 1-5 demon-
strate procedure.
SECURING CASTORS AND LEGS
To obtain maximum strength and stability of the unit, it is important
that you make sure each castor is secure. Optional legs are hand-
tightened securely against the lower rail assembly see image 4-5. The
bearing race on the castor or the top edge of the leg must make firm
contact with the rail.
LEVELING SHIMS
Four leveling shims have been provided for leveling castored units
positioned on uneven floors. Shims must be positioned between rail
end and bearing race.
A. Turn the bearing race counter-clockwise until the cabinet is
level. Level front to back and side to side. (diagonally)
B. Install the desired number of shims, making sure the slot of the
shim is in contact with the threaded stem of the castor. See
image 2.
C. If more than one shim is used, turn the slot at a 90° angle so
they are not in line.
D. Turn the bearing race clockwise to tighten and secure the
castor by tightening the anchoring bolt with a 3/4 inch open-
end wrench or the tool provided. See image 3.
CAUTION: TO AVOID DAMAGE TO LOWER RAIL
ASSEMBLY, SLOWLY RAISE UNIT TO UPRIGHT
POSITION.
NOTE: OPEN HOLES LOCATED ON THE CROSS
MEMBERS OF THE FRAME RAIL SHOULD BE
PLUGGED BEFORE UNIT IS IN USE.
P
HEATED
CABINET
1
0
0
1
0
1
1
0
2
1
0
3
1
0
4
1
0
5
1
0
6
1
0
7
1
0
8
1
0
9
1
0
0
1
0
1
1
0
2
1
0
3
1
0
4
1
0
5
1
0
6
1
0
7
1
0
8
1
0
9
Bekijk gratis de handleiding van True TH-23G~FGD01, stel vragen en lees de antwoorden op veelvoorkomende problemen, of gebruik onze assistent om sneller informatie in de handleiding te vinden of uitleg te krijgen over specifieke functies.
Productinformatie
| Merk | True |
| Model | TH-23G~FGD01 |
| Categorie | Niet gecategoriseerd |
| Taal | Nederlands |
| Grootte | 3177 MB |


