TP Link Omada OC400 handleiding
Handleiding
Je bekijkt pagina 24 van 475
16
Chapter 2
Get Started with Omada SDN Controller
2. 2. 3 Start and Log in to the Controller
Log In to the Management Interface
Follow the steps below to enter the management interface of the Hardware Controller:
1. Make sure that your management device has the route to access the controller.
2. Check the DHCP server (typically a router) for the IP Address of the controller. If the controller fails
to get a dynamic IP address from the DHCP server, the default fallback IP address 192.168.0.253,
is used.
3. Launch a web browser and type the IP address of the controller in the address bar, then press Enter
(Windows) or Return (Mac).
Complete Basic Configurations
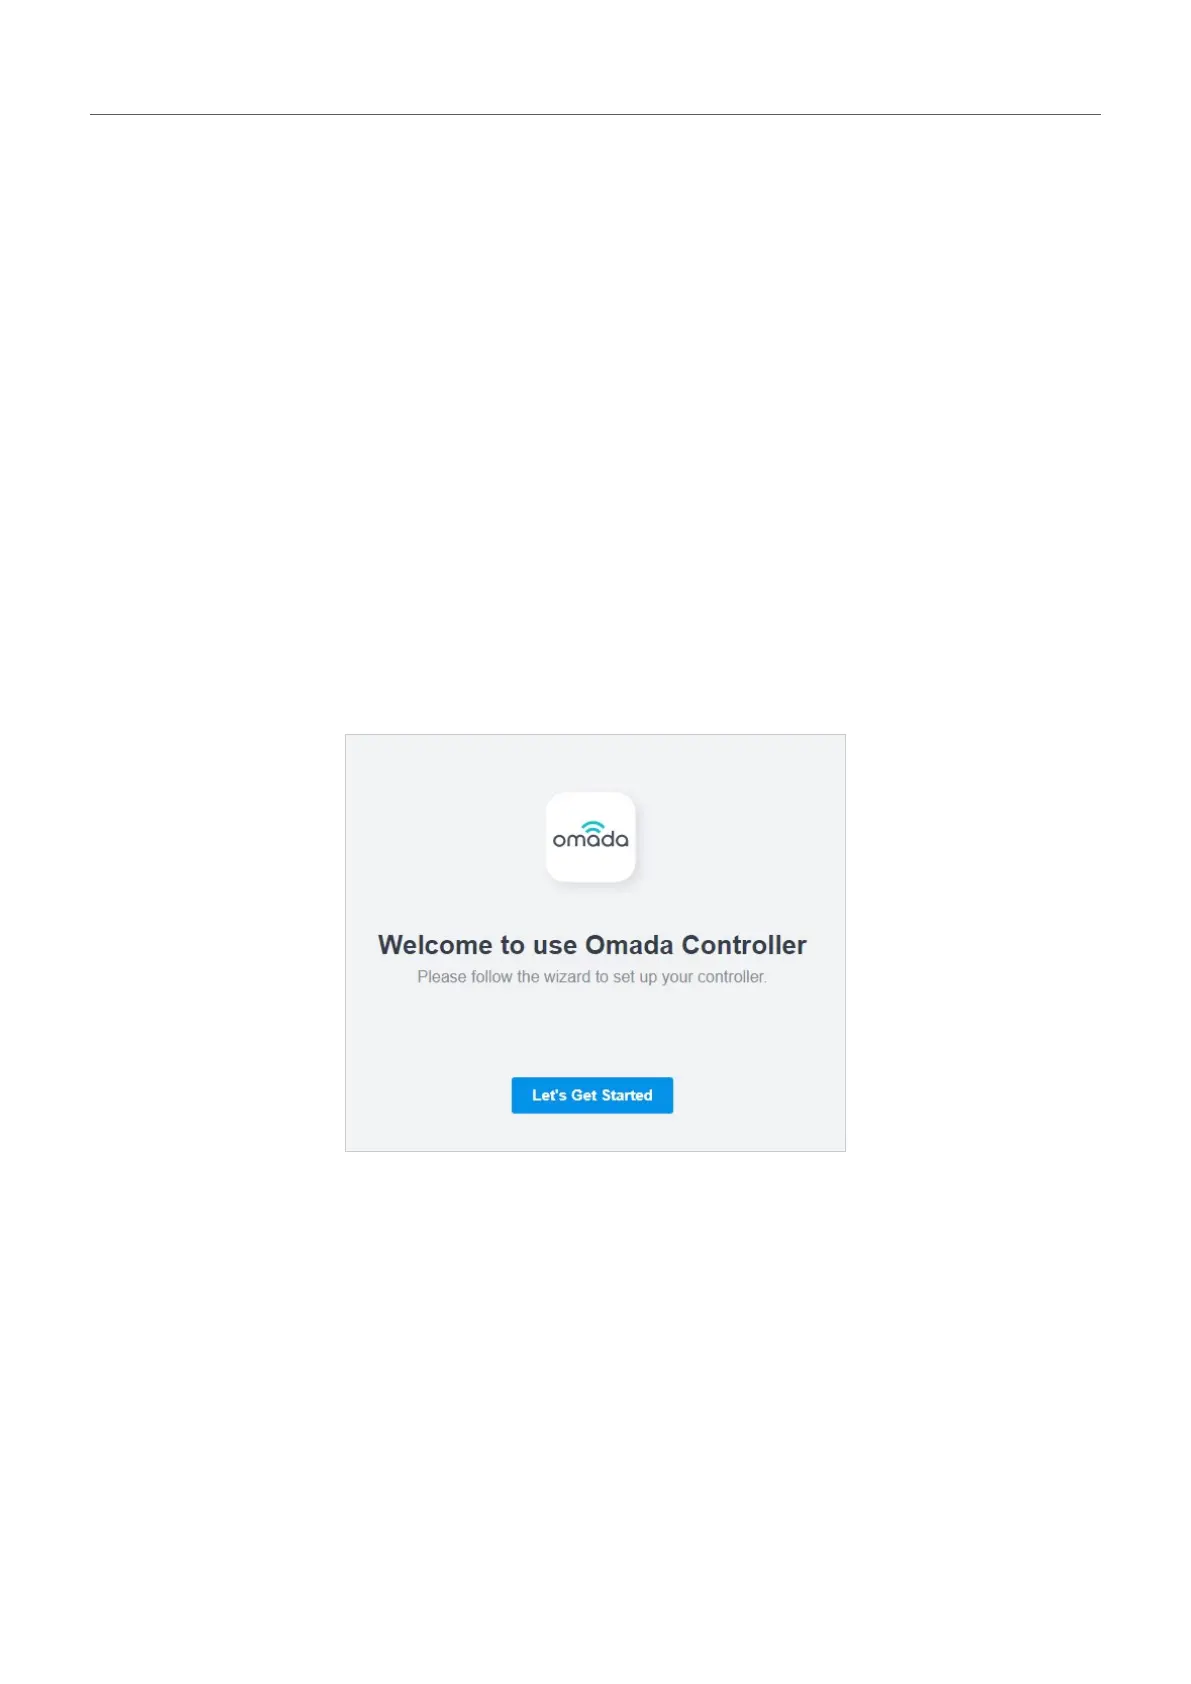
In the web browser, you can see the configuration page. Follow the setup wizard to complete the basic
settings for the Controller.
1. Click Let’s Get Started.
2. Set up controller access settings.
Bekijk gratis de handleiding van TP Link Omada OC400, stel vragen en lees de antwoorden op veelvoorkomende problemen, of gebruik onze assistent om sneller informatie in de handleiding te vinden of uitleg te krijgen over specifieke functies.
Productinformatie
| Merk | TP Link |
| Model | Omada OC400 |
| Categorie | Niet gecategoriseerd |
| Taal | Nederlands |
| Grootte | 86105 MB |
Caratteristiche Prodotto
| Kleur van het product | Grijs |
| Breedte | 440 mm |
| Diepte | 180 mm |
| Hoogte | 44 mm |
| LED-indicatoren | Ja |


