Supermicro X14SBH-AP handleiding
Handleiding
Je bekijkt pagina 39 van 140
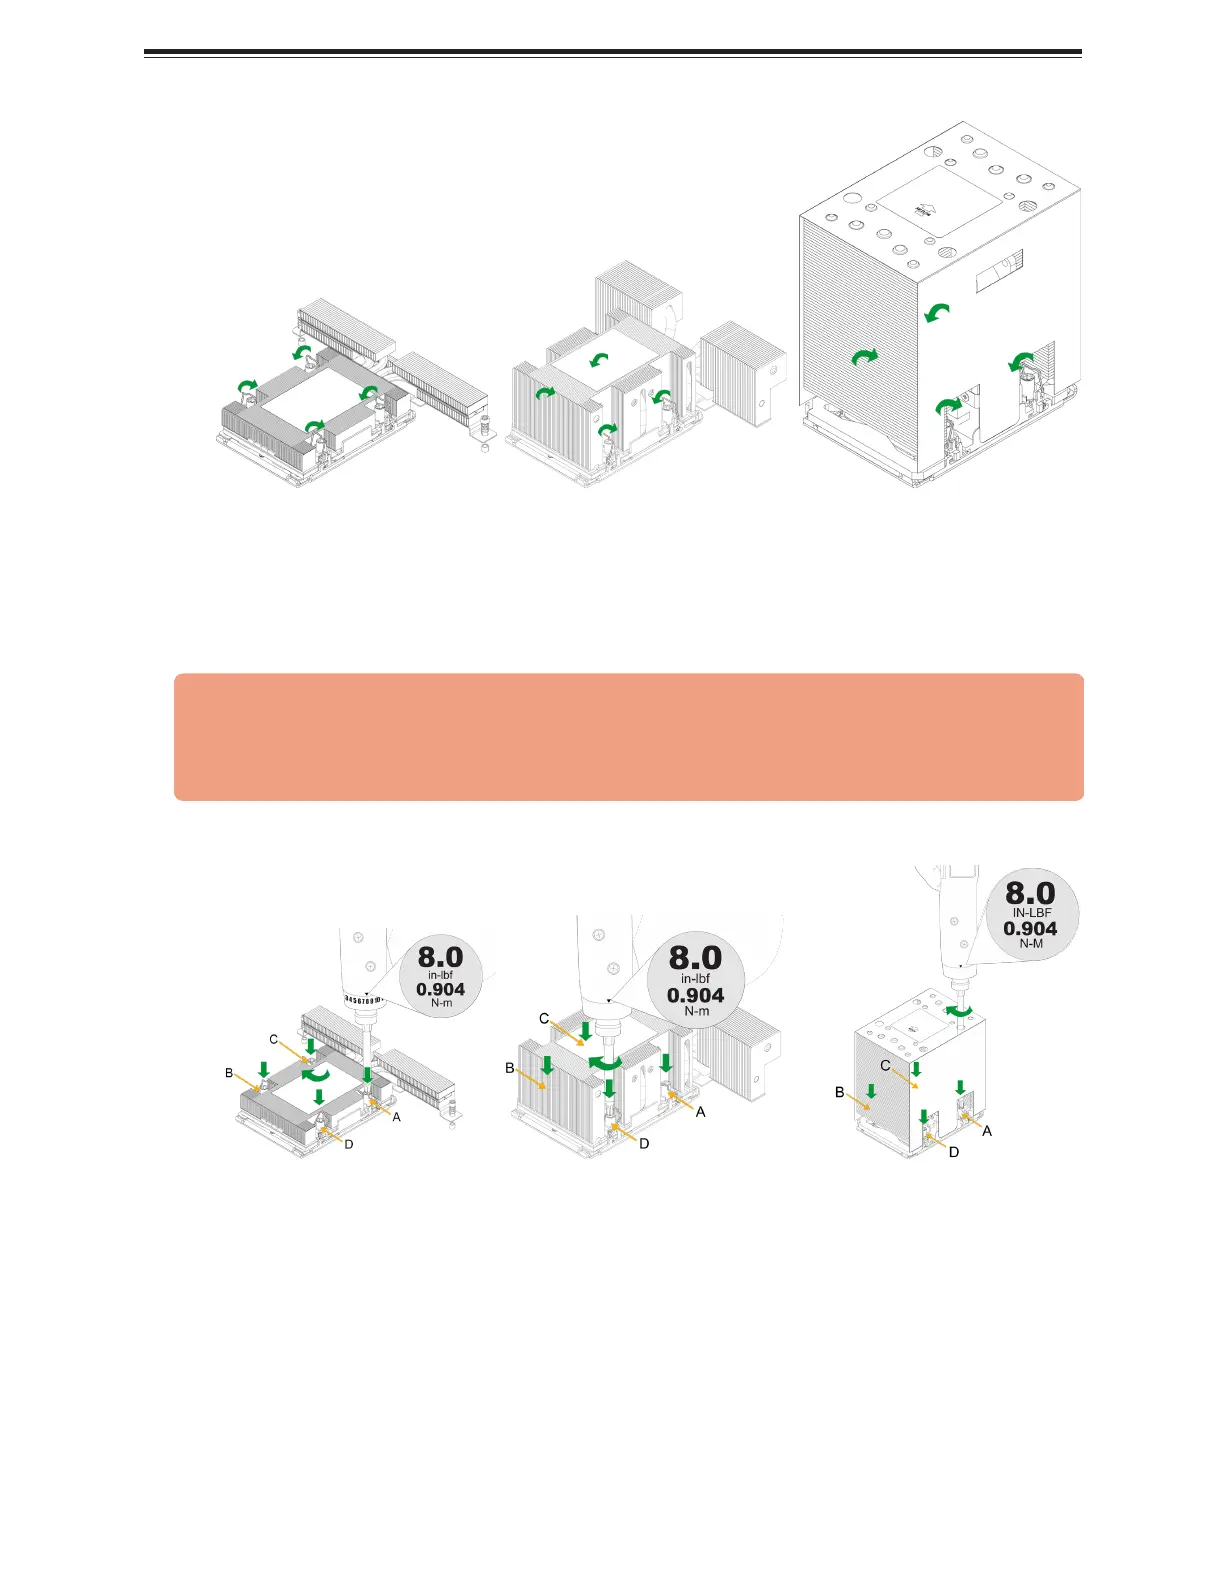
Figure 2-28. Latch the PHM (from left to right: 1U, 2U, and 4U)
4. With a T30 bit torque driver set to a force of 8.0 in-lbf (0.904 N-m), gradually tighten the
four screws to ensure even pressure. You can start with any screw, but make sure to
tighten the screws in a diagonal pattern.
Important: Do not use a force greater than 8.0 in-lbf (0.904 N-m). Exceeding this
force may over-torque the screw, causing damage to the processor, heatsink, and
screw.
5. Examine all corners to ensure that the PHM is firmly attached to the socket.
Figure 2-29. Install the PHM with a Torque Driver (from left to right: 1U, 2U, and
4U)
6. With a T30 bit torque driver set to a force of 2.6 in-lbf (0.294 N-m), tighten the remote
screws by the following order: 1-2.
39
X14SBH-AP: Component Installation
Bekijk gratis de handleiding van Supermicro X14SBH-AP, stel vragen en lees de antwoorden op veelvoorkomende problemen, of gebruik onze assistent om sneller informatie in de handleiding te vinden of uitleg te krijgen over specifieke functies.
Productinformatie
| Merk | Supermicro |
| Model | X14SBH-AP |
| Categorie | Niet gecategoriseerd |
| Taal | Nederlands |
| Grootte | 17647 MB |


