Supermicro SuperServer AS-3015MR-H10TNR handleiding
Handleiding
Je bekijkt pagina 38 van 94
38
Chapter 3: Maintenance and Component Installation
Storage Drives
Each node can support two internal xed 2.5" PCIe 5.0 NVMe and two internal xed 2.5"
SATA storage drives. A node must be removed from the system when installing or removing
a drive it contains.
To support an optional top layer of drives, a drive case (MCP-240-30104-0N) and a SATA/
power cable (CBL-SAST-1320YU2-85) are required.
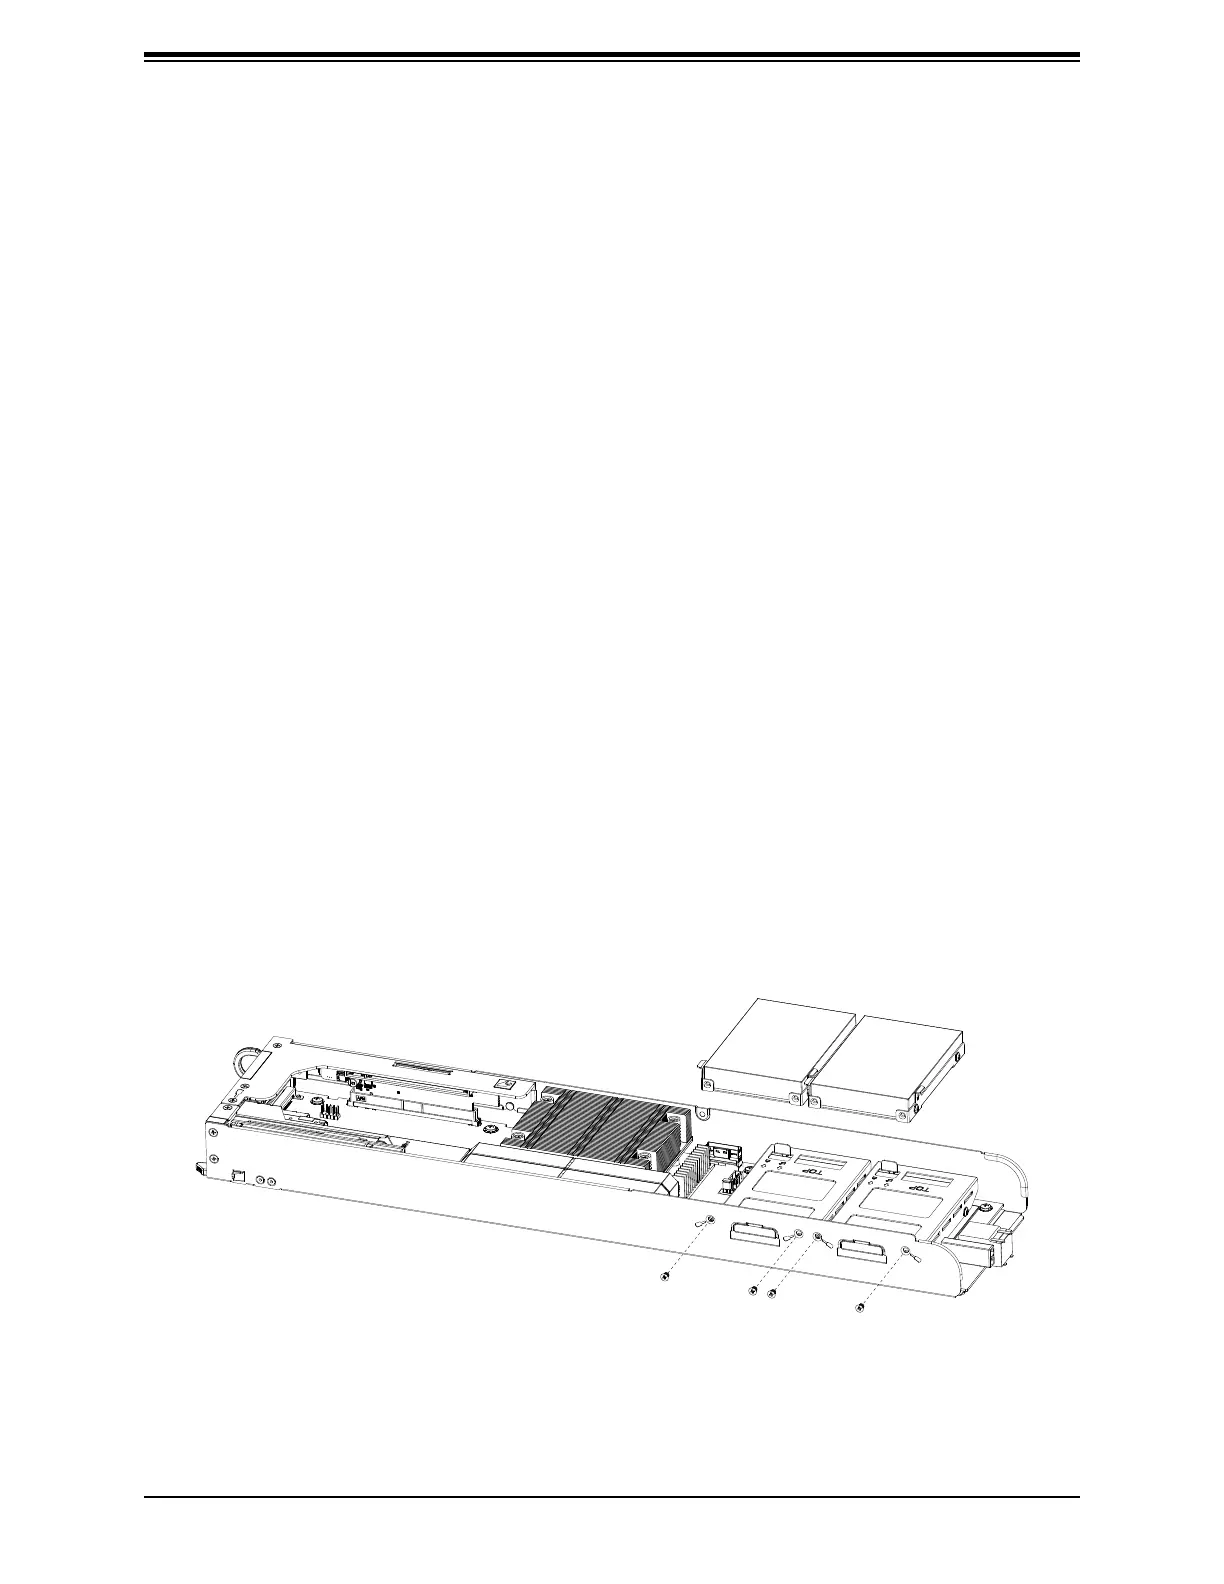
Installing a Drive in a Node
1. Power down and remove the node from the chassis as described in the previous section
and lay it on a at surface.
2. Remove two screws from each side of the drive that secure it to the node.
3. Lift the drive from the node.
4. Install a new drive in the same orientation, then secure it to the node with the screws
previosuly removed.
5. Install the node back into the chassis.
Caution: Except for short periods of time while swapping nodes, do not operate the server
with the node bays empty. In the unlikely event of a node failure, remove the failed node and
replace it with the dummy node that was included with the system.
Figure 3-7. Installing Storage Drives
Bekijk gratis de handleiding van Supermicro SuperServer AS-3015MR-H10TNR, stel vragen en lees de antwoorden op veelvoorkomende problemen, of gebruik onze assistent om sneller informatie in de handleiding te vinden of uitleg te krijgen over specifieke functies.
Productinformatie
| Merk | Supermicro |
| Model | SuperServer AS-3015MR-H10TNR |
| Categorie | Niet gecategoriseerd |
| Taal | Nederlands |
| Grootte | 15327 MB |


