Handleiding
Je bekijkt pagina 173 van 516
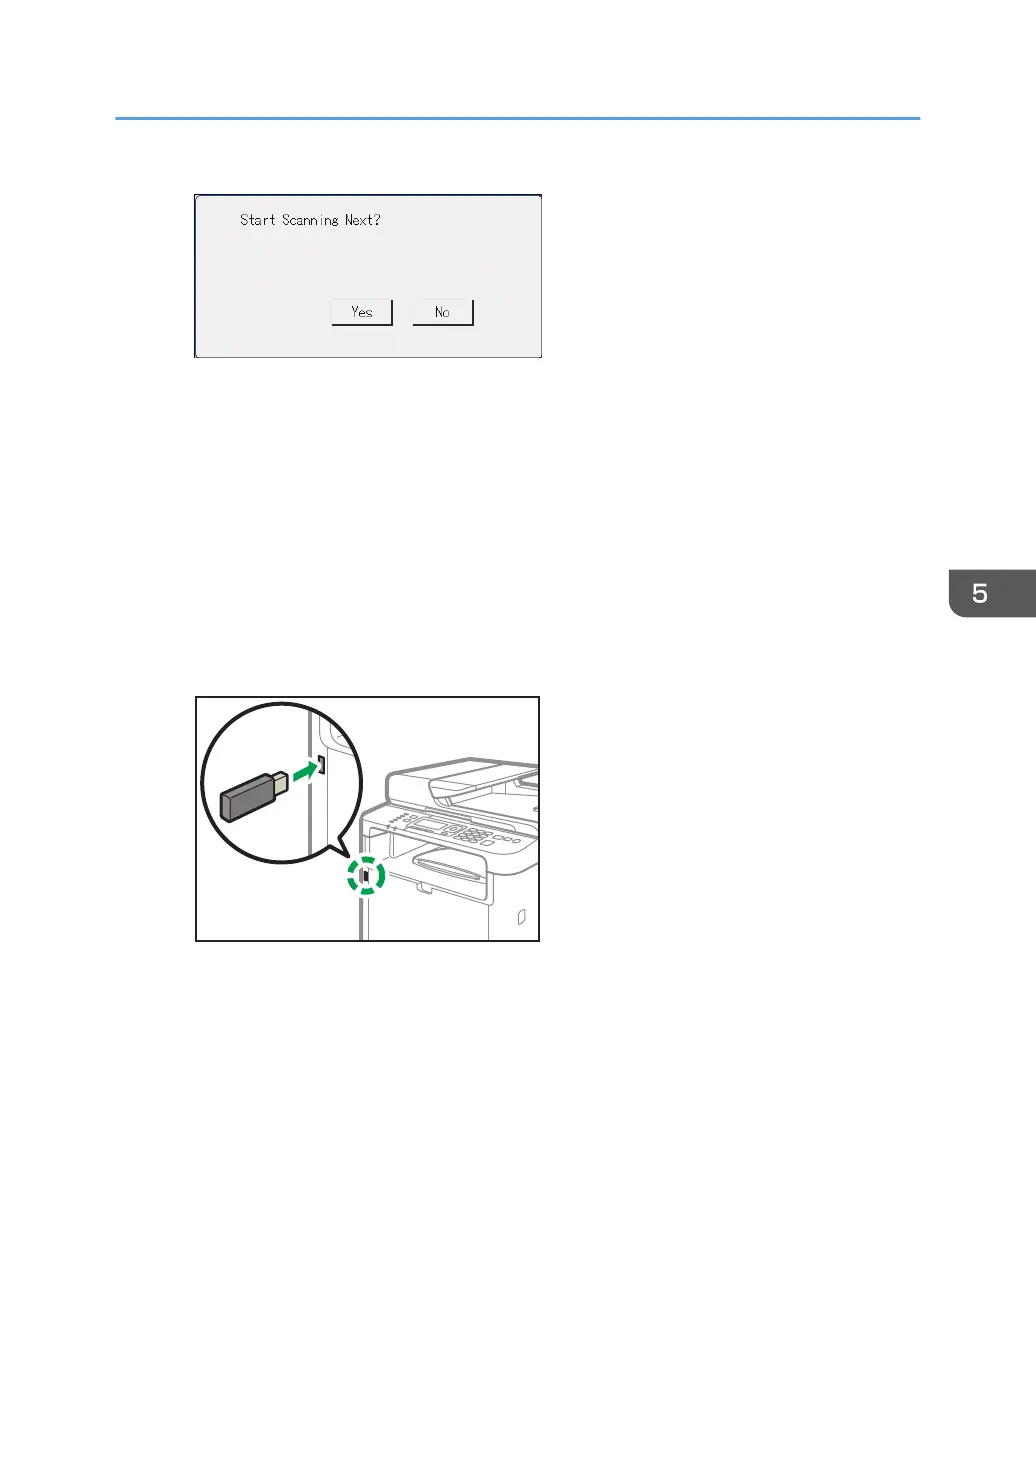
If you see this screen, proceed to the next step.
8. If you have more originals to scan, place the next original on the exposure glass,
and then press [Yes]. Repeat this step until all originals are scanned.
9. When all originals have been scanned, press [No] to start sending the scanned file.
10. Wait until "Completed the Process" is displayed on the screen.
Scanned files are saved in the root directory of the USB flash memory device.
11. Remove the USB flash memory device from the machine.
When using the four-line LCD panel model
1. Insert the USB flash memory device into the USB port.
DYH503
The scanner screen appears on the display.
Wait until [Save Scn Data to USB] appears on the display. The time before the message
appears differs depending on the type of USB flash memory device.
2. Place the original on the exposure glass or in the ADF.
To place the original, see page 92 "Placing Originals".
Specify the scanning settings as necessary. For details of specifying the scanning settings, see
page 186 "Specifying Scan Settings for Scanning".
Basic Procedures for Saving Scan Files on a USB Flash Memory Device
171
Bekijk gratis de handleiding van Ricoh M 320F, stel vragen en lees de antwoorden op veelvoorkomende problemen, of gebruik onze assistent om sneller informatie in de handleiding te vinden of uitleg te krijgen over specifieke functies.
Productinformatie
| Merk | Ricoh |
| Model | M 320F |
| Categorie | Printer |
| Taal | Nederlands |
| Grootte | 35151 MB |
Caratteristiche Prodotto
| Soort bediening | Touch |
| Kleur van het product | Black, White |
| Ingebouwd display | Ja |
| Gewicht | 18000 g |
| Breedte | 405 mm |


