Handleiding
Je bekijkt pagina 172 van 516
4. Press the [USB] tab.
5. Place the original on the exposure glass or in the ADF.
To place the original, see page 92 "Placing Originals".
Specify the scanning settings as necessary. For details of specifying the scanning settings, see
page 186 "Specifying Scan Settings for Scanning".
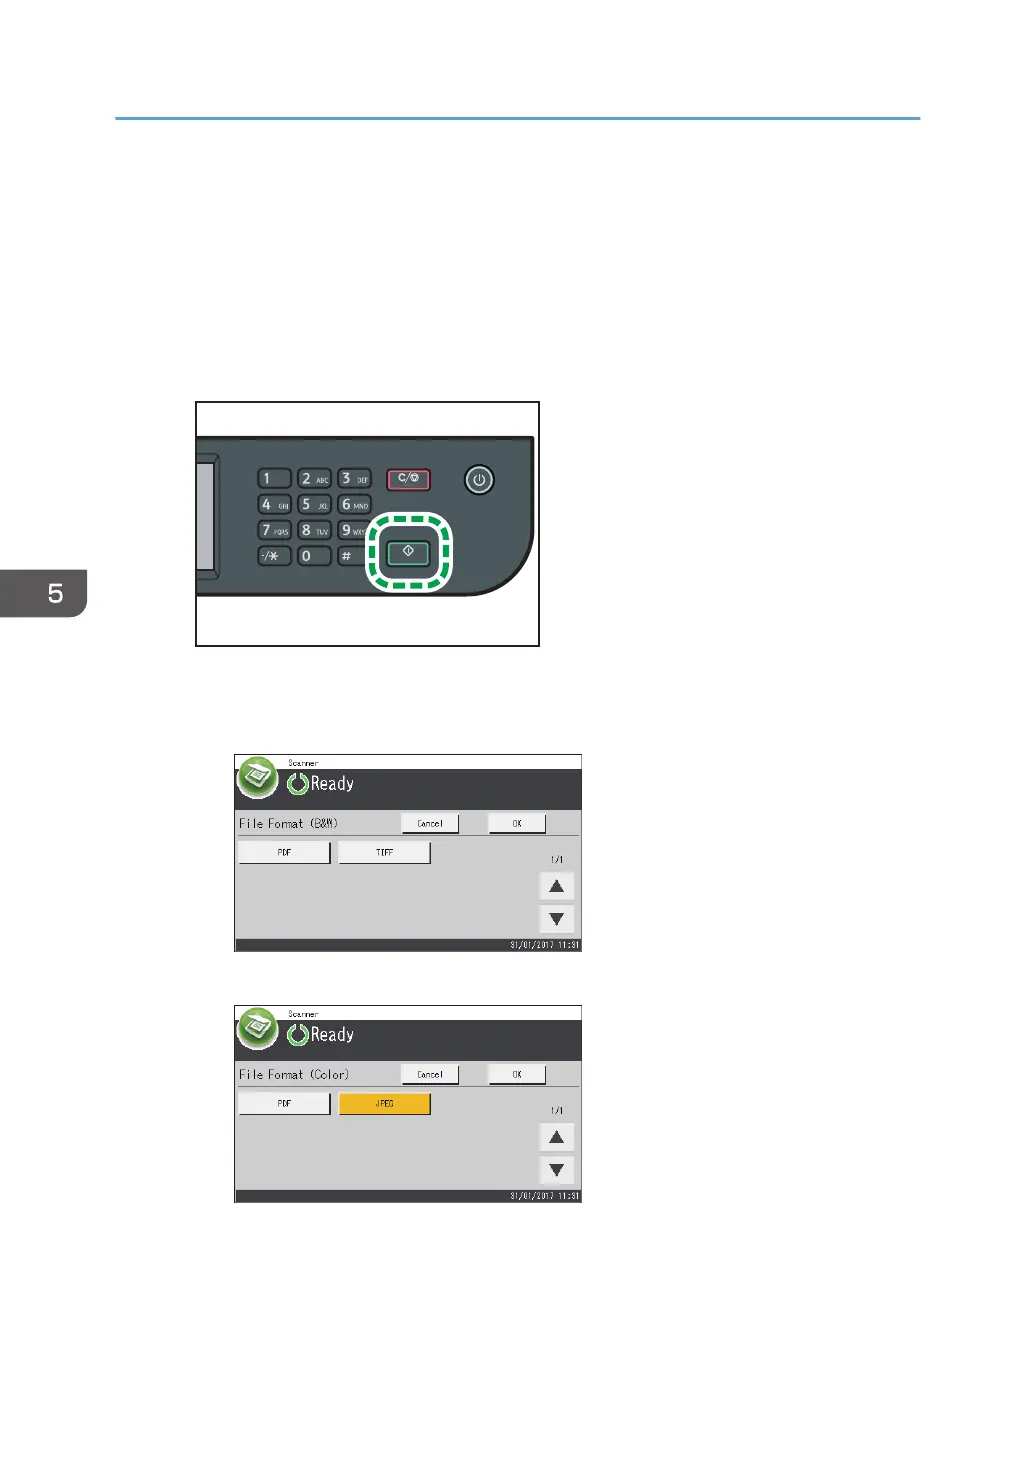
6. Press the [Start] key.
DYG336
Depending on the machine's setting, you will see the following screen on the display.
• When in halftone black-and-white scanning mode:
• When in color or gray scale black-and-white scanning mode:
7. Press the appropriate selection key according to the desired file format, and then
press [OK].
Depending on the machine's settings, you may see the following screen on the display when
scanning from the exposure glass.
5. Scanning Originals
170
Bekijk gratis de handleiding van Ricoh M 320F, stel vragen en lees de antwoorden op veelvoorkomende problemen, of gebruik onze assistent om sneller informatie in de handleiding te vinden of uitleg te krijgen over specifieke functies.
Productinformatie
| Merk | Ricoh |
| Model | M 320F |
| Categorie | Printer |
| Taal | Nederlands |
| Grootte | 35151 MB |
Caratteristiche Prodotto
| Soort bediening | Touch |
| Kleur van het product | Black, White |
| Ingebouwd display | Ja |
| Gewicht | 18000 g |
| Breedte | 405 mm |


