PreSonus Quantum ES 4 handleiding
Handleiding
Je bekijkt pagina 72 van 97
68
13 The Settings Page
13.9 Smaart System Check Wizards (StudioLive AI-series only)
Universal Control for StudioLive
®
Mixers
Software Reference Manual
13.9.3 Smaart Output Check Wizard
It’s five minutes before a show, and suddenly the drummer says there’s nothing coming out of his monitor.
Or you do a friend a favor and run sound at her club because she has the flu, and you show up not knowing
which aux is connected to what monitor or which sub is controlling what sidefill. The Smaart Output Check
wizard was designed to make these problems disappear like magic!
By momentarily taking over the routing and volume control of an output and patching pink noise to it, the
Smaart Output Check wizard lets you quickly discover which speaker is connected where and helps you
quickly get to the root of a routing problem. In the case of the drummer with silent monitor, if he hears
pink noise, you can save yourself ten minutes of frantic cable tracing only to discover the output level was
inadvertently turned down on his aux mix.
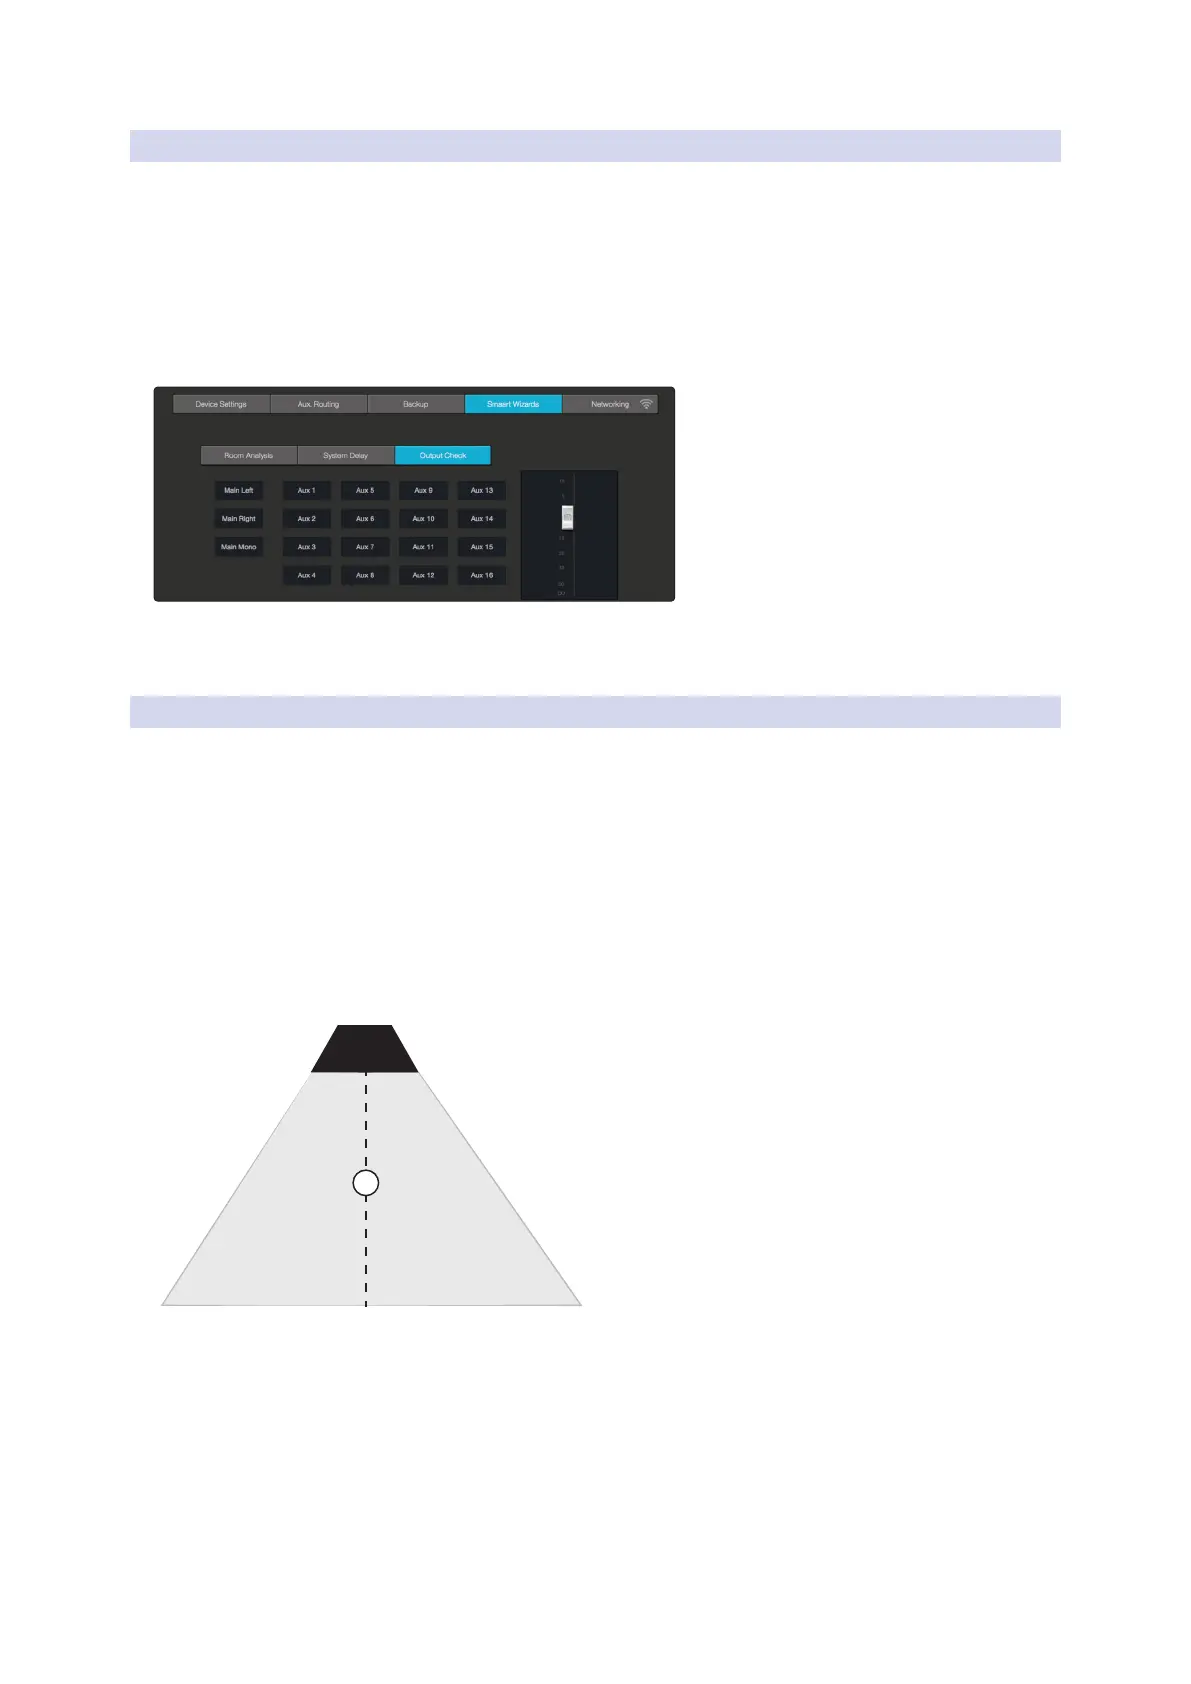
Click on the Output Check tab to use the Smaart Output Check wizard. You will be shown buttons for all
outputs on your StudioLive. Click on an output’s button, and pink noise will fade in for three seconds. You can
click on the button again to stop it. To adjust the pink noise, use the fader on the right side of the page.
13.9.4 Mic Position
The SRA and SSD wizards do all of the calculations and complex routing through the StudioLive for you. Two
very important decisions are up to you: Where to place the mic and, in the case of the SRA wizard, what to do
with the frequency-response trace.
Improper mic placement can create “problems” in your trace that actually don’t exist in your sound system.
Primary Mic Position
This is the main reference point for a speaker and can be used as a single, “representative” position if you’re
short on time or patience and just want to get a “gut check” of your system.
Your goal in setting the primary mic position is to find a point that puts the microphone in the center (on axis)
of a speaker’s throw, within the listening area. In other words, you want to put the microphone smack dab in
the middle of where your speaker sounds its best.
1
Bekijk gratis de handleiding van PreSonus Quantum ES 4, stel vragen en lees de antwoorden op veelvoorkomende problemen, of gebruik onze assistent om sneller informatie in de handleiding te vinden of uitleg te krijgen over specifieke functies.
Productinformatie
| Merk | PreSonus |
| Model | Quantum ES 4 |
| Categorie | Niet gecategoriseerd |
| Taal | Nederlands |
| Grootte | 17151 MB |

