Posiflex PP-8800 handleiding
Handleiding
Je bekijkt pagina 18 van 21
Part 18
dictates the printer to perform certain internal affairs such as counter refreshment
periodically. When the printer is engaged in such operations there will be a brief
period of time that the printer is busy without externally apprehensible cause. In
other words, the printer will lit the ERROR LED briefly once in a while even when
no external communication is in process and that is definitely normal.
FURTHER TECHNICAL INFORMATION
PRINTER SETUP
There are two difference way to setup PP-8800/8800E. Firstly,
one is the DIP Switch in the bottom of printer for setup the
function such as baud rate, paper width and others. Another
switch is setup trough software to adjust such as printer
density and others. Following explanation is going to descript these switches
setting.
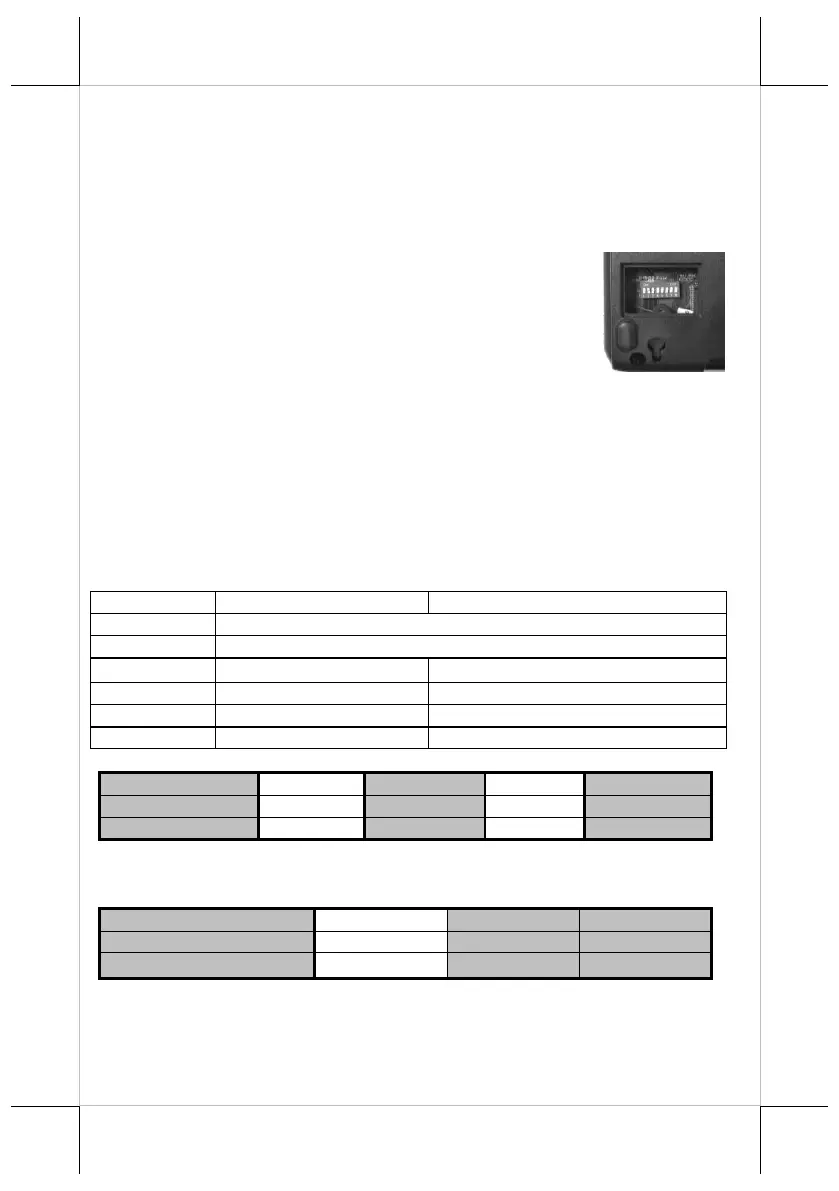
DIP Switch:
On bottom cover of the PP-8800/8800E series thermal printer, there is a screwed
metal plate for setup window. In this window, there is an 8-position DIP switch for
printer setup. Please use proper tool to change the switch setting when necessary.
The switch position counting starts from the nearest edge of printer. The functions
of each position may evolve with the revisions of the firmware. The information
below applies to the latest version to the date of print of this manual.
DIP Switch Poison Behavior Table
Switch position
ON
OFF
1~2
Baud rate definition (Refer to the table below)
3~4
Paper Width & Printable Width (Refer to the table below)
5
Print speed (180 mm / sec)
Print speed (220 mm / sec)
6
USB interface (Default)
Other interface
7
Auto Cutter Disable
Auto Cutter enable
8
Firmware Update Enable
Firmware Update Disable
Effect of positions 1 & 2 on baud rate is defined as in table below:
SW1 Pos. 1
OFF
OFF
ON
ON
SW1 Pos. 2
OFF
ON
OFF
ON
Baud rate setup
19200 bps
115200 bps
9600 bps
38400 bps
Please notice when use in USB mode and likes to use Virtual Serial Port, please
place the SW1-1&2 to ON position in order to use Virtual COM port.
Effect of positions 3, 4 on Paper & Printable Width is defined as below:
SW1 Pos. 3
OFF
ON
OFF
SW1 Pos. 4
OFF
OFF
ON
Paper & Printable Width
80 mm /512 dot
80 mm / 576 dot
58 mm / 424 dot
Toggle SW1 Pos. 6 to “ON’ for USB interface, and toggle it to “OFF” for the
others (Serial, Parallel, LAN, Wi-Fi, etc.)
Switch position 7 defines the auto cutter. When needs to enable the paper auto cut
function, it have to place to “Off”. On the other hands, the auto cutter function will
Bekijk gratis de handleiding van Posiflex PP-8800, stel vragen en lees de antwoorden op veelvoorkomende problemen, of gebruik onze assistent om sneller informatie in de handleiding te vinden of uitleg te krijgen over specifieke functies.
Productinformatie
| Merk | Posiflex |
| Model | PP-8800 |
| Categorie | Niet gecategoriseerd |
| Taal | Nederlands |
| Grootte | 3150 MB |


