Phoenix Contact FL PN/PN SDIO-2TX/2TX handleiding
Handleiding
Je bekijkt pagina 42 van 94
FL PN/PN SDIO-2TX/2TX
42
PHOENIX CONTACT 8220_en_06
3.6 Replacing the FL PN/PN SDIO-2TX/2TX
1. Switch off the supply voltage to the device.
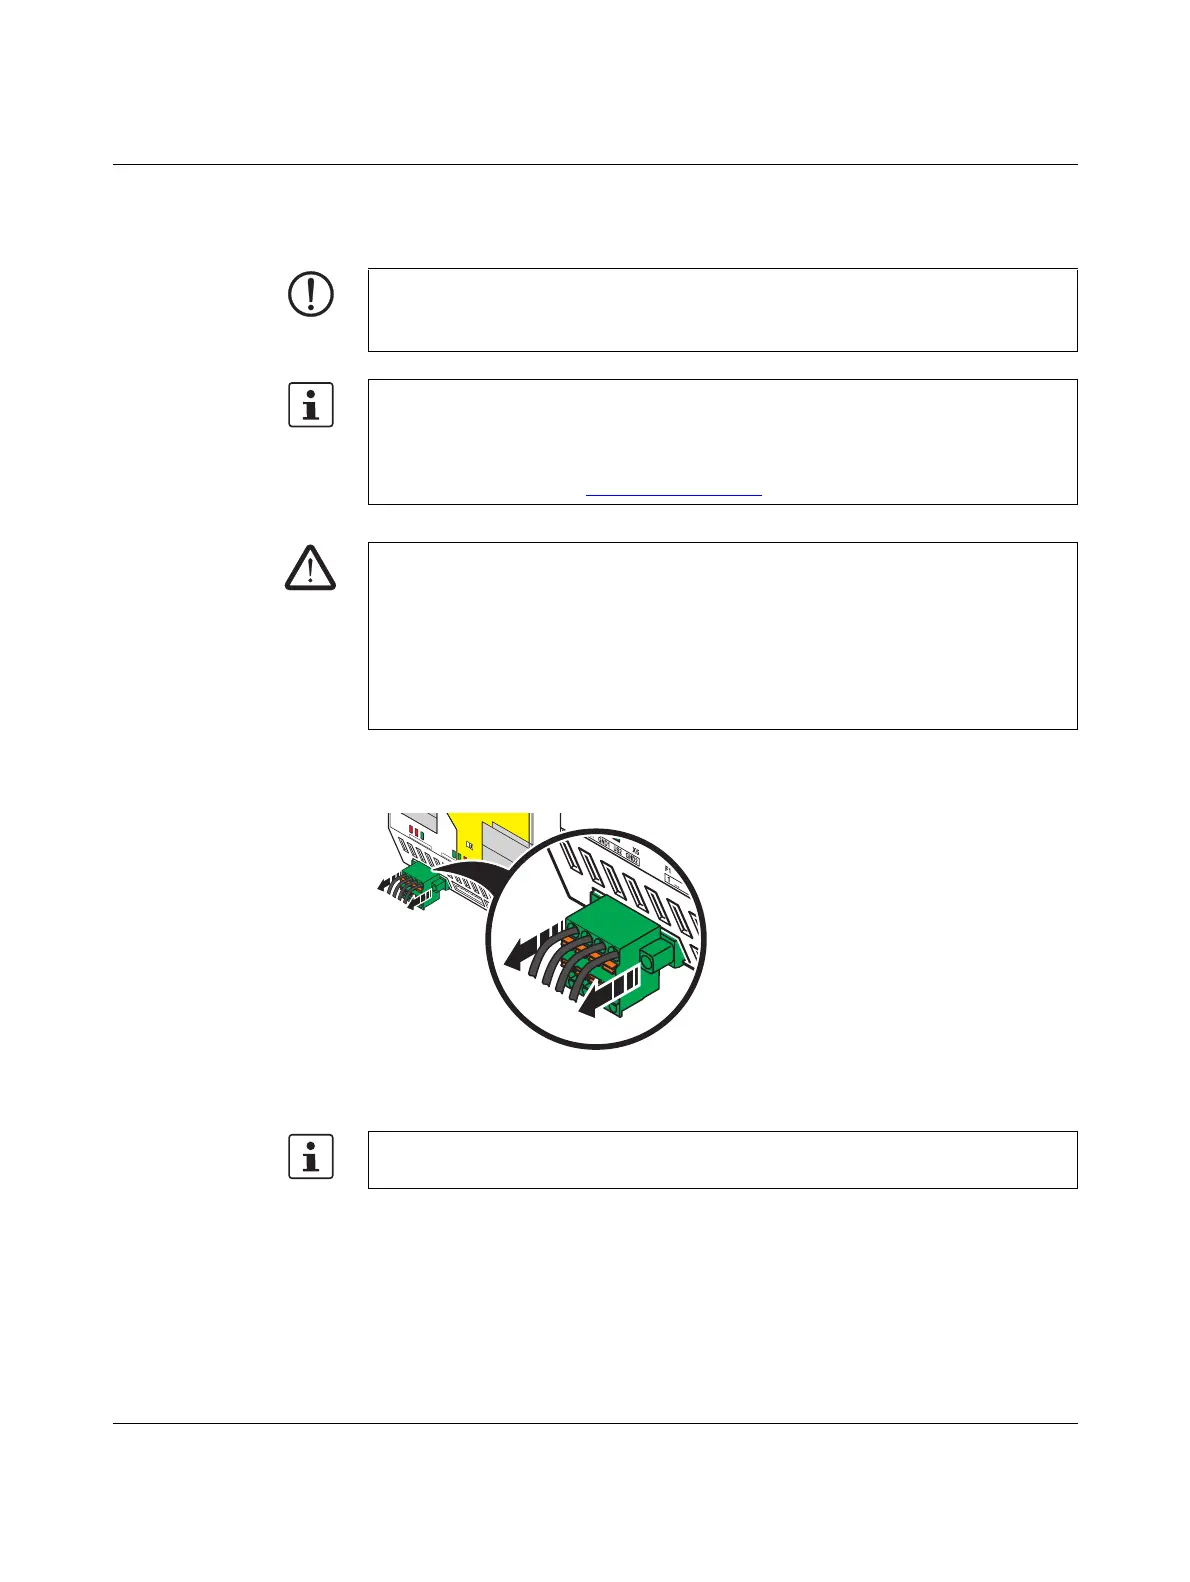
2. Unplug the supply cable from the device. Pull the COMBICON plug out of the socket.
Figure 3-4 Unplugging the power supply
NOTE: The following tasks must be carried out prior to mounting/removal:
– Disconnect the supply voltage
– Ensure that the supply voltage cannot be switched on again by unauthorized persons
Only qualified personnel should pack and unpack the device while observing the ESD
regulations in Section 1.2.
Only replace the device with a device with the same hardware/firmware version or a
compatible device approved by Phoenix Contact. Information on compatible devices can
be found on the Internet at phoenixcontact.com.
WARNING:
Do not mount or remove the FL PN/PN SDIO-2TX/2TX while the power is connected.
Do not remove the device until:
– The device has been disconnected from the power supply and it has been ensured
that it cannot be switched on again
– The COMBICON plug (supply voltage) has been disconnected
– All Ethernet cable plugs have been disconnected
1
2
3
4
5
6
7
8
9
1
2
3
4
5
6
7
8
9
1
Isafe
c
SF1 BF1 P1 US1
FSUS2 SF2
BF2
P2
X5
U
S1 G
ND1 US2 GND2
1 ...
10
F1
12
F3
1 ...
10
F2
M
AC
Address
In the next step, make sure that the Ethernet cables cannot be mixed up. Observe the
measures previously specified.
Bekijk gratis de handleiding van Phoenix Contact FL PN/PN SDIO-2TX/2TX, stel vragen en lees de antwoorden op veelvoorkomende problemen, of gebruik onze assistent om sneller informatie in de handleiding te vinden of uitleg te krijgen over specifieke functies.
Productinformatie
| Merk | Phoenix Contact |
| Model | FL PN/PN SDIO-2TX/2TX |
| Categorie | Niet gecategoriseerd |
| Taal | Nederlands |
| Grootte | 7175 MB |


