Parkside PHLLS 745 A1 handleiding
Handleiding
Je bekijkt pagina 10 van 152
GB / IE
|
7
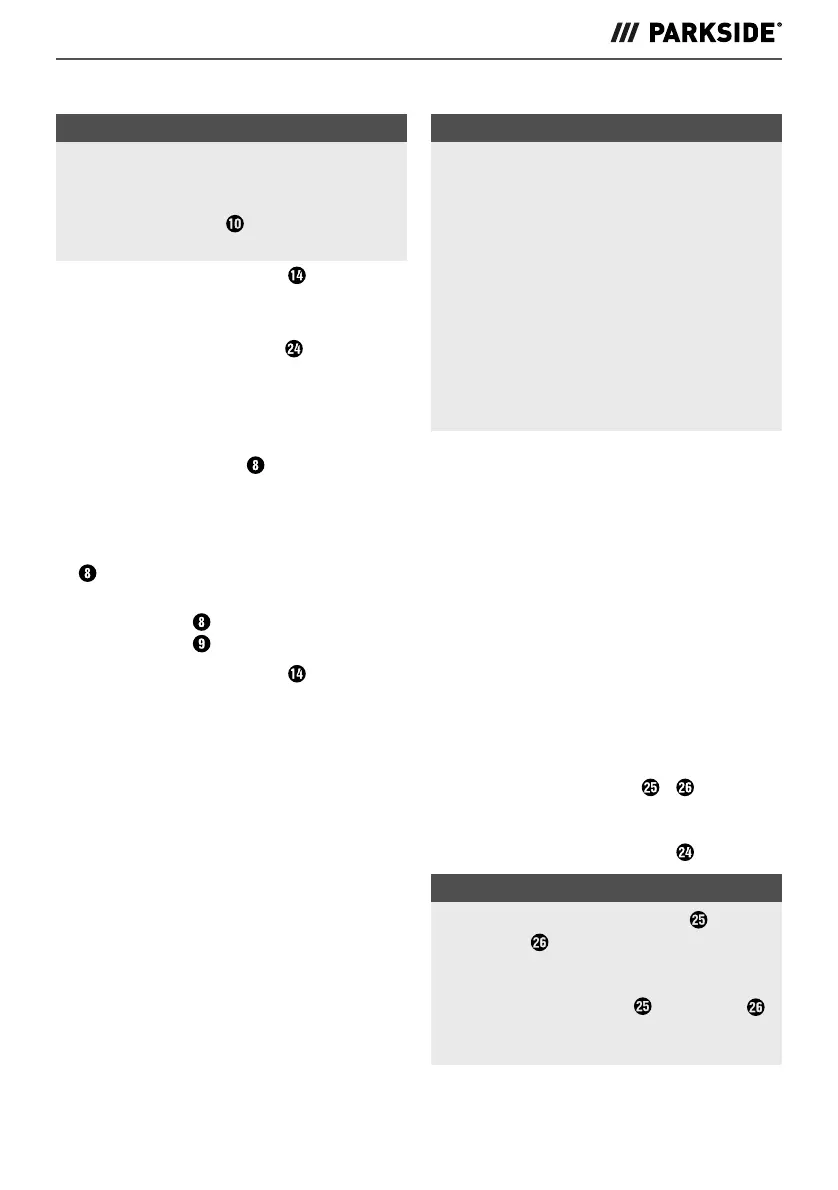
Switching the soldering iron on/o
NOTE
► Remove the protective cap from the
soldering tip before using it for the rst
time.
► The soldering tip
must be tinned
before using for the rst time.
♦ Press the ON/OFF switch
to the
"I" position.
♦ The appliance switches to operating
mode. The digital display
changes
to show the set temperature.
■ The small dot at the bottom right of the
temperature value indicates the operating
mode of the station. When continuously
lit, the soldering iron
heats up, and
when ashing regularly, the set tempera-
ture value has been reached and is
stabilised in real time.
If no dot is displayed, the soldering iron
is cooling down.
♦ After completing the work, reinsert the
soldering iron
into the holder for the
soldering iron .
♦ Press the ON/OFF switch
to the
"O" position.
♦ Always pull the plug out of the power
outlet when not in use.
Setting the temperature
NOTE
► Fault-free soldering requires the use of
appropriate solders. Furthermore, it is
not possible to make perfect soldered
joints unless the correct soldering
temperature is used. If the soldering
temperature is too low, the solder is
not suciently uid and causes dirty
solder joints (so-called cold solder
joints). If the soldering temperature is
too high, the soldering ux can burn
and the solder will not ow. In addi-
tion, the materials to be processed
can be destroyed.
Below you can see the temperature set-
tings for the most common applications.
These may vary depending on the solder/
manufacturer.
– 200°C Melting point of the most
frequently used soft solders.
– 300°C Normal operation, e.g. when
using lead-free solder.
– 400°C High soldering temperature,
e.g. for de-soldering small solder
joints.
– 480°C Maximum soldering tempera-
ture, e.g. for de-soldering larger
solder joints.
♦ Press the + /
—
buttons
/
to set the
working temperature in steps of 1°C.
The current setpoint temperature is
shown in the digital display .
NOTE
► Press and hold the + button
or
- button to change the working
temperature continuously in 1°C
increments.
Release the + button or - button
when the desired temperature is
reached.
IB_458701_PHLLS745A1_LB8.indb 7IB_458701_PHLLS745A1_LB8.indb 7 10.07.2024 15:33:4410.07.2024 15:33:44
Bekijk gratis de handleiding van Parkside PHLLS 745 A1, stel vragen en lees de antwoorden op veelvoorkomende problemen, of gebruik onze assistent om sneller informatie in de handleiding te vinden of uitleg te krijgen over specifieke functies.
Productinformatie
| Merk | Parkside |
| Model | PHLLS 745 A1 |
| Categorie | Niet gecategoriseerd |
| Taal | Nederlands |
| Grootte | 17148 MB |


