NEO Tools 11-268 handleiding
Handleiding
Je bekijkt pagina 6 van 34
6
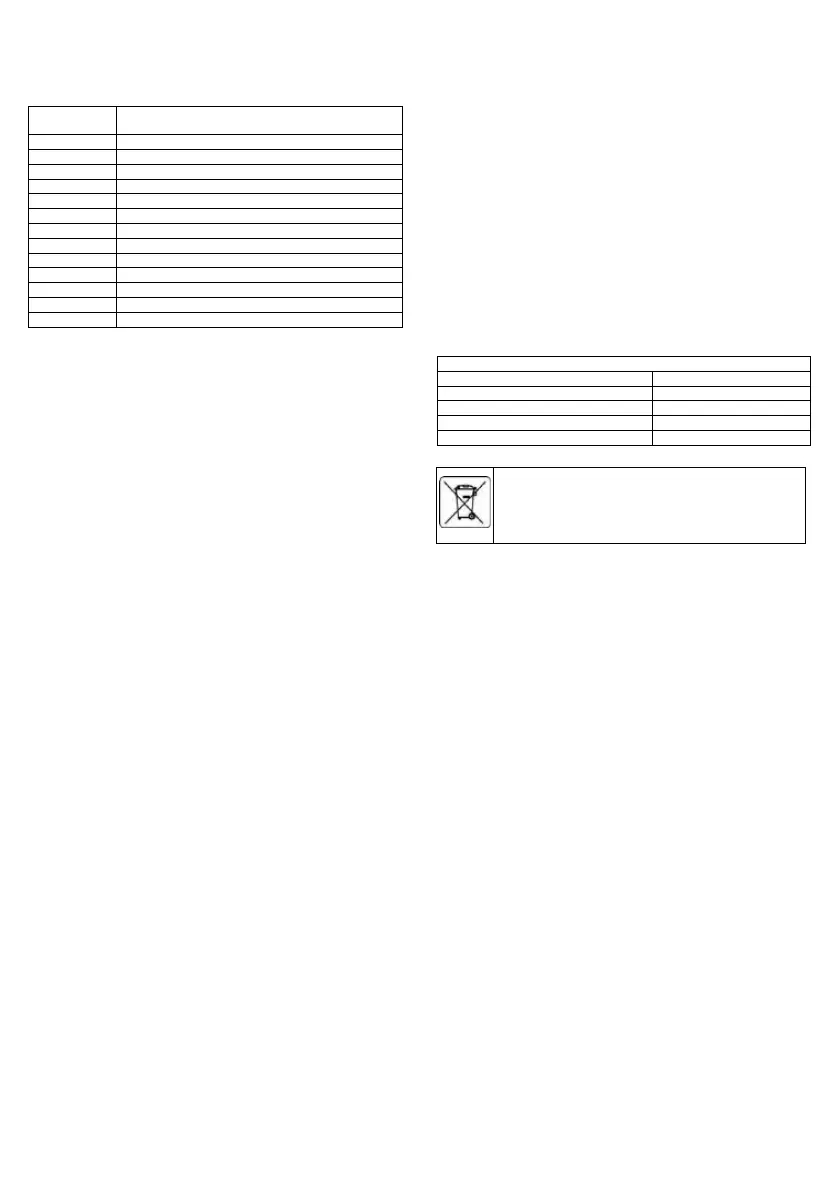
7.Selectively recycled
8.Do not dispose of with household waste
DESCRIPTION OF THE GRAPHIC ELEMENTS
The numbering below refers to the components of the device
shown on the graphic pages of this manual.
Designation
Fig. 1
Description
A
Threaded tank outlet
B
Upper tank valve
C
Upper reservoir (for fresh brake fluid)
D
Compressor adapter
E
Adapters
F
Nozzle
G
Flexible hose
H
Handle
I
Adapter socket
J
Pistol trigger
K
Used brake fluid reservoir
L
Flexible hose coupling
M
Hook for hanging the set
* There may be differences between the graphic and the actual
product
PURPOSE
The kit is designed for changing the brake fluid and for bleeding the brake
system after changing the fluid. The system should also be bled when the
need is identified. The pneumatic brake bleeder allows simple, one-man
operation using standard workshop air supply (6 bar to 8 bar / 87 -116 psi).
Fast, clean and efficient operation without the need for specialised brake
fluid reservoir caps. Sucks fluid from the brake fitting, allowing brake
bleeding or full system fluid replacement.
OPERATION OF THE DEVICE
BRAKE BLEEDING PROCEDURE.
Refer to the vehicle manufacturer's instructions for brake bleeding and
wheel sequence before proceeding. l If there are no specific instructions
from the vehicle manufacturer, follow the instructions listed below.
WARNING! Familiarise yourself with the dangers of brake fluid - read the
manufacturer's instructions on the packaging. Do not touch the vehicle's
brake pedal when bleeding the brakes. Remove the vehicle's brake fluid
reservoir cap. If the fluid level is not at its maximum, top it up.
• Remove the nut assembly fig. 2A from the refill bottle/top reservoir and
invert it into the neck of the reservoir as shown in fig. 2. The threaded
outlet of the bottle/top reservoir fig. 2B must be submerged in the brake
fluid. If this is not the case, turn the three-legged adapter fig. 2C
clockwise towards the valve fig. 2D until enough threads are exposed
to allow the outlet to be submerged in the brake fluid.
• Make sure the valve is closed, as shown in Figure 2D.
• Fill the refill bottle fig. 1C halfway with new brake fluid, remove the
previously inserted cap assembly from the neck of the reservoir and
screw it back into the bottle/top reservoir. Place the bottle of new brake
fluid over the car's brake fluid reservoir and open the Fig. 1B valve so
that the fluid level begins to drop towards the level marked on the bottle.
As soon as the fluid level is reached, close the Fig. 1B valve.
• Place the bottle in the neck of the vehicle's brake fluid reservoir as
shown in Fig. 1 and open the valve Fig. 1B. As you bleed the brakes,
the brake fluid level in the vehicle's reservoir will begin to drop and
expose the threaded outlet of the refill bottle. New brake fluid will begin
to flow out of the refill bottle. When the fluid level in the reservoir rises
enough to cover the outlet, the fluid flow will automatically stop.
• Connect the brake bleeder to a suitable compressed air unit. Attach the
compressor adapter (nipple) fig. 1D to the pistol grip fig. 1 I.
• Fit the black rubber tube to the caliper vent Fig. 3C on the first wheel
and unscrew the vent Fig. 3B by about 1/4 turn.
• Start the compressor and connect it to the gun using the fitting fig. 1I
.Unlock and press the gun trigger fig. 1J. The vacuum generated will
extract the brake fluid from the vehicle's brake system.
• Continue venting the system until no air bubbles are visible in the vent
tube fig. 1G fig. 4.
• Turn off the brake caliper vent. Fig. 3A
• Remove the rubber hose from the brake caliper vent Fig. 3C.
• Press the trigger of the gun Fig. 1J to remove the brake fluid from the
hose.
• Repeat the process for each wheel.
REPLACEMENT OF BRAKE FLUID
• Repeat the brake bleeding procedure as described above. When
changing the fluid, regularly check the level in the refill bottle.
• Once new fluid is in the brake pipe, tighten the brake caliper vent.
• Repeat this procedure on each wheel. Once you have finished bleeding
the brakes and/or changing the brake fluid, check the brake pedal
operation to ensure the brakes are in good working order before driving.
• IMPORTANT: We are not responsible for incorrect use of this device.
MAINTENANCE AND STORAGE
• Clean and dry the kit after each use. Dispose of used brake fluid in
accordance with local regulations.
• Store in a cool and well-ventilated place.
• Do not expose to prolonged and direct sunlight, especially if there is
brake fluid in the reservoir.
KIT CONTENTS:
• Fresh fluid container 1 pc.
• Used fluid container 1 pc.
• Flexible tube 1 pc.
• Metal adapter 1 pc.
• Plastic adapters 4 pcs.
• Technical documentation
Rated data
Inlet air pressure
6-8 bar (87 -116)
Air consumption
180 I/min
Container capacity
0,75 I
Vacuum
60%
Threaded connection
1/4 " NPT
female
ENVIRONMENTAL PROTECTION
Electrically-powered products should not be disposed of with
household waste, but should be taken to appropriate facilities for
disposal. Contact your product dealer or local authority for information
on disposal. Waste electrical and electronic equipment contains
environmentally inert substances. Equipment that is not recycled
poses a potential risk to the environment and human health.
"GTX Poland Spółka z ograniczoną odpowiedzialnością" Spółka komandytowa with its
registered office in Warsaw, ul. Pograniczna 2/4 (hereinafter: "GTX Poland ") informs that
all copyrights to the content of this manual (hereinafter: "Manual"), including among
others. All copyrights to the contents of this Manual (hereinafter referred to as "Manual"),
including but not limited to its text, photographs, diagrams, drawings, as well as its
composition, belong exclusively to GTX Poland and are subject to legal protection
pursuant to the Act of February 4, 1994 on Copyright and Related Rights (i.e. Journal of
Laws 2006 No. 90 Item 631 as amended). Copying, processing, publishing, modifying for
commercial purposes the entire Manual as well as its individual elements without the
written consent of GTX Poland is strictly prohibited and may result in civil and criminal
liability.
DE
ÜBERSETZUNG (BENUTZERHANDBUCH)
Satz zum Wechseln der Bremsflüssigkeit und zum Entlüften des
Bremssystems: 11-268
HINWEIS: BEVOR SIE DAS GERÄT BENUTZEN, LESEN SIE BITTE
DIESE ANLEITUNG SORGFÄLTIG DURCH UND BEWAHREN SIE SIE
ZUM NACHSCHLAGEN AUF. PERSONEN, DIE DIE ANLEITUNG
NICHT GELESEN HABEN, DÜRFEN DAS GERÄT NICHT
ZUSAMMENBAUEN, EINSTELLEN ODER BEDIENEN.
BESONDERE SICHERHEITSBESTIMMUNGEN
HINWEIS!
Lesen Sie die Bedienungsanleitung sorgfältig durch, beachten Sie die
darin enthaltenen Warnhinweise und Sicherheitsvorschriften. Das Gerät
wurde für einen sicheren Betrieb konzipiert. Dennoch: Installation,
Wartung und Betrieb des Geräts können gefährlich sein. Wenn Sie die
folgenden Verfahren befolgen, verringern Sie die Gefahr von Bränden,
Stromschlägen und Verletzungen und verkürzen die Installationszeit des
Geräts
LESEN SIE DIE BEDIENUNGSANLEITUNG SORGFÄLTIG DURCH,
UM SICH MIT DEM GERÄT VERTRAUT ZU MACHEN. BEWAHREN
SIE DIESE ANLEITUNG ZUM SPÄTEREN NACHSCHLAGEN AUF.
SICHERHEITSVORSCHRIFTEN
Das Produkt muss in einwandfreiem Zustand gehalten werden, und
beschädigte Teile müssen sofort repariert oder ersetzt werden.
Verwenden Sie nur Originalteile. Nicht-Originalteile können gefährlich sein
und zum Erlöschen der Garantie führen. Halten Sie Kinder und unbefugte
Personen vom Arbeitsbereich fern.
Halten Sie den Arbeitsbereich sauber und aufgeräumt und halten Sie ihn
frei von fremdem Material Sorgen Sie dafür, dass der Arbeitsbereich
ausreichend beleuchtet ist.
Bekijk gratis de handleiding van NEO Tools 11-268, stel vragen en lees de antwoorden op veelvoorkomende problemen, of gebruik onze assistent om sneller informatie in de handleiding te vinden of uitleg te krijgen over specifieke functies.
Productinformatie
| Merk | NEO Tools |
| Model | 11-268 |
| Categorie | Niet gecategoriseerd |
| Taal | Nederlands |
| Grootte | 9774 MB |


