Handleiding
Je bekijkt pagina 15 van 28
15
INSTALLATION
ENGLISH
within the required range to prevent elbow
breakage or damage caused by excessive force.
After the installation is tightened, check whether
the parts are in good condition and test the air
tightness to ensure the tightness of the
installation. The installer is responsible for the
results of the process.
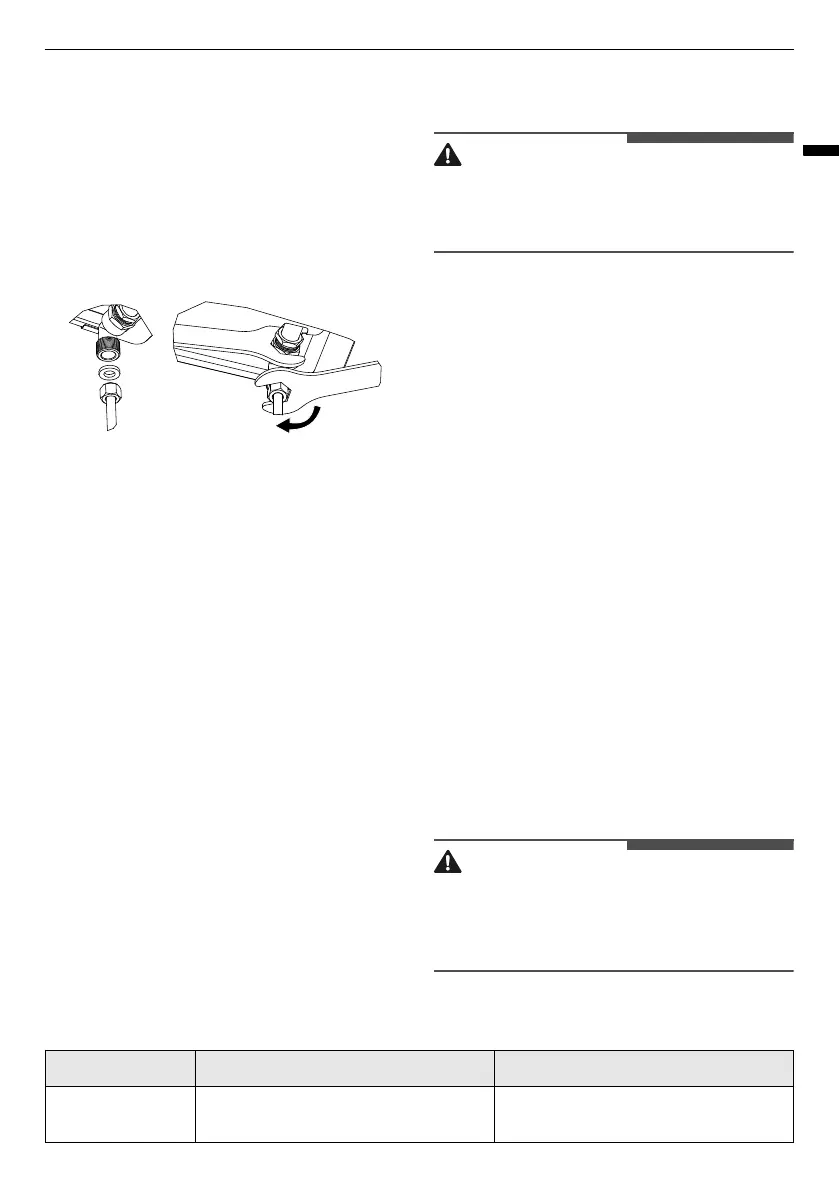
Installing the Gas Hob
• Do not use too much force when tightening;
Otherwise, it will cause elbow fracture or rubber
ring deformation and leakage.
• Note that the torque wrench must be used to
tighten with a torque of 10 Nm. The maximum
torque cannot exceed 20 Nm.
The gas connection must be located in position
where the stop tap is accessible. The end of the
inlet connection point of the gas hob has a 1/2"
thread that allows for:
• A fixed connection
• Connection using a flexible pipe
The seal supplied must be inserted between the
manifold outlet and the gas supply. You must
prevent the pipe from coming into contact with
moving parts of the kitchen unit (for example, a
drawer) and prevent access to any spaces which
might become obstructed.
If there is no digital torque wrench, it is also
allowed to use a wrench with a length of less than
200 mm (within 8 inches) for tightening. When
tightening, care should be taken to avoid
overtightening, and the airtightness must be
checked after installation;
WARNING
• If any connection is handled, check the seal.
• The manufacturer is not liable for any
connection leaking, after being handled.
Flexible hose
If you use flexible hoses, make sure that:
• The hoses must not become trapped or
squashed.
• The hoses must not be subject to twisting or
pulling forces.
• The hoses must not come into contact with
sharp edges or cutting edges.
• The hoses must not go behind the gas hob or
close to the hot air exits.
• The hoses must come into contact with parts
that could reach a temperature higher than 70
℃, above room temperature. The hoses should
be fine under these conditions.
• The flexible hose (tube) shall be fitted in such a
way that it cannot come into contact with a
moveable part of the housing unit (e.g. a drawer)
and does not pass through any space
susceptible of becoming congested.
• After the installation, check if there is any gas
leak, using soap or liquid detergent foam.
Ensure that the full length of the hoses are
accessible for inspection.
WARNING
• Do not use plastic hoses to connect gas hob
because they can cause a leakage. The use of
metal flexible hoses to connect home appliances
is recommended.
Gas Category, Gas Type and Destination Country (for All Models)
Gas category Gas type Destination country
l
3+(28-30/37)
G30 butane at 28-30 mbar and G31
propane at 37 mbar
BE, CH, CY, CZ, ES, FR, GB, GR, IE, IT, LT,
LU, LV, PT, SK, SI
Bekijk gratis de handleiding van LG CBGZ3016S, stel vragen en lees de antwoorden op veelvoorkomende problemen, of gebruik onze assistent om sneller informatie in de handleiding te vinden of uitleg te krijgen over specifieke functies.
Productinformatie
| Merk | LG |
| Model | CBGZ3016S |
| Categorie | Fornuis |
| Taal | Nederlands |
| Grootte | 2190 MB |
Caratteristiche Prodotto
| Apparaatplaatsing | Ingebouwd |
| Soort bediening | Draaiknop |
| Kleur van het product | Roestvrijstaal |
| Ingebouwd display | Nee |
| Gewicht | 11800 g |


