Handleiding
Je bekijkt pagina 170 van 318
Operation Panel
4-104
4 Press [OK]. The Off/On screen appears.
5 Press or to select whether Thin Print is enabled.
6 Press [OK]. The Thin Print is set and the ThinPrint menu
reappears.
When Thin Print is set to On, the settings for Thin Print over SSL
are displayed, so continue on and set these.
7 Press or to select ThinPrintOverSSL.
8 Press [OK]. The ThinPrintOverSSL screen appears.
9 Press or to select whether Thin Print over SSL is enabled.
10
Press [OK]. The Thin Print is set and the ThinPrint menu
reappears.
LAN Interface (LAN Interface setting)
Specify the settings for the LAN interface to be used. The default setting is Auto.
1 In the Network Security menu, press or to select LAN
Interface.
2 Press [OK]. The LAN Interface screen appears.
The available LAN Interfaces are as follows:
Auto
10BASE-Half
10BASE-Full
100BASE-Half
100BASE-Full
1000BASE-T
3 Press or to select the desired LAN Interface.
4 Press [OK]. The LAN Interface is set and the Network Security
menu reappears.
I/F Block Set. (External interface block setting)
You can use this to block and thereby protect the interface.
The options available in I/F Block Set. are as follows:
• USB Host (USB Port setting)...4-105
• USB Device (USB interface setting)...4-105
• Option I/F (Optional network interface setting)...4-105
• Parallel I/F (Parallel interface setting)...4-106
• USB Storage (USB memory setting)...4-106
Off/On:
Off
01
On
02
*
ThinPrint:
Off/On
Exit
ThinPrintOverSSL
01
02
ThinPrintOverSSL:
Off
01
On
02
*
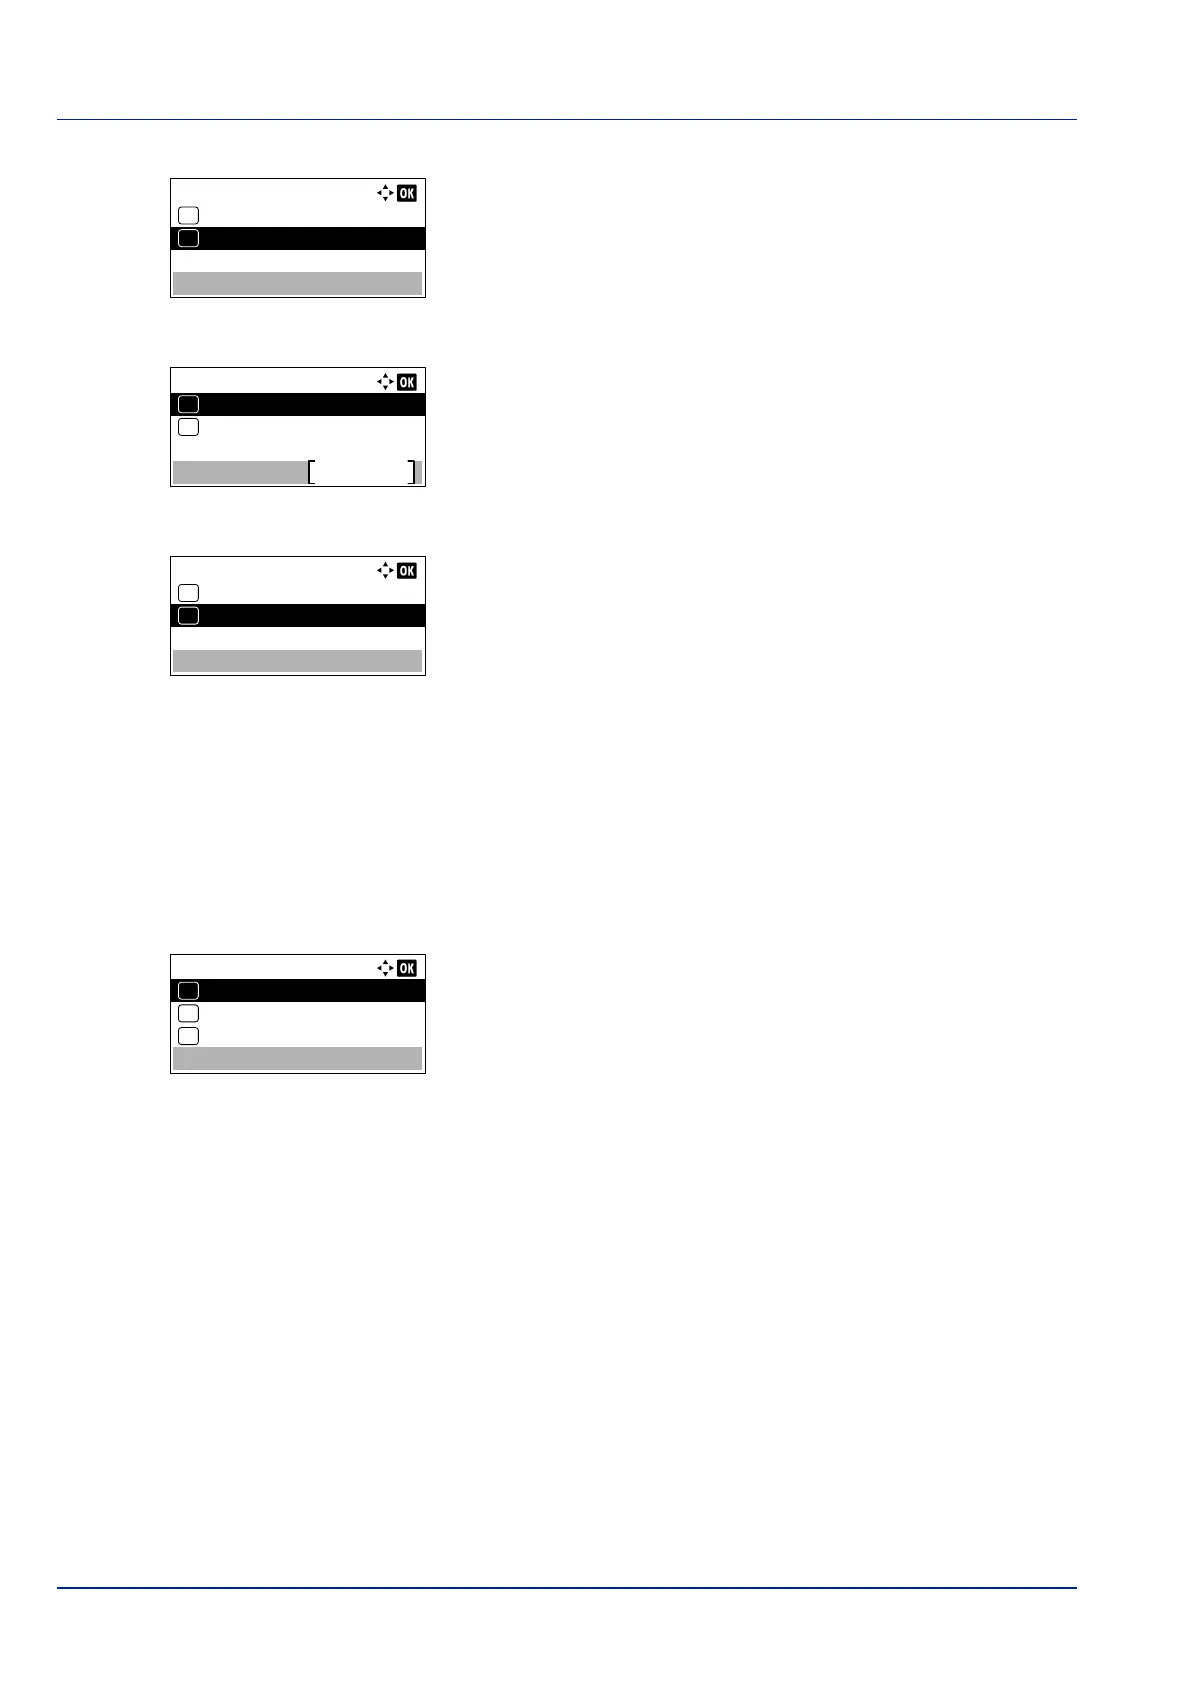
LAN Interface:
Auto
01
10BASE-Half
02
*
10BASE-Full
03
Bekijk gratis de handleiding van Kyocera ECOSYS P4035dn, stel vragen en lees de antwoorden op veelvoorkomende problemen, of gebruik onze assistent om sneller informatie in de handleiding te vinden of uitleg te krijgen over specifieke functies.
Productinformatie
| Merk | Kyocera |
| Model | ECOSYS P4035dn |
| Categorie | Printer |
| Taal | Nederlands |
| Grootte | 33834 MB |


