Kuppersbusch KE6110.0SE handleiding
Handleiding
Je bekijkt pagina 27 van 110
EN
26
Timer Function
This function makes it easier to cook,
as you do not need to be present
throughout the process: the timed hot
plate(s) will switch off automatically
after the set time has lapsed. There is a
separate timer for each hot plate, which
allows all of the hot plates to be timed
simultaneously.
With these models you can use the
clock as a timer for the hotplates for
times ranging from 1 to 99 minutes. All
the cooking areas can be programmed
individually and in a simultaneous
manner.
TIMING ONE HOTPLATE
1 The cooking zone to be timed must
be selected.
2 Select a power level for the hotplate
from 1 to 9 using the touch keys
or (5/4).
3 Press clock touch key (10).
Timer indicator (11) will display 00.
Depending on the model, the timed
cooking surface indicator (12) will
ash.
On the power indicator (3), will
ash during the time set.(depending
on model)
4 Immediately afterwards, enter a
cooking time between 1 and 99
minutes, by using the touch keys or
(5/4).
When the power indicator (3) stops
flashing, it will start to count down
the time automatically. When the
countdown starts, the relevant power
level and will ash alternately on
the power indicator (3) of the relevant
heater area. (Depending on model)
When the clock reaches 01, it will
switch from counting down minutes
to seconds.
Once the selected cooking time has
elapsed, the heating zone being timed
is turned o and the clock emits a series
of beeps for several seconds. The
timer indicator will display a ashing
00 beside the hotplate that has been
disconnected.
If you wish to time another hotplate at
the same time, repeat steps 3 and 4.
If the heating zone turned o is hot, its
indicator displays an H or otherwise an
0. To turn o the audible signal touch
any sensor.
CHANGING THE PROGRAMMED
TIME
To change the progrmmed time, you
must press the touch key of the timed
hotplate (2) to select it and then the
clock (10). You may then read and
change the time.
DISCONNECTION OF THE TIMER
If you want to stop the timer before the
programmed time is up
1 First select the hotplate and then
press clock touch key (10).
2 Use the touch key (4) to recude
the time to 00. The clock is cancelled.
Alternative method :
After zone selection if timer touch key
is pressed for two seconds, the related
timer will be cancelled.
Power Function
(Depending on model)
This function supplies “extra” power to
the hot plate, above the nominal value.
1 Select power 9 and then press power
touch key (5).
2 The power level indicator (3) will
show the symbol , and the plate
will start to supply extra power.
Stop&Go Function
(Depending on model)
This function puts the cooking process
on pause. The timer will also be paused
if it is activated.
Activating the Stop&Go function.
Touch the Stop &Go sensor (7)between
1-3 seconds. The power indicators will
show the symbol to indicate cooking
has been paused.
Deactivating the Stop&Go function
Touch the “Stop&Go” sensor (7)
between 1-3 seconds again. The
cooking is resumed under the same
power and timer settings that were
established before the pause. If this
function is not deactivated within 10
mins, the hob goes to stand-by.
CHEF Functions
(Depending on model)
Chef functions are special features
that help user to cook easier with its
pre allocated power levels.
The feature is set in such a way that
it is automatically maintained and
does not require user to change the
power levels.
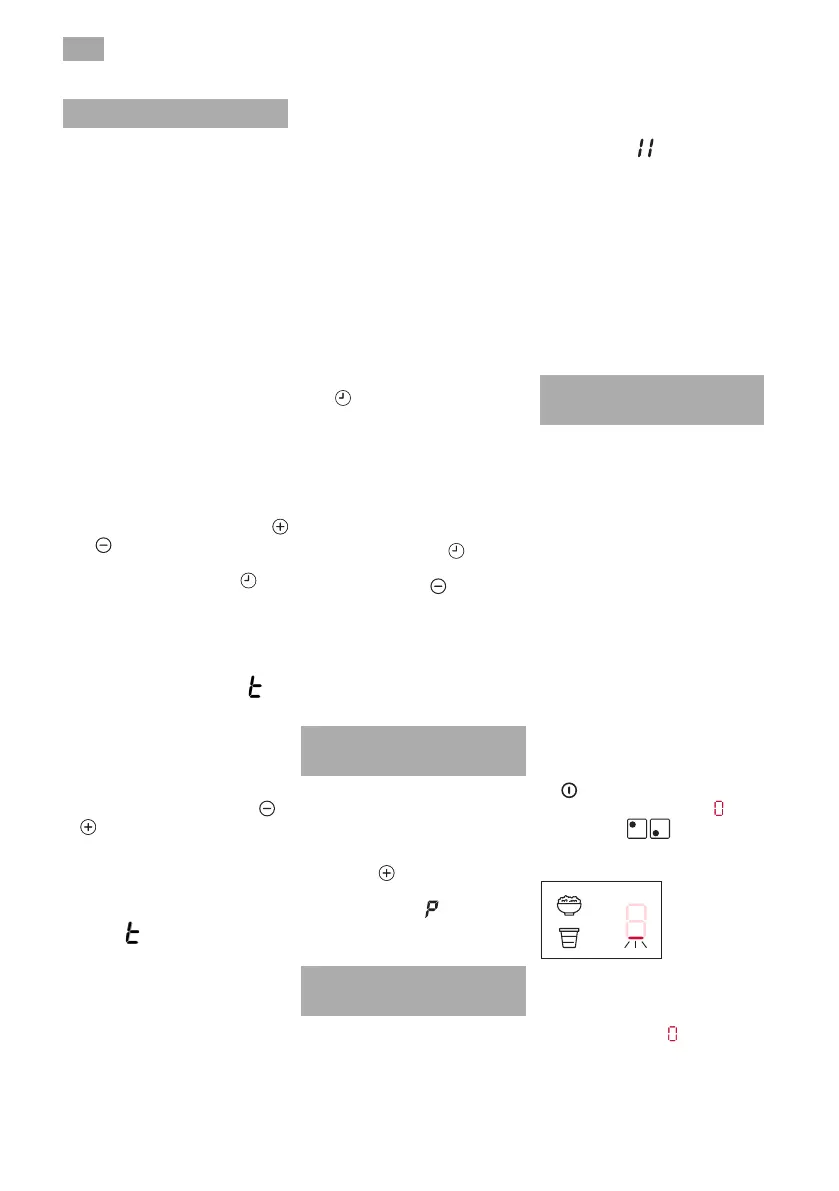
YOGURT FUNCTION (Depending
on model)
This function automatically sets
appropriate power levels during
fermentation process to make
yogurt.
To activate this function:
- Turn on the hob: Press On/O touch
key (1)
- When all zone displays are , press
related zone's touch key for at
least 2 seconds.
- A beep sound will be heard
- The bottom line
light will appear
- "9H" will be
shown on the
timer display
- The related
zone's timer display dot LED lights up
You can switch functions by pressing
related zone's touch key again. If the
zone display shows , you can turn
back to functions just pressing the
touch key again, or you can use
it in normal cooking mode in this
situation.
Bekijk gratis de handleiding van Kuppersbusch KE6110.0SE, stel vragen en lees de antwoorden op veelvoorkomende problemen, of gebruik onze assistent om sneller informatie in de handleiding te vinden of uitleg te krijgen over specifieke functies.
Productinformatie
| Merk | Kuppersbusch |
| Model | KE6110.0SE |
| Categorie | Fornuis |
| Taal | Nederlands |
| Grootte | 17155 MB |


