Janitza 800-CT8-LP handleiding
Handleiding
Je bekijkt pagina 26 van 56
26
800-CT8-LP module www.janitza.com
ESC
Duration
Confirm Ok
30
Identify all modules
ESC
Identify single module
Identify all modules
Diagnostic
7.3 Module identification / Diagnostics on the
basic device
INFORMATION
Before you start the module identification function
(Diagnostics menu item) on the basic device, please
make sure that the modules are mounted and con-
nected correctly. Only correctly installed modules
connected to the basic device guarantee the supply
of power and data transmission.
The following descriptions are based on the
example of the UMG801 as the basic device. The
illustrations and descriptions may differ for other
basic devices.
The basic device provides the option of extending
the range of functions using current measuring mod-
ules. The basic device automatically recognizes the
module during the power-up procedure.
The Diagnostics menu item of the basic device is
used to identify modules that are located at remote
measurement points. After starting the module iden-
tification, the LEDs of the modules being searched
for blink at an interval (see Sect. “7.3.3 Module iden-
tification - LED blink interval” on p. 27).
The module identification can be configured
using the Diagnostics menu item of the basic
device. Then proceed as follows:
· Press function button 1 ESC to open themenu.
· Use buttons 2 “5” and 5 “6” to select the menu
item Diagnostics and confirm with button 3 Enter.
· The Diagnostics window appears.
Fig. Window: Diagnostics with entries
· In the Diagnostics window, use keys 2 "5" and 5
"6" to select the entry Identify all modules or Iden-
tify one module. These mean:
Identify all
modules
Simultaneously identifies all current
measuring modules connected to a basic
device.
Identify one
module
Identifies one module from the module
topology of your basic device.
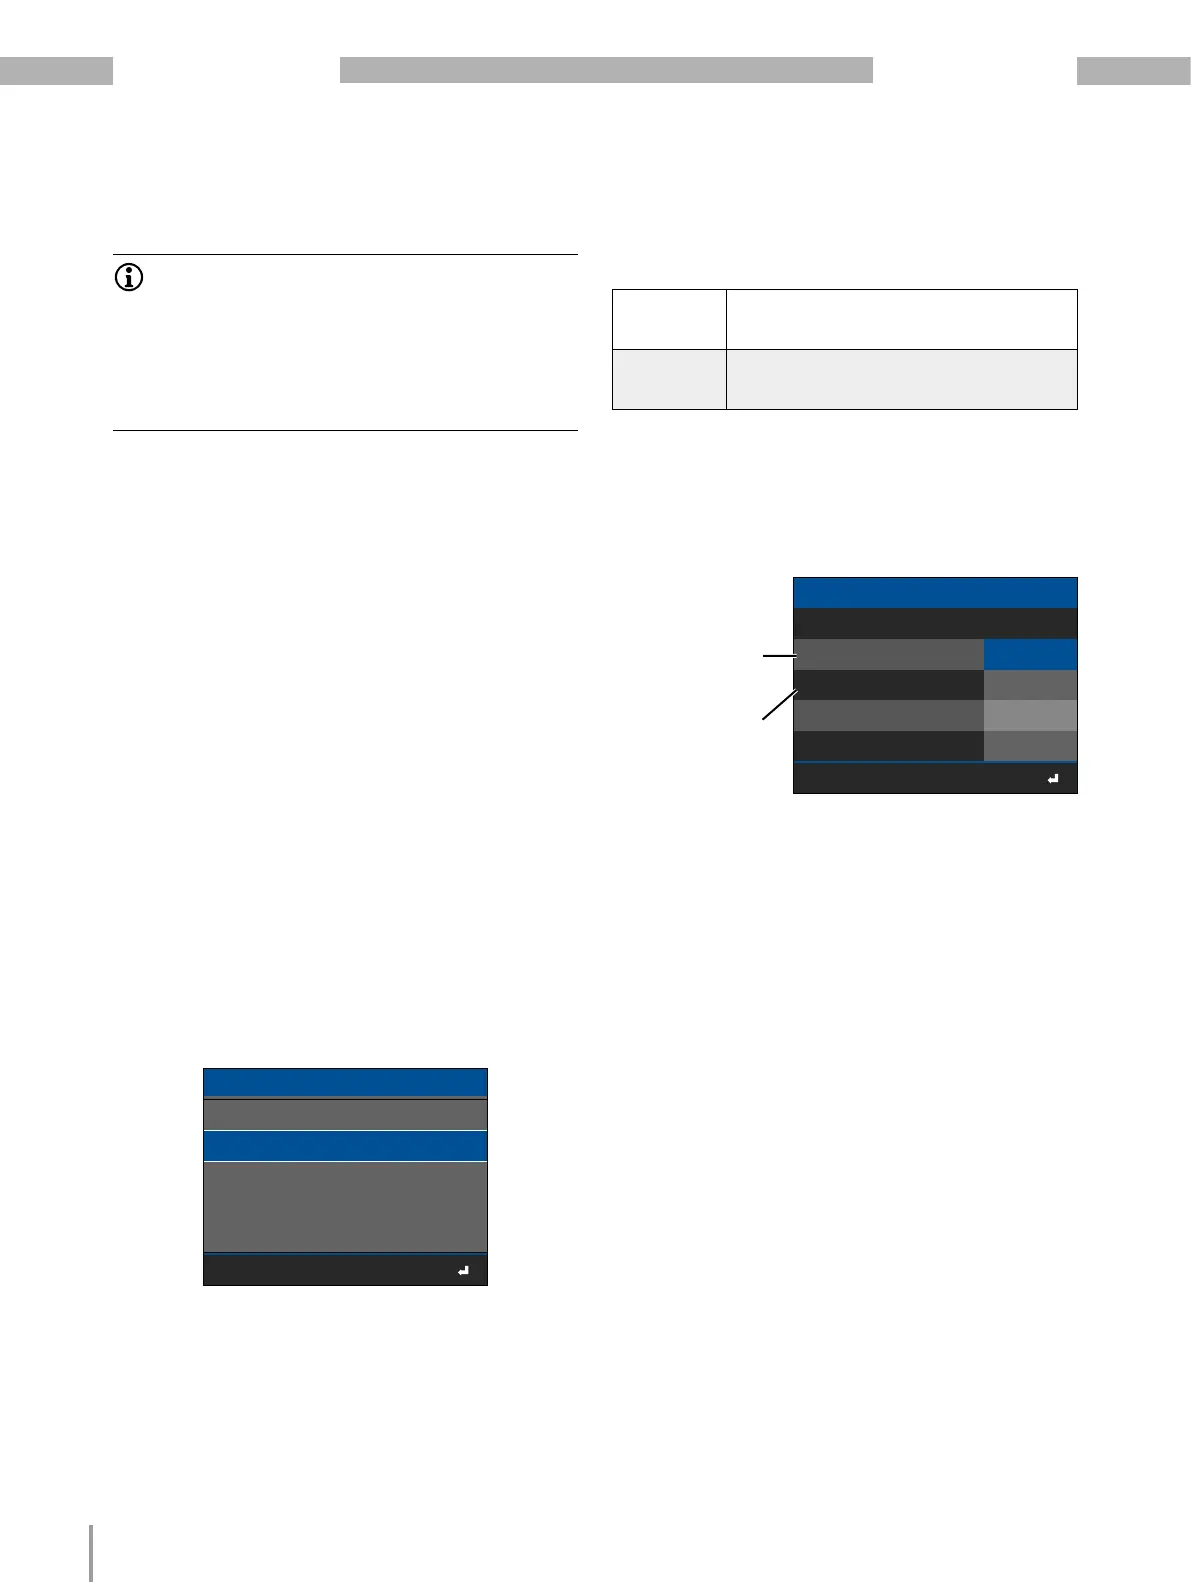
7.3.1 Entry Identify all modules
· In the Diagnostics window, use buttons 2 “5” and
5 “6” to select the menu item Identify all modules
and confirm with button 3 Enter.
· The window Identify all modules appears.
Fig. Window, Identify all modules
Time in s that the module
identification takes
(setting range 0-600s)
Starts the module
identification
(LEDs blink)
· In the Identify all modules window, use buttons 2
“5” and 5 “6” to select the menu item Duration
and confirm with button 3 Enter.
· The first digit of the entry Duration blinks.
· Use buttons 4 () and 6 () to change the position
of the digit to be set and buttons 2 (5) and 5 (6) to
change the digit (-1/+1).
· Confirm your entries with key 3 Enter.
· Use keys 1 ESC and key 5 "6" to access the entry
Confirm.
· Press button 3 Enter.
· In the entry Confirm, OK blinks.
· Pressing button 3 Enter starts the identification of
all modules using a blink interval of the LEDs (see
Sect. “7.3.3 Module identification - LED blink inter-
val” on p. 27).
Bekijk gratis de handleiding van Janitza 800-CT8-LP, stel vragen en lees de antwoorden op veelvoorkomende problemen, of gebruik onze assistent om sneller informatie in de handleiding te vinden of uitleg te krijgen over specifieke functies.
Productinformatie
| Merk | Janitza |
| Model | 800-CT8-LP |
| Categorie | Niet gecategoriseerd |
| Taal | Nederlands |
| Grootte | 7251 MB |


