InfiRay BOLT TL35 V2 handleiding
Handleiding
Je bekijkt pagina 19 van 26
34 35
c. Rotate the
Control Turret
counterclockwise to
move in the positive
direction: X=Right
and Y=Up.
d. Rotate the Control
Turret clockwise to
move in the negative
direction: X=Left and
Y=Down.
e. Rotate one click to move the reticle in the corresponding
direction by 1pixel. One full rotation (20clicks) is equivalent
to 20pixels.
f. When adjusting your zero at a distance of 50yards, one
click will change the impact point by 0.15” as shown in the
X and Y coordinate displays. At 100yards that same click
moves 0.31”. At 200 yards one click moves 0.62”.
g. Changing your zero distance will change the distance
of your X/Y adjustments automatically. If your selected
zero distance has a correction of 1.70” at 100yards, it
will automatically change to 3.39” if you change the zero
distance to 200yards.
6. Short press the Power
Button to clear the reticle position
and exit the reticle zeroing interface; OR
7. Long press the Control Turret to save the reticle position and
return to the home screen.
a. A 5-second countdown appears on the screen, followed by
“Saved Successfully.”
8. Take a confirmation shot—the point of impact should now match
the point of aim. If not, adjust the X/Y position of the reticle
again.
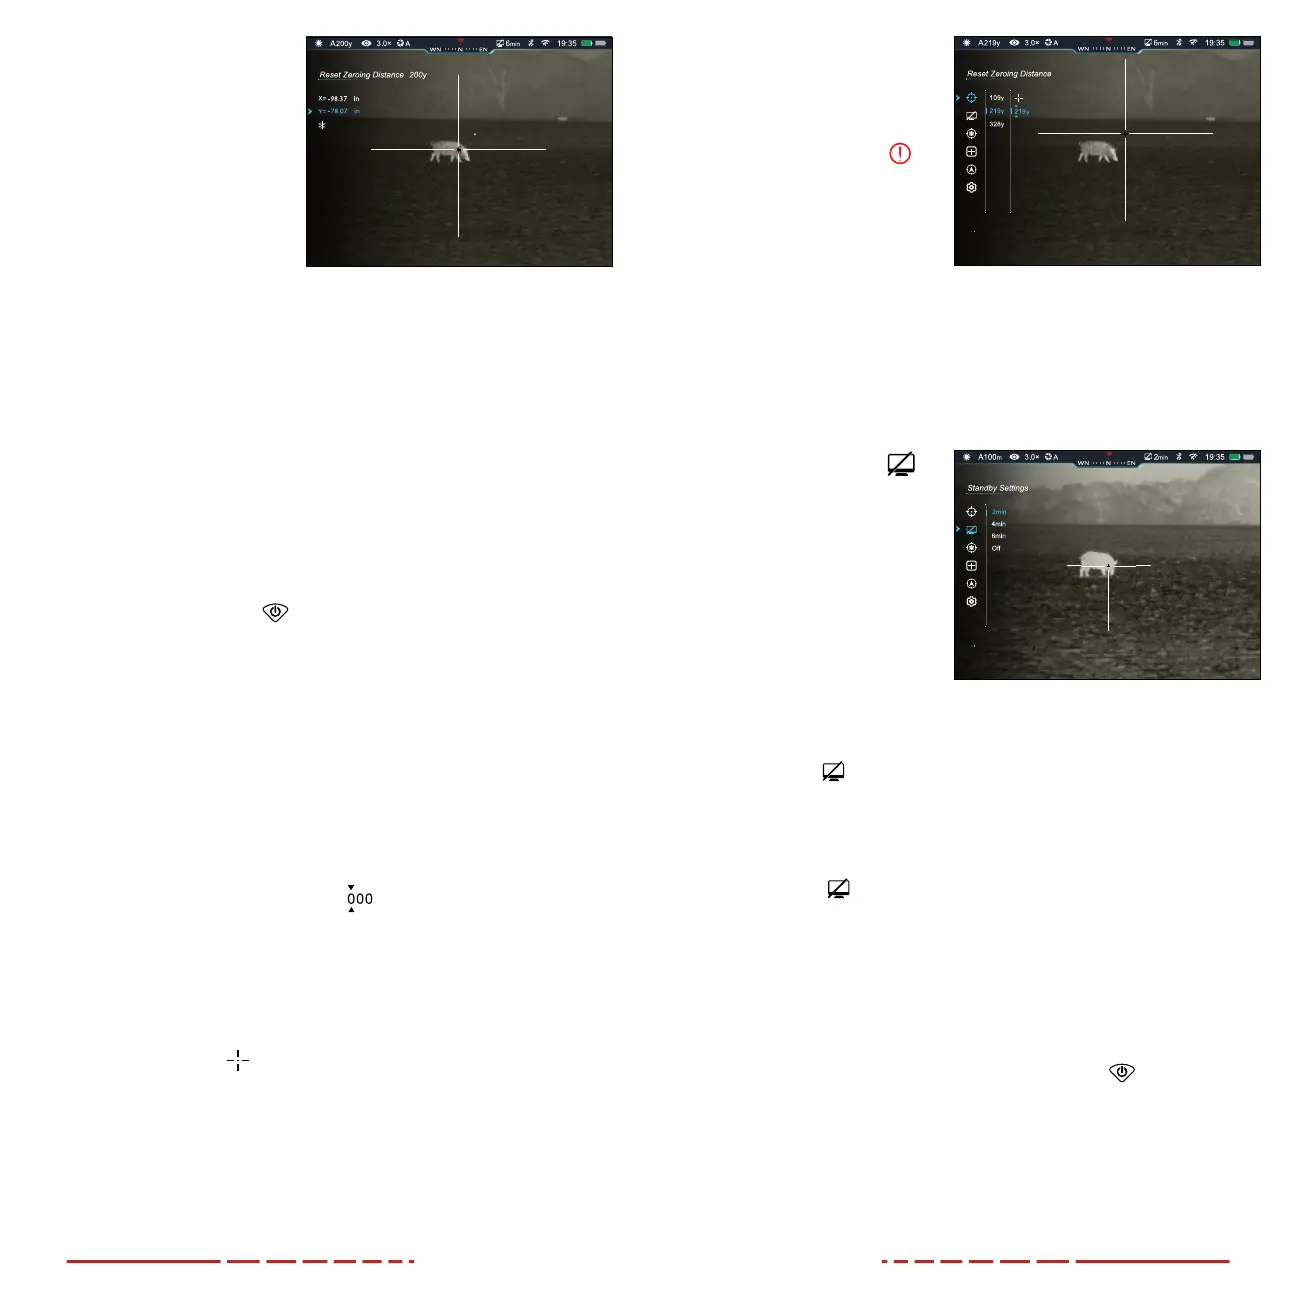
ZEROING MENU > ZERO DISTANCE SUBMENU >
CUSTOMIZE ZERO DISTANCE
Customize a preset zero distance
The BOLT TL35V2 supports custom zero distances of 1 to 999 yards
or 1to 999 meters.
1. In the zero distance submenu for the selected zero distance,
the reticle zeroing
menu item is selected by default. Rotate
the Control Turret to move to the zero distance you wish to
customize.
2. Short press the Control Turret to customize the zero distance.
White triangle icons will appear above and below the first digit.
3. Rotate the Control Turret
to increase or decrease
the value of the first digit,
from 0–9.
NOTE: A red warning
icon appears to the right
of the zero distance if the
value entered is 000.
4. Short press the Control
Turret to switch between
the three digits. The two
triangle icons will move to indicate the selected digit.
5. Long press the Control Turret to save the custom zero distance
and return to the zero distance submenu.
6. The new zero distance appears on the left side of the status bar.
Standby Settings
Set the rifle scope to enter
standby automatically
To conserve battery, the
TL35V2 may be set to
automatically enter standby
mode after a specified length
of inactivity (2, 4, or
6 minutes).
1. Long press the Control Turret to enter the main menu.
2. Rotate the Control Turret to move through the menu to select
the standby
menu item.
3. Short press the Control Turret to enter the standby submenu.
4. Rotate the Control Turret to move through the standby options,
2min, 4min, 6min, or o. Standby is o by default.
5. The standby
icon and selected status (2min, 4min, 6min, or
o) appear on the right side of the status bar.
6. Long press the Control Turret to confirm the selection and return
to the home screen.
7. When 2, 4, or 6 minutes is selected, the TL35V2 will
automatically enter standby mode after the set length of
inactivity to conserve battery life.
8. When in standby mode, short press the Power
Button to exit
and return to the home screen.
Off
Bekijk gratis de handleiding van InfiRay BOLT TL35 V2, stel vragen en lees de antwoorden op veelvoorkomende problemen, of gebruik onze assistent om sneller informatie in de handleiding te vinden of uitleg te krijgen over specifieke functies.
Productinformatie
| Merk | InfiRay |
| Model | BOLT TL35 V2 |
| Categorie | Niet gecategoriseerd |
| Taal | Nederlands |
| Grootte | 6057 MB |


