Hoshizaki F-1002MRJZ handleiding
Handleiding
Je bekijkt pagina 40 van 52
40
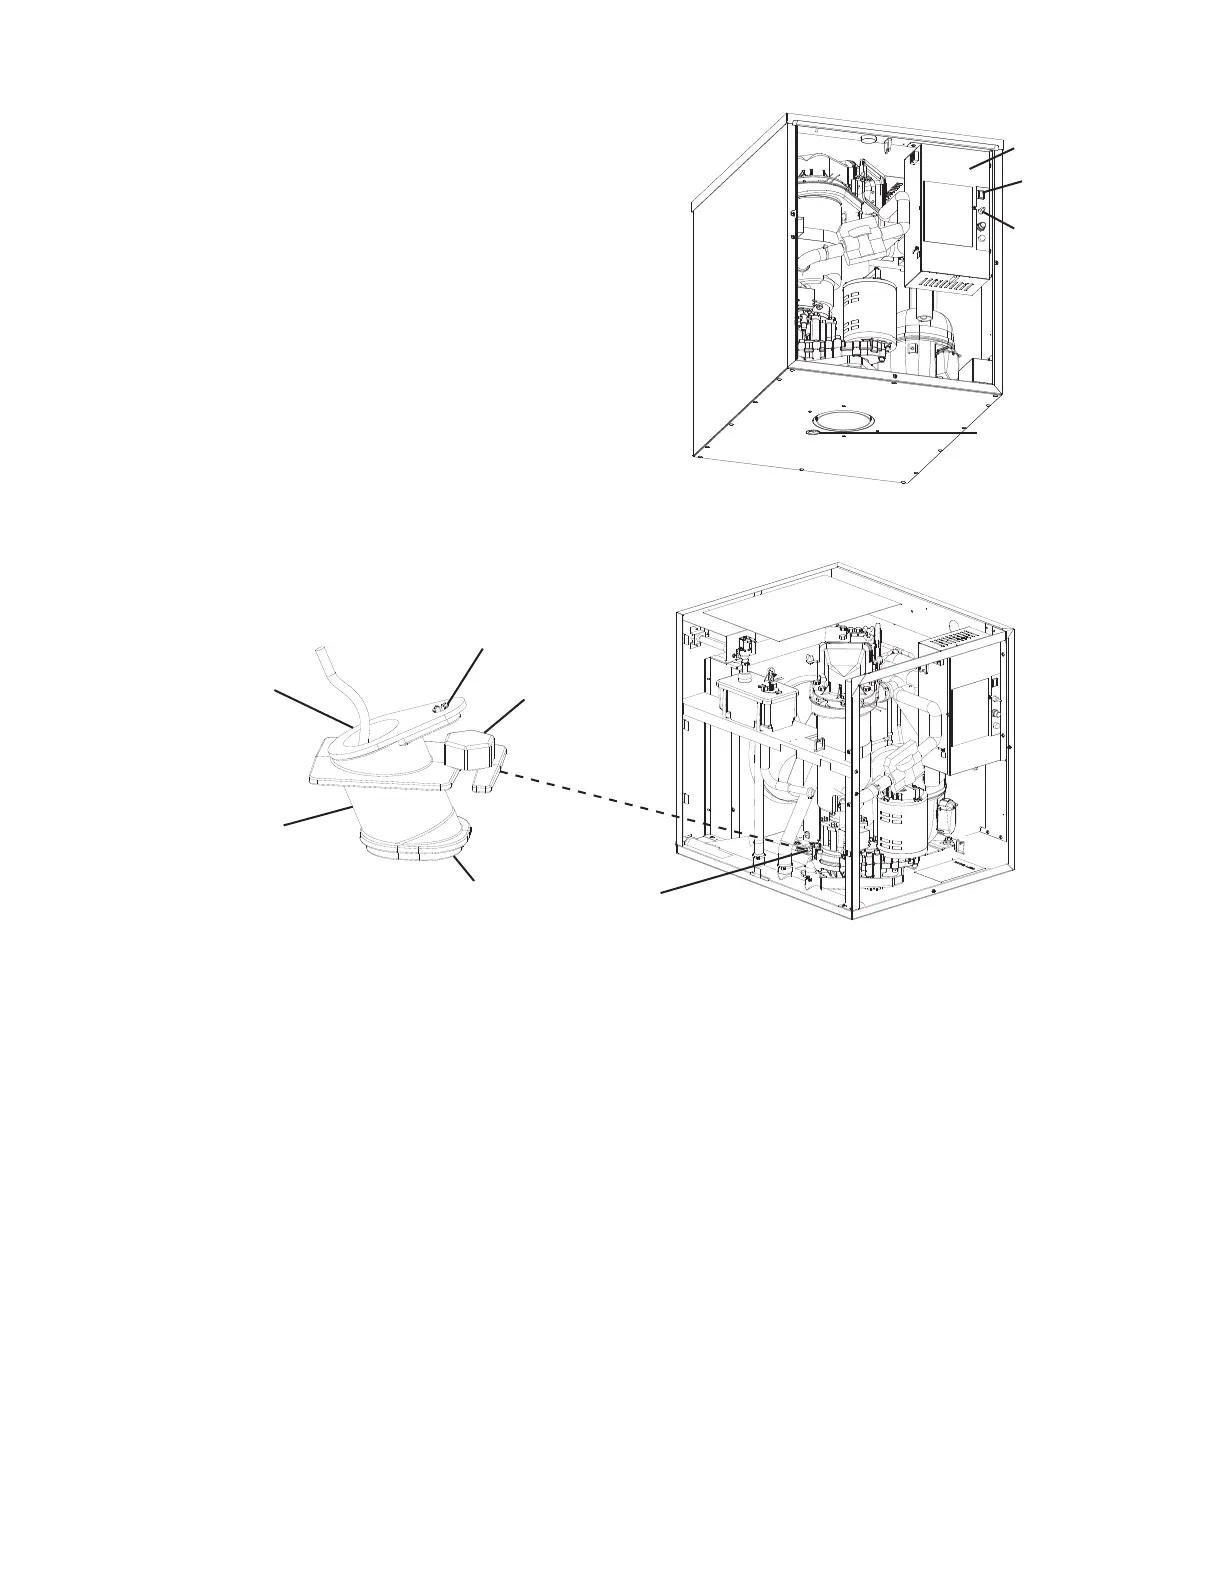
7) Make sure the "GM" LED is on. See Fig. 16. There
is a delay of at least 30 sec. before the "GM" LED
turns on after power-up. After "GM" LED turns
on, press the "Service" button on the control
board to bypass the 5-minute compressor delay.
WARNING! Risk of electric shock. Care should
be taken not to touch live terminals. Conrm
the "COMP" LED turns on.
8) "GM" LED and "COMP" LED are on. Place an
object 5" to 7" (127 to 178mm) away from the
bin control lens at the bottom of the icemaker.
See Fig. 20. If the bottom of the icemaker is
not accessible in your application, remove the
thumbscrew securing the bin control sensor
housing to the base, then remove the bin control
sensor housing. See Fig. 21.
9) "BIN FULL" LED turns on. 30 sec. later, the "COMP" LED turns off. Approximately 5 min.
later, "GM" LED turns off. Remove the object from the bin control lens. Approximately
30sec. later, orange "BIN FULL" LED turns off, "GM" LED turns on. Approximately 5
min. later, the "COMP" LED turns on.
10) If you removed the Bin Control Sensor from the base, replace it back in its correct
position and secure with thumbscrew.
11) Replace the left side panel in its correct position.
12) Move the power switch and control switches to their "OFF" position, then turn off power
supply. Proceed to "II.J.2.b) Bin Control 2 (Mechanical Backup)."
Fig. 20
Ultrasonic
Bin Control
Control
Switch
Power
Switch
Fig. 21
Thumbscrew
Ultrasonic
Bin Control
Ultrasonic
Bin Control
Housing
Lens
Ultrasonic
Bin Control
Control
Box Cover
Left Side
Panel
Clip
Bekijk gratis de handleiding van Hoshizaki F-1002MRJZ, stel vragen en lees de antwoorden op veelvoorkomende problemen, of gebruik onze assistent om sneller informatie in de handleiding te vinden of uitleg te krijgen over specifieke functies.
Productinformatie
| Merk | Hoshizaki |
| Model | F-1002MRJZ |
| Categorie | Niet gecategoriseerd |
| Taal | Nederlands |
| Grootte | 4677 MB |


