Gys BMW C7502655 handleiding
Handleiding
Je bekijkt pagina 46 van 112
46
BMW C7502655 - GYSPOT PTI GENIUS
EN
1
Button
4
Saving the settings
• Push briey the button to choose between the modes clamp, gun or
«clamp settings».
• Push the button for 2 seconds to return to the «normal» mode from
all the other modes.
• Push the button for 2 seconds to reset the spot count when it is on
display.
• Push the button for 2 seconds to return to the «Settings» menu.
• Push briey twice to erase the log displayed in the log view mode.
• Push briey the button, in the programs saving mode, erase the
program selected.
• Button
is used to save a machine setting (these are the settings
that have been adjusted through the manual mode : current, duration
and tightening).
• Button
is used to re-establish a setting saved previously under
the same name. The machine starts automatically in manual mode
using the welding settings (current, duration and tightening) and the
tool (clamp or gun saved).
2
Saving a report
5
Setting the thickness of the plate
This function is detailed in the corresponding chapter.
Button activates or deactivates the creation of a report.
Button is used to view the points completed.
The value to be entered is in relation to the thickness of the sheets
being welded on. The selection of the thickness is done using the +
and - buttons, the dierent thicknesses available are 0.6, 0.8, 1.0, 1.2,
1.5, 1.8, 2.0, 2.5 and 3.0 mm.
3
Using the dierent modes
6
Setting the type of plate
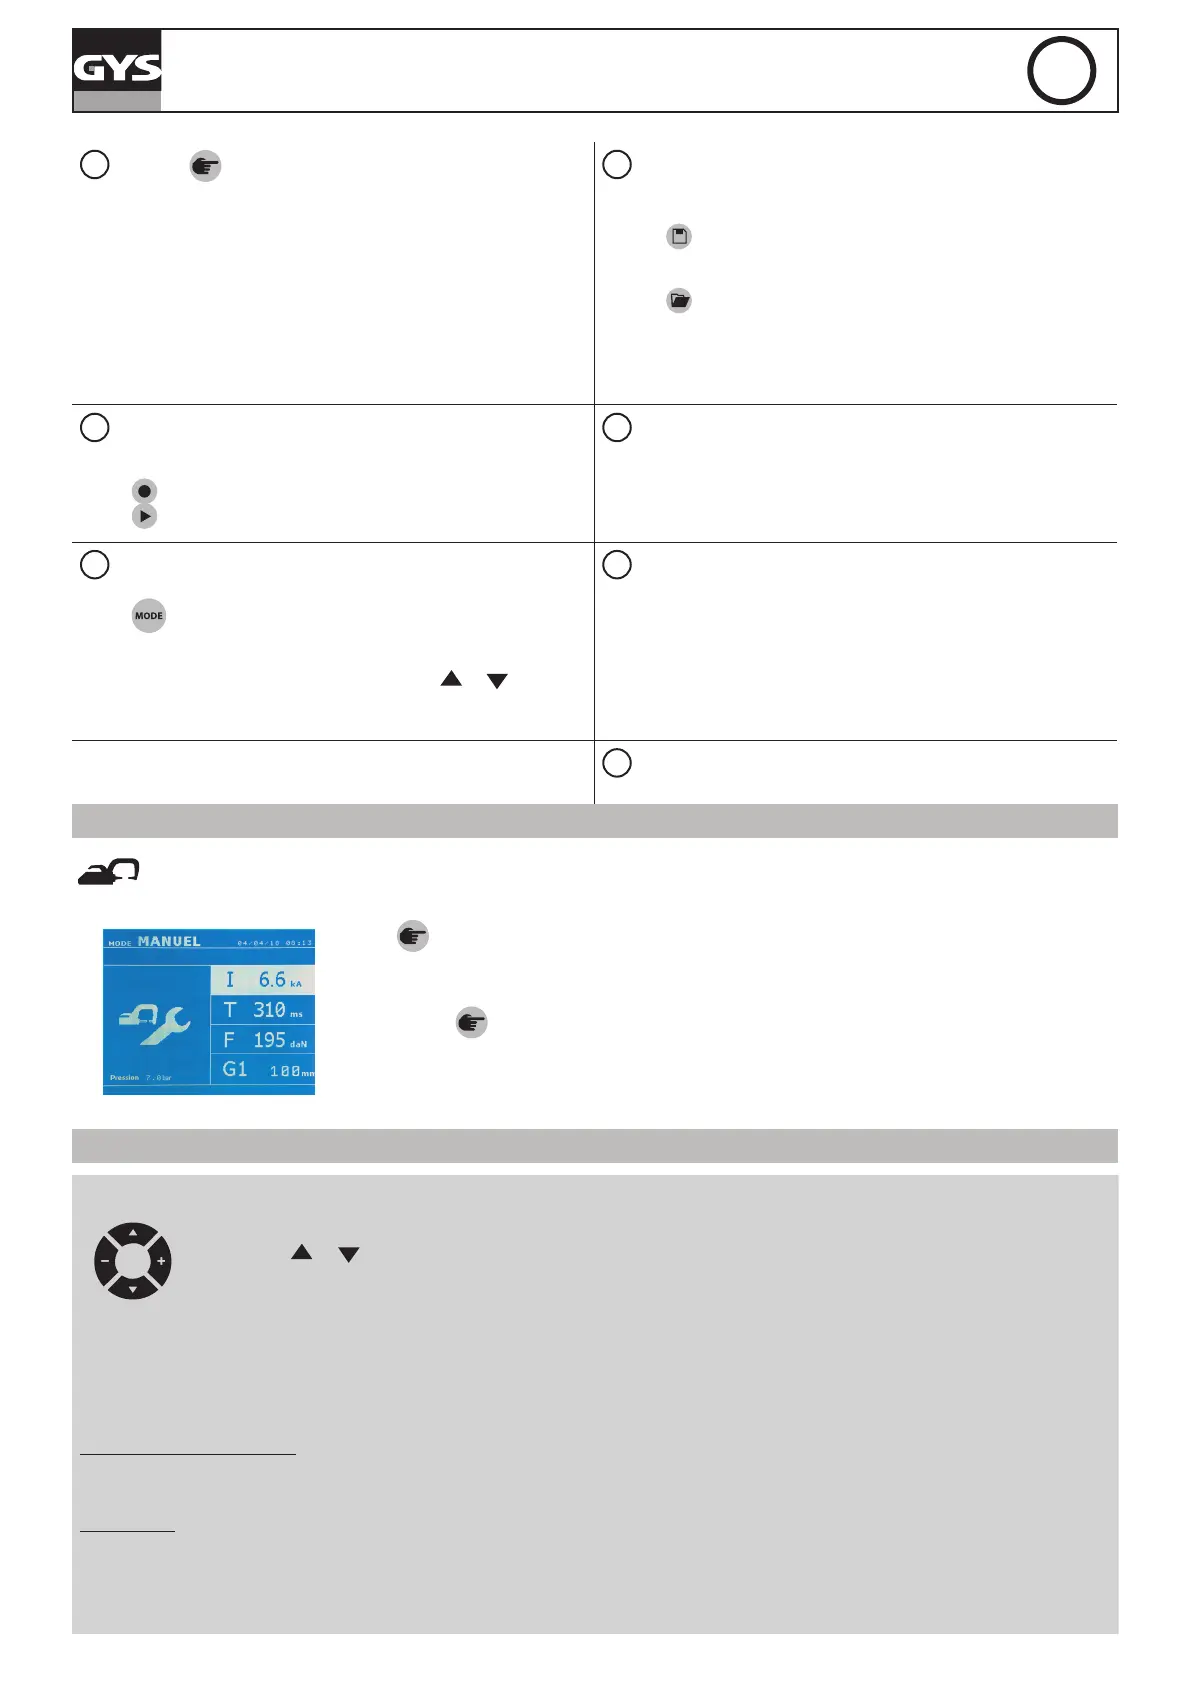
Button is used to move through the dierent welding modes. A
prolonged push on the mode button activates the settings mode used
to select the language, set the date and activate the warning sound for
«current too low» or «pressure too low». Buttons ( or ) are used
to navigate through and select the value that needs to be adjusted,
and then buttons + and - are used to increase or decrease that value.
This setting is used to specify the type of metal plate being welded on,
the dierent choices are : coated steel, HLE/THLE steel, UHLE steel
and bore/USIBOR steel. This setting can also be adjusted using the +
and – buttons.
7
Setting up the arm
SETTING UP THE G CLAMP
Lock the G arm in place using the lever (FIG 2 - 1).
Use the button in order to select the clamp setting function. The «clamp setting» function is used to
close the clamp and to apply the pressure pre-selected at the electrodes without power going through. The
clamp remains closed while the trigger is pressed. This function is designed to verify the centering of the end
bits.
Push the button
for 2 seconds to return to the AUTO mode.
For the GYSPOT PTI GENIUS, always ensure to be in that mode to stop the pump when changing the arms.
The electrode retracts into the clamp. The red indicator on the button (FIG 2 - 12) lights up when the pump
stops.
THE DIFFERENT WELDING MODES
For all the models :
The buttons ( or ) are used to select the settings that need to be adjusted. Each adjustment is done by pressing the side
keys + and –.
The button (FIG 2 -12) on the clamp is used to remotely adjust the welding settings (thickness, type of steel) :
- Long push : change of setting (to go from one setting to another)
- Short push : modication of the value
This button does not allow to change the arm on the screen. To change the arm (G1 to G2 for instance), the user must use the machine keypad.
Insucient network pressure :
If the input pressure is insucient to provide the correct pressure, the machine shows an error message before the weld «Insucient network
pressure» . Pressing the trigger a second time is used to «force» the spot weld using the available pressure.
Low current :
If the current obtained during the spot weld is below the expected value (<6 %), the machine displays «low current» after the weld which means
that the weld must be checked.
In any case, a message is displayed at the end of the weld indicating the current and pressure measured. This message remains on display on the
screen until the user pushes a button on the keypad or carries on welding (FIG 2 - 11).
Bekijk gratis de handleiding van Gys BMW C7502655, stel vragen en lees de antwoorden op veelvoorkomende problemen, of gebruik onze assistent om sneller informatie in de handleiding te vinden of uitleg te krijgen over specifieke functies.
Productinformatie
| Merk | Gys |
| Model | BMW C7502655 |
| Categorie | Niet gecategoriseerd |
| Taal | Nederlands |
| Grootte | 27796 MB |


