Gardena AquaBrush Compact 03/18V P4A handleiding
Handleiding
Je bekijkt pagina 11 van 144
11
When the battery charge indicator
å
on the battery charger flashes green,
the battery is charging.
When the battery charge indicator
å
on the battery charger is permanent-
ly green, the battery is fully charged (charging time, see 7. SPECIFICATION).
5. Check the state of charge at regular intervals while charging.
6. When the battery
Y
is fully charged, the battery
Y
can be disconnect-
ed from the battery charger
X
.
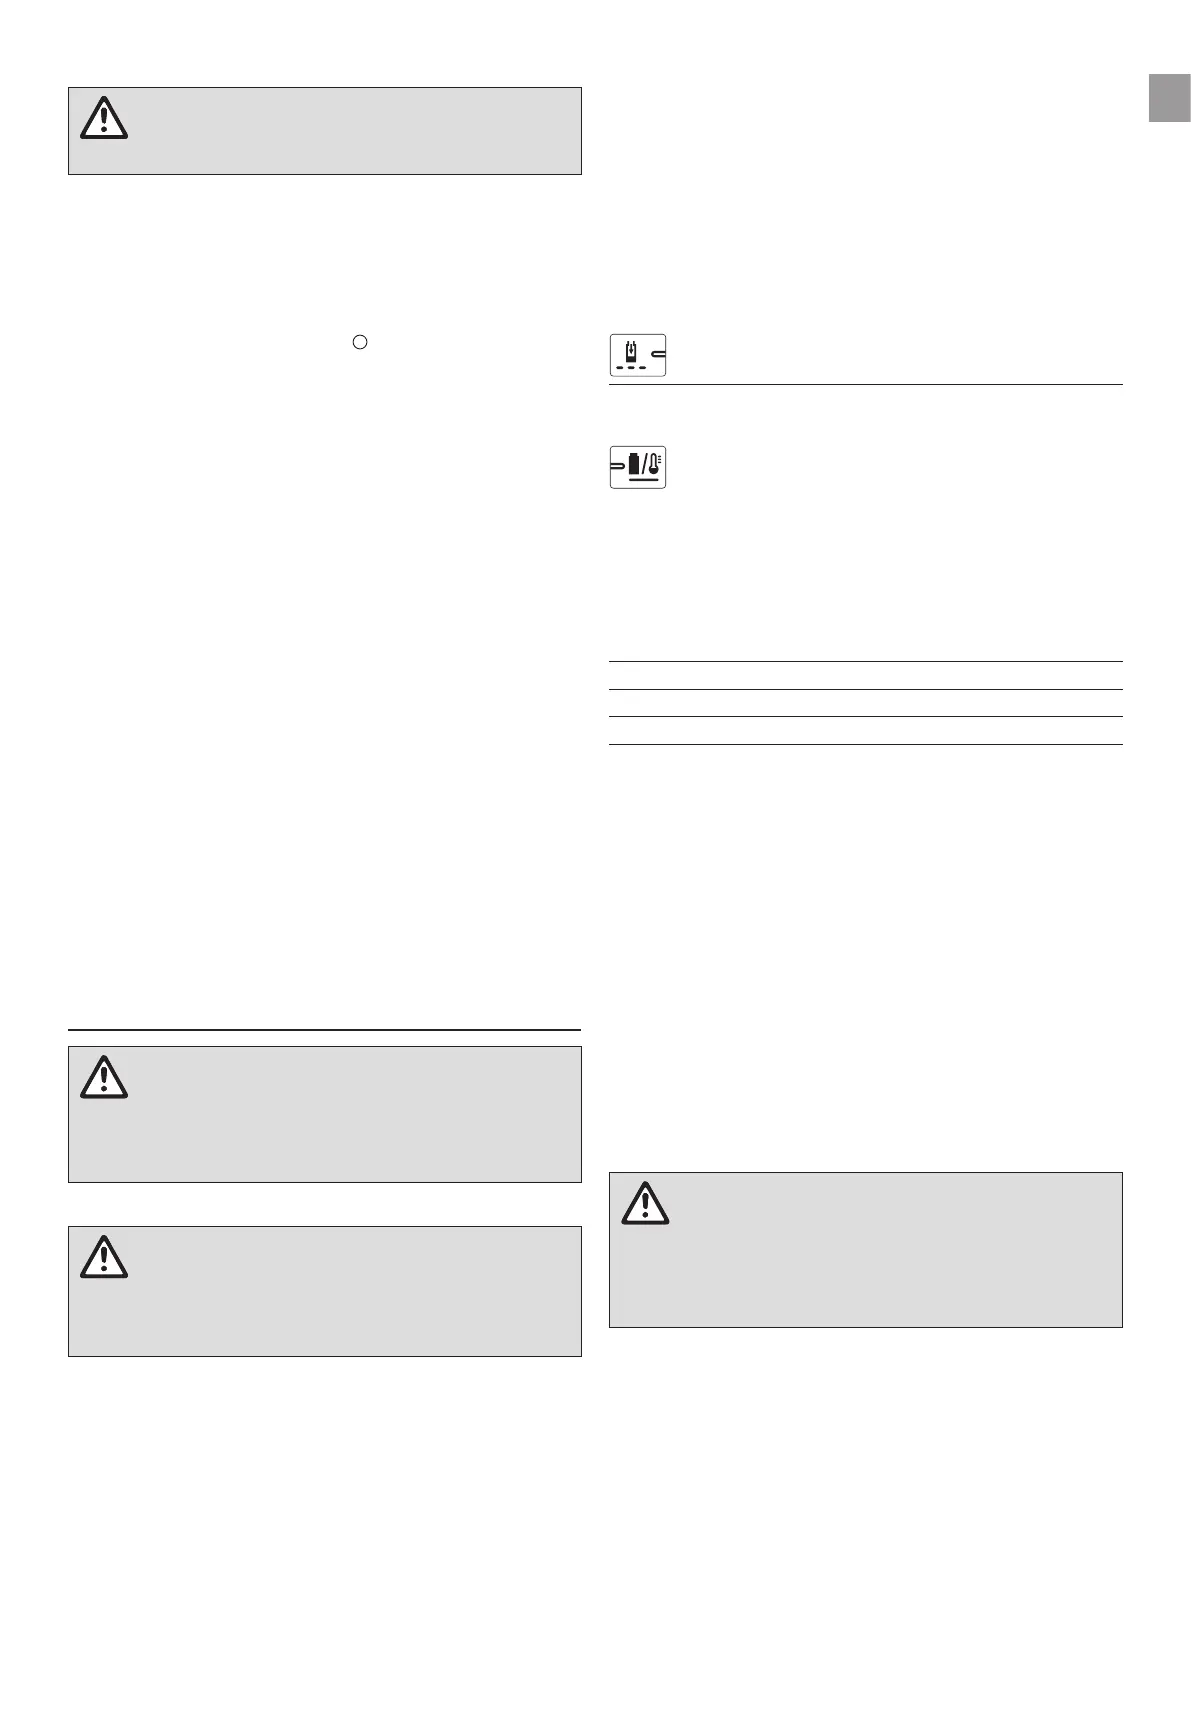
3.2 Meaning of the display elements
3.2.1 Display on the battery charger [Fig. O3]
Flashing battery char-
ge indicator
å
The charge cycle is indicated by the flashing of the battery charge
indicator
å
.
Note: The charge cycle is only possible if the temperature of the
battery is within the permissible charging temperature range, see
7. SPECIFICATION.
Continuous illuminati-
on of battery charge
indicator
å
Continuous illumination of the battery charge indicator
å
indicates
that the battery is fully charged or that the temperature of the battery is
outside the permissible charging temperature range and therefore can-
not be charged. As soon as the permissible temperature range is
reached, the battery is charged.
If the battery is not plugged in, continuous illumination of the battery
charge indicator
å
indicates that the mains plug is inserted in the
power outlet and the battery charger is ready for operation.
3.2.2 Battery state of charge indicator
N
on the product
[Fig. O4/O7]
After starting the product, the battery state of charge indicator
N
is displayed for 5 seconds.
Battery state of charge indicator Battery state of charge
«
,
∑
and
€
light up green 67–100% charged
«
and
∑
light up green 34–66% charged
«
lights up green 11–33% charged
«
ashes green 0–10% charged
If the LED
«
flashes green, the battery must be charged.
If the error LED
ç
is lit or flashing, see 6. TROUBLESHOOTING.
3.3 Working position with extension handle [Fig. O5]
v Hold the multi-cleaner in an upright position with one hand on the han-
dle
8
and the other hand on the additional handle
9
.
3.4 Adjusting the position of the additional handle [Fig. O6]
Thepositionoftheadditionalhandlecanbeadjustedtoyourheight.
Whenthemulti-cleaneriscorrectlyadjustedtoyourheight,yourbodypos-
ture will be upright with the brush touching the surface to be cleaned in the
working position.
1. Pull the lever
0
.
2. Tilt the additional handle
9
to the desired position.
3. Release the lever
0
again until it engages.
3.5 Starting/stopping the multi-cleaner [Fig. O1/O5/O7]
DANGER! Personal injury!
Riskofinjuryiftheproductdoesnotstopwhenthestartleveris
released.
v Do not bypass the safety devices or switches.
v For example, do not attach the start lever to the handle.
3.5.1 Starting the multi-cleaner
The multi-cleaner may only be used with a suitable GARDENA battery pro-
tective cover
M
over the battery.
For Power+ batteries and 4.0 Ah batteries, a suitable battery protective
cover can be obtained from the GARDENA Service:
• Battery protective cover for Power+ battery Art. 14800-00.600.36
• Battery protective cover for 4.0 Ah battery Art.14800-00.600.32
1. Before starting, check whether there are small stones in the brushes
and remove them if necessary.
Small stones could scratch the surface.
2.2 Fitting the extension handle [Fig. A1]
DANGER! Personal injury!
v Do not use more than 1 extension handle.
1. Push the extension handle
2
into the handle unit
1
as far as it will go
<
. As you do so, the tab
m
must be pushed into the opening
ß
o
.
2. Tighten the union nut
ß
3a
by hand (do not use any tools). A small gap
between the union nut and the connecting element is normal.
This makes the connection tight.
2.3 Fitting/replacing the brush unit [Fig. A1]
Only the following GARDENA brush units
4
may be used.
• GARDENA Roller Brush Unit
• GARDENA Disc Brush Unit
Both brush units can be fitted on the extension handle or handle unit.
2.3.1 Fitting the brush unit
1. Push the required brush unit
4
into the handle unit
1
or the extension
handle
2
as far as it will go. As you do so, the tab
m
must be pushed
into the opening
ß
o
.
2. Tighten the union nut
ß
3b
by hand (do not use any tools). A small gap
between the union nut and the connecting element is normal.
This makes the connection tight.
2.3.2 Replacing the brush unit
1. Unscrew the union nut
ß
3b
by hand (do not use any tools).
2. Pull the brush out of the handle unit
1
or the extension handle
2
.
3. Fit the required brush as described in 2.3.1 Fitting the brush unit.
2.4 Connecting the multi-cleaner to the water supply
[Fig. A2]
The multi-cleaner is leak-proof up to a water inlet pressure of 1.2 MPa
(12.0 bar). However, for optimum cleaning results do not exceed 0.6 MPa
(6.0 bar) water inlet pressure.
The multi-cleaner can be used with or without a water supply.
1. Connect the supplied water stop hose connector
x
to the water hose
5
.
2. Turn the flow regulator
w
to position 0.
3. Connect a water hose
5
to the water supply
6
.
4. Connect the water stop hose connector
x
to the water inlet
7
on the
multi-cleaner.
3. OPERATION
CAUTION! Water damage!
Water damage due to unintentional starting.
v Disconnect the water supply.
v Removethebatterybeforeadjustingtheproduct.
3.1 Charging the battery [Fig. O1 / O2 / O3]
CAUTION!
The voltage of the power source must match the specifications on the
type plate of the battery charger.
v Note the mains voltage.
The intelligent charging procedure automatically detects the battery’s state
of charge and charges it with the optimum charging current depending on
the battery temperature and voltage.
This protects the battery and keeps it fully charged when stored in the bat-
tery charger.
1. Press the release button
>
and remove the battery
Y
from the battery
holder
C
.
2. Remove the battery
Y
from the protective cover
M
.
3. Connect the battery charger
X
to a mains socket.
4. Slide the battery charger
X
onto the battery
Y
.
en
GAR_14840-20.960.03.indd 11GAR_14840-20.960.03.indd 11 07.02.2024 09:13:4507.02.2024 09:13:45
Bekijk gratis de handleiding van Gardena AquaBrush Compact 03/18V P4A, stel vragen en lees de antwoorden op veelvoorkomende problemen, of gebruik onze assistent om sneller informatie in de handleiding te vinden of uitleg te krijgen over specifieke functies.
Productinformatie
| Merk | Gardena |
| Model | AquaBrush Compact 03/18V P4A |
| Categorie | Niet gecategoriseerd |
| Taal | Nederlands |
| Grootte | 42974 MB |

