Furuno MU-152 handleiding
Handleiding
Je bekijkt pagina 18 van 44
1. MOUNTING, WIRING
10
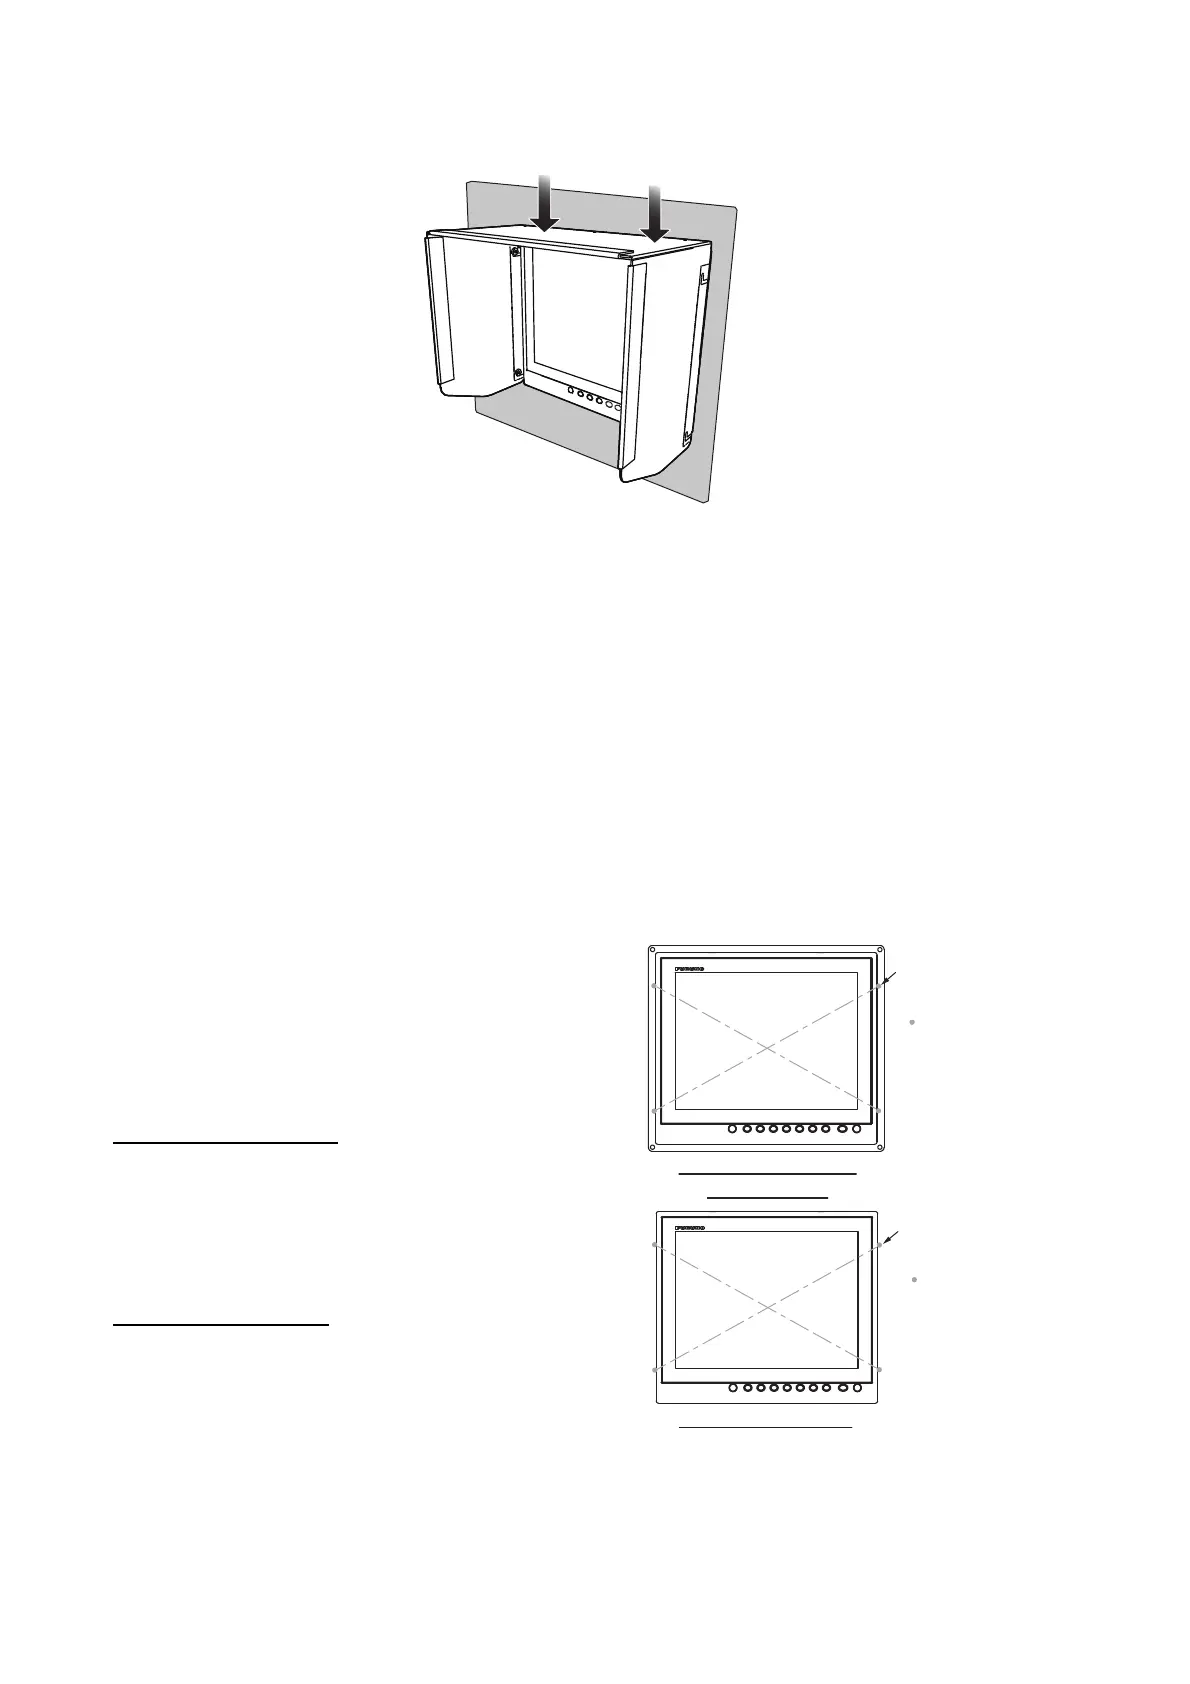
7. Press the top of the hood (15) assembly to fit the knobs M4 in the cutouts.
8. Fasten the knobs (4 places) to secure the hood (15) assembly in place.
1.6 Desktop Mounting, with Hood (Option)
You can attach a hood when desktop mounting the unit, using the hood assembly OP26-3 (option)
and the bracket assembly OP26-35 (option). See sections 1.4 and 1.5.
1. Follow steps 1 to 3 in section 1.4.
2. Follow steps 1 to 8 in section 1.5.
3. Follow steps 5 and 6 in section 1.4.
1.7 Replacing the MU-151C with the MU-152
There are two methods to replace an existing flush
mounted MU-151C with the MU-152; fixed from the
front (requires the flush mount kit OP26-36, available
as an optional extra), or fixed from the rear (without
OP26-36). We recommend the flush mounting fixed
at front to hide the screw holes.
Fixing from the front
1. Use the flush mounting template (included with
the optional kit) to broaden the cutout at the
mounting location.
2. Follow steps 2 to 6 in section 1.3.
Fixing from the rear
1. Referring to the outline drawing at the back of this
manual, broaden the cutout at the mounting loca-
tion.
2. Follow steps 2 to 9 in section 1.2.
Press
Press
Screw holes of
the MU-151C
( 4 places) are
hidden with
OP26-36.
Fixing from the rear
Fixing from the front
with OP26-36
Screw holes of
the MU-151C
( 4 places) are
not hidden.
Bekijk gratis de handleiding van Furuno MU-152, stel vragen en lees de antwoorden op veelvoorkomende problemen, of gebruik onze assistent om sneller informatie in de handleiding te vinden of uitleg te krijgen over specifieke functies.
Productinformatie
| Merk | Furuno |
| Model | MU-152 |
| Categorie | Niet gecategoriseerd |
| Taal | Nederlands |
| Grootte | 5968 MB |


