Elation STAGE SETTER-8 handleiding
Handleiding
Je bekijkt pagina 6 van 12
Unpacking:
Every Stage Setter 8™ has been thoroughly tested and has been
shipped in perfect operating order. Carefully check the shipping carton
for damage that may have occurred during shipping. If the carton
appears to be damaged, carefully inspect your fixture for any damage.
In the case damage has been found please contact our toll free cus-
tomer support number for further instructions.
Power Supply:
Before plugging your unit in be sure the source voltage in your area
matches the required voltage for your Elation® Stage Setter 8.™ The
Elation® Stage Setter 8
™
is available in a 115v and 230v version.
Because line voltage may vary from venue to venue, you should be
sure to plug your unit into a matching wall outlet before attempting to
operate you controller.
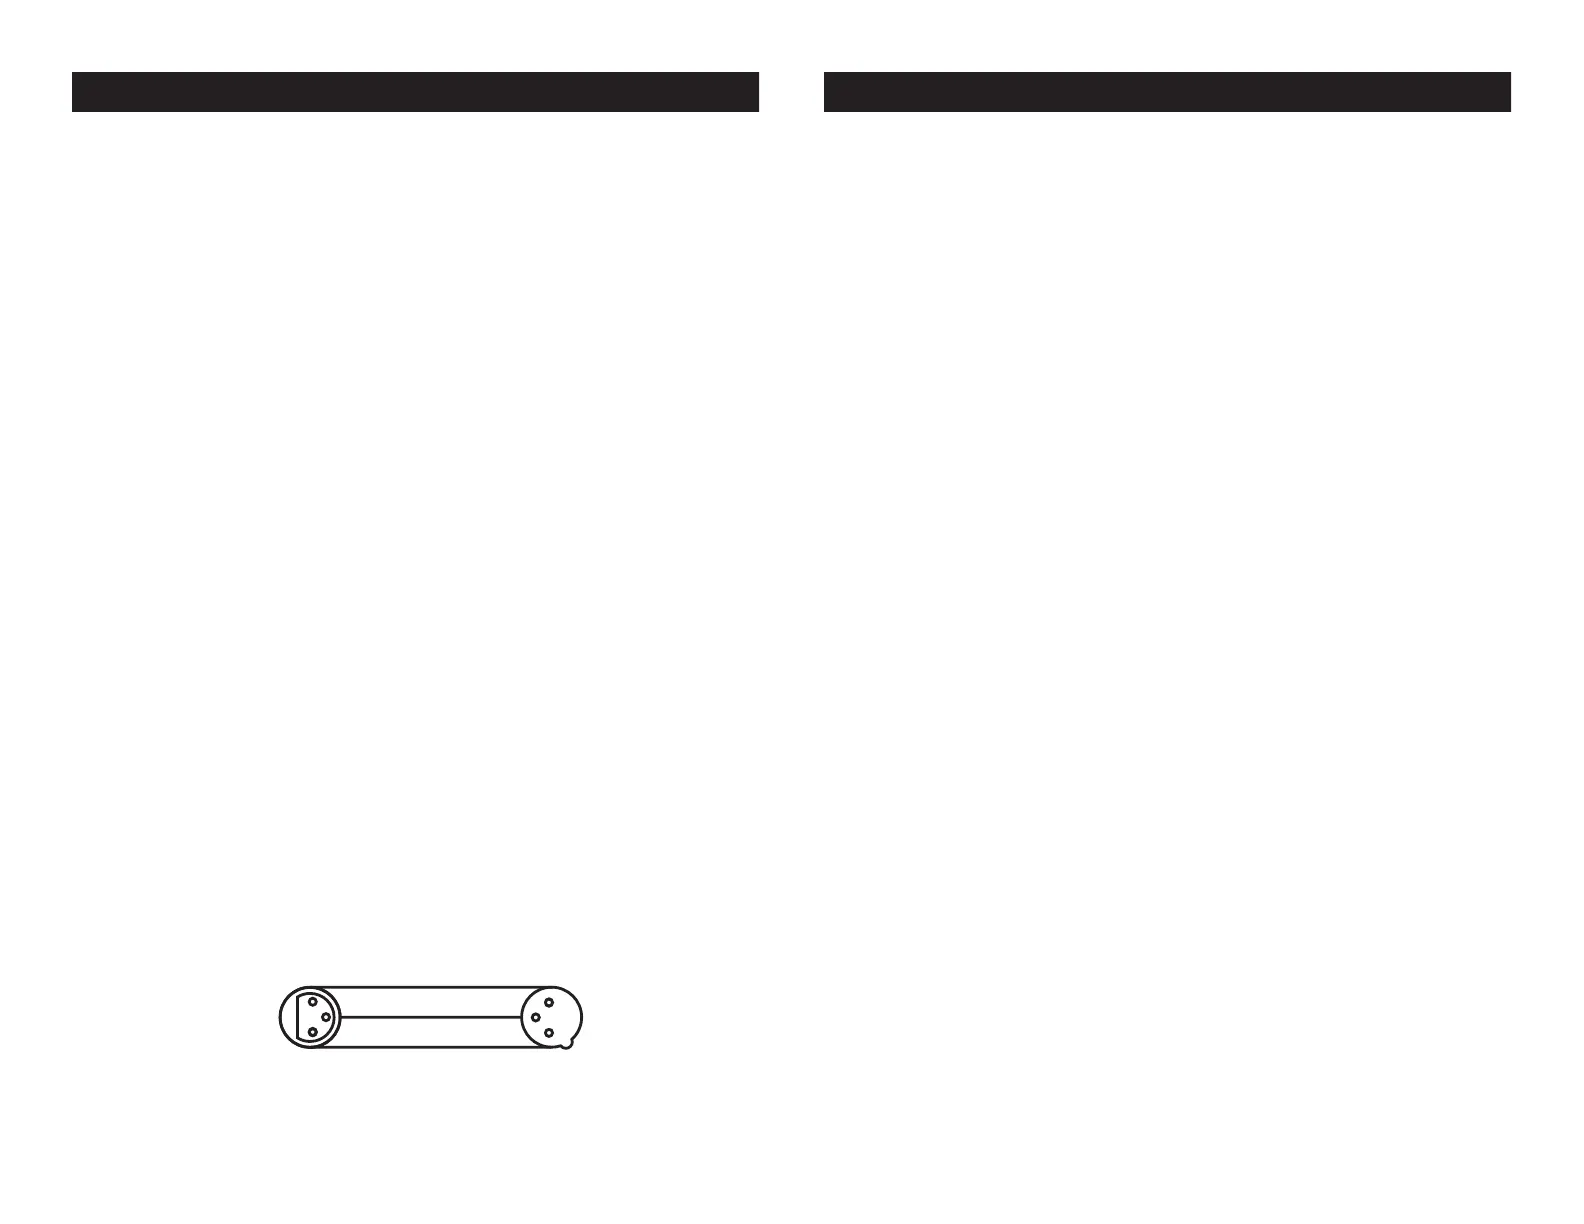
Data Cable (DMX Cable) Requirements:
Your controller and packs require a standard 3-pin XLR connector for
DMX data input and DMX data output (Figure 1). If you are making your
own cables be sure to use standard two conductor shielded cable (This
cable may be purchased at almost all pro sound and lighting stores).
Your cables should be made with a male and female XLR connector on
either end of the cable. Also remember that DMX cable must be daisy
chained and can not be “Y”ed or split.
Notice: Do not use the ground lug on the XLR connector. Do not con-
nect the cable’s shield conductor to the ground lug or allow the shield
conductor to come in contact with the XLR’s outer casing. Grounding
the shield could cause a short circuit and erratic behavior.
Notice: Be sure to follow figures two and three when making your own
cables.
1
2
3
1
2
3
DMX +
DMX
-
COMMON
DMX512 IN
CONNECTOR
3 PIN
DMX512 OUT
CONTROLLER
CONNECTOR
3 PIN
Elation Professional® - www.elationlighting.com - Stage Setter 8™ Instruction Manual Page 6
Stage Setter 8™ Set Up
Figure 2
MIDI Settings:
To change adjust the MIDI settings:
1. Be sure main power is off.
2. With main power off hold down Bump Buttons 1-4. With
Bump Button 1-4 held down, turn main power on. Once main
power is on the current MIDI Receive channel will be displayed in
the LCD.
3. Tap Bump Button 8 to change the MIDI Receive channel. The
MIDI receive channels can range from channels 1-16.
4. Tap the Blackout Button to exit MIDI Setting mode.
MIDI Implementation:
This console receives MIDI program changes according the following
table:
NOTE NUMBER VELOCITY FUNCTION
22-37 Channel intensity Turn on or off channels 1-16
38-45 Turn on or off Bump Button 1-8
46-57 Turn on or off Pattern 1-12
58 Mode
59 Full On
60 Blackout
Stage Setter 8™ MIDI Operation
Elation Professional® - www.elationlighting.com - Stage Setter 8™ Instruction Manual Page 19
Bekijk gratis de handleiding van Elation STAGE SETTER-8, stel vragen en lees de antwoorden op veelvoorkomende problemen, of gebruik onze assistent om sneller informatie in de handleiding te vinden of uitleg te krijgen over specifieke functies.
Productinformatie
| Merk | Elation |
| Model | STAGE SETTER-8 |
| Categorie | Verlichting |
| Taal | Nederlands |
| Grootte | 1749 MB |


