Elation Protron Star handleiding
Handleiding
Je bekijkt pagina 5 van 8
©Elation Professional® - www.elationlighting.com - Protron Star™ Instruction Manual Page 9
Universal DMX Control: This mode allows you to use a universal
DMX-512 controller such as the Elation
® DMX Operator™ or Show
Designer.™
1. To control your fixture in DMX mode, follow the set-up procedures
on pages 5-6 as well as the set-up procedures included with
your DMX controller.
2. For longer cable runs (more than a 100 feet) use a terminator on
the last fixture.
3. Assign your desired address to the unit, and “flip” dipswitch #10
to the “on” postion.
4. The Protron Star™ uses three DMX channels. Use your DMX con-
troller to activate the various built-in patterns.
See the bottom of
this page for the DMX traits.
5. For help operating in DMX mode consult the manual included
with your DMX controller.
NOTE: If running in Master/Slave address configuration while using a
DMX controller, follow the DMX address chart on page 12.
Protron Star™ Operating Instructions
Channel Value Function
1 0 - 255 FLASH SPEED
2 0 - 255 FLASH DIMMING
3 0 - 255 FLASH DURATION
Protron Star™ DMX Traits
Protron Star™ Fuse and Lamp Replacement
©Elation Professional® - www.elationlighting.com - Protron Star™ Instruction Manual Page 10
Warning! Allow the lamp to discharge all current. Allow the
unit 24hrs. to discharge before changeing the lamp. Stored
current can cause a very severe shock.
Caution:
Always replace with the exact same type lamp and fuse,
unless otherwise specified by an authorized Elation Professional
®
technician. Replace with anything other than the specified part can
damage your unit and will void your manufactures warranty.
Warning: If after you have replaced the lamp or fuse and you contin-
ue to blow either one, STOP using the unit. Contact customer support
for further instructions, you may have to return the unit for servicing.
Continuing to use the unit may cause serious damage.
Fuse Replacement: Disconnect the unit’s main power supply.
Insert a standard flat head screw driver in to the fuse holder hous
-
ing (located on the rear of the unit). Turn the screwdriver in a coun
-
ter-clockwise direction to remove the fuse holder. Remove the old
fuse and discard it, replace the fuse with the same type. Insert the
fuse holder back into it’s housing and turn in a clockwise direction to
secure the holder in place.
Lamp Replacement: Caution! Never open the unit when in use.
Always disconnect the main power and allow the fixture ample time
to cool before attempting to replace the lamp. Lamp replacement has
been made simple by incorporating a remove tray that is retained by a
single thumb screws. Again, please remember to always replace with
the exact same type lamp.
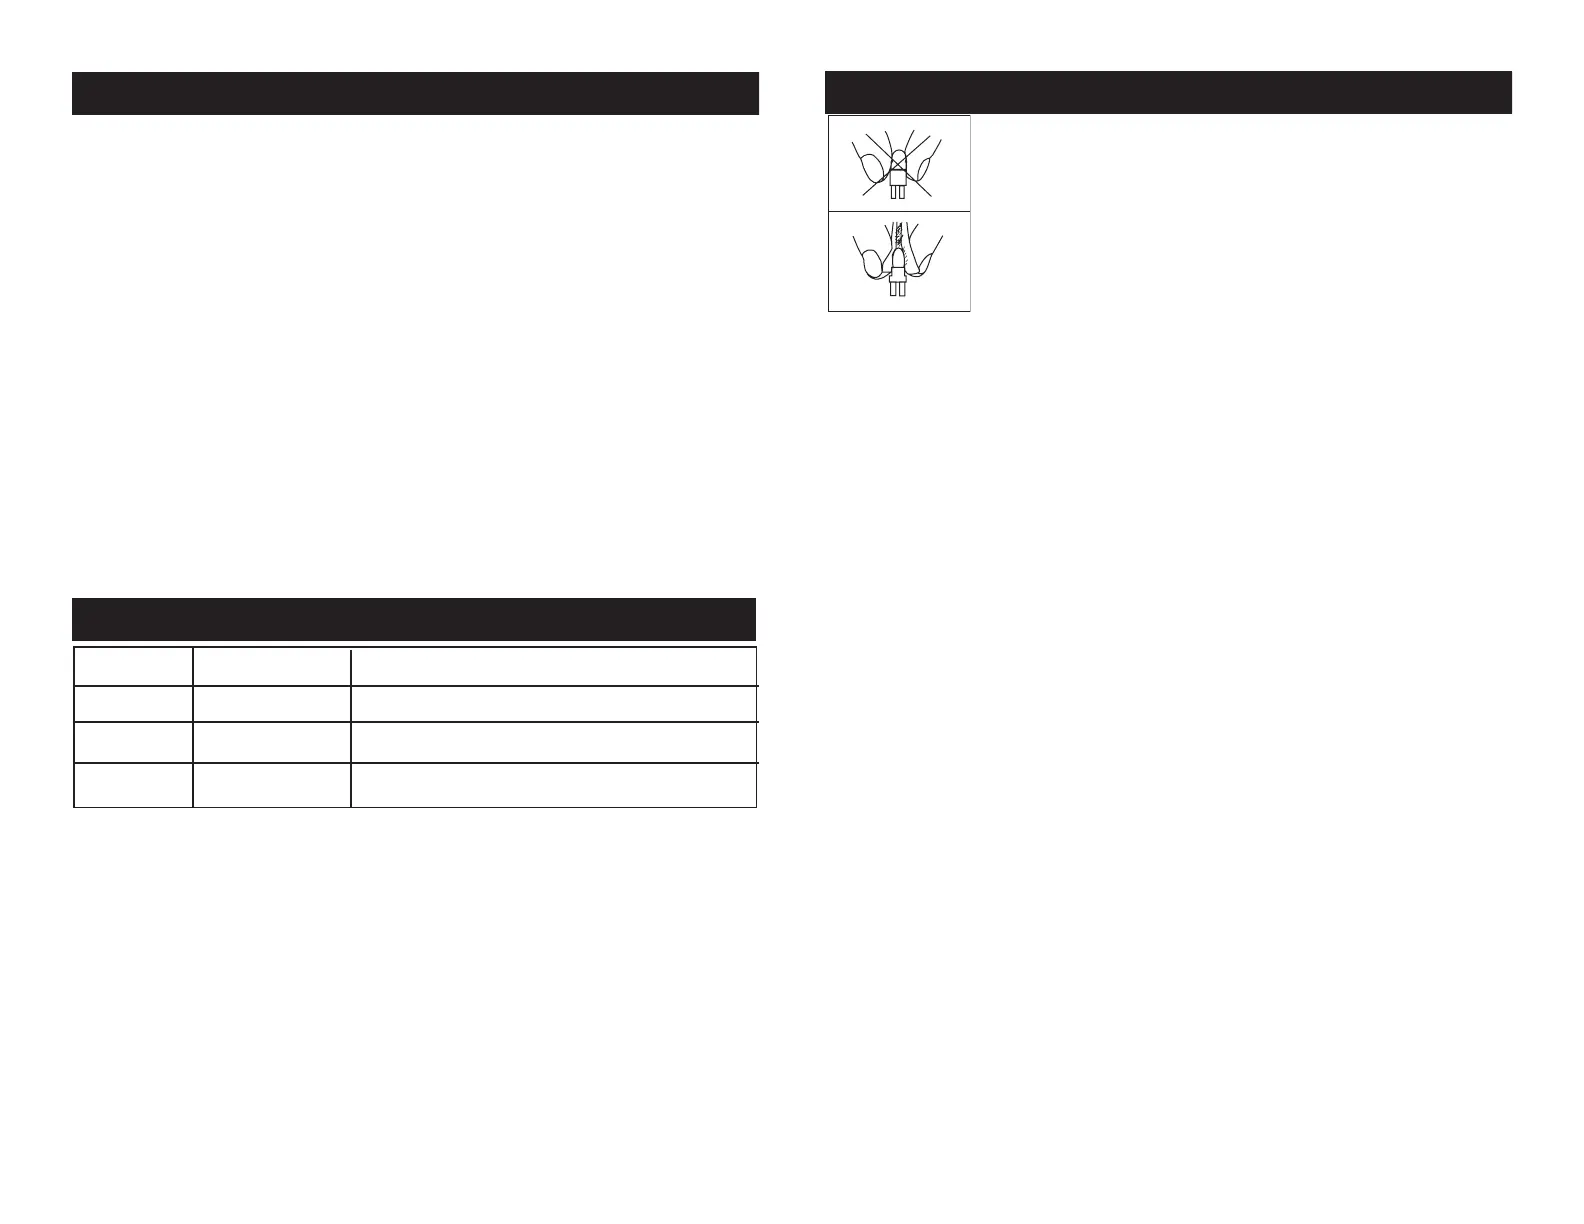
1. Be sure to follow the proper procedures when handling halogen
lamps. Never touch the new lamp with your bare fingers.
2. Unscrew the two thumb screws located on the glass cover in the
top corners of the unit.
Halogen Lamp Warning! This fixture is fitted with
halogen lamps which are highly susceptible to dam
-
age if improperly handled. Never touch the lamps
with your bare fingers as the oil from your hands will
shorten lamp life. Also, never move the fixture until
the lamps have had ample time to cool. Remember,
lamps are not covered under warranty conditions.
Bekijk gratis de handleiding van Elation Protron Star, stel vragen en lees de antwoorden op veelvoorkomende problemen, of gebruik onze assistent om sneller informatie in de handleiding te vinden of uitleg te krijgen over specifieke functies.
Productinformatie
| Merk | Elation |
| Model | Protron Star |
| Categorie | Verlichting |
| Taal | Nederlands |
| Grootte | 1573 MB |


