Handleiding
Je bekijkt pagina 42 van 56
42
The device is intended for use only in rooms with efficient ventilation. It is
intended for heating non-residential premises such as workshops,
garages, etc.
The heater is intended to be used as an auxiliary heating source, not as
the main heating source.
It is permissible to use the device in renovation and construction work,
repair workshops, amateur work, subject to the conditions of use and
permissible working conditions contained in the operating instructions.
4. Restriction on use
The appliance may only be used in accordance with
the ‘Permitted operating conditions’ set out below.
The unit should not be used for continuous heating of rooms in buildings
with animals such as stables, farms, etc. If the heater is operated with
continuous human presence, suitable operating conditions must be
ensured. The room must be continuously ventilated so that the percentage
of toxic substances in the air does not exceed a level hazardous to health.
Good ventilation is guaranteed when normal air circulation is ensured
through windows, doors and other fixed openings.
Unauthorised changes to the construction, any modifications,
maintenance operations not described in the operating instructions will be
considered unlawful and will result in the immediate loss of warranty rights
and the declaration of conformity will become invalid. Use which is not in
accordance with the intended use or the operating instructions will result
in immediate loss of warranty rights.
Do not use the appliance in case of any mechanical
damage, especially deformation of the casing, fuel
tank, leaks (fuel leaks). Do not use the appliance even if you find any
abnormalities in its operation. In such a case, the device should be
absolutely secured and then repaired at Dedra Exim Sp. z o.o.
authorised service centre..
Permitted operating conditions’
The appliance may only be used in rooms with efficient ventilation. Avoid
humidity. Do not leave the appliance switched on unattended. Do not use
in dusty areas (e.g. plaster dust, flour).
5. Technical data
Model
DED9976
DED9977
Supply voltage [V]
230
230
Supply frequency [Hz]
50
50
Motor power [W]
120
120
Heating power [kW]
13
16
Fuel type
Diesel
Diesel
Fuel tank capacity [l]
32
42
Fuel consumption* [kg/h]
1,03
1,26
Weight (without fuel) [kg]
46,5
58
Degree of protection against direct access
IPX0
IPX0
Degree of protection against electric shock
I
I
6. Preparing for use
All operations described in this chapter should be
carried out with the battery disconnected.
Installation
After removing the heater from the packaging, check the individual
components for damage. Do not start up if the device is damaged.
Place the heater on a flat surface so that the heat emitted by the device is
not directed directly at flammable materials, people or animals. Leave a
clear space between the heater and objects in the work area: the left and
right sides of the heater, the back should be at least 20 cm apart, and the
front and top of the heater should be at least 1.5 m away from obstacles.
Place an external chimney on the flue outlet and connect to the flexible
outlet pipe. Route the pipe so that the flue gas escapes outside the room.
Do not connect the pipe to room ventilation chimneys.
Filling the tank with fuel.
Only diesel fuel should be used as fuel.
Fuels of a volatile nature such as petrol or solvents must not be used.
The use of contaminated fuel or used engine oil is also not permitted. If
fuel comes into contact with the skin, wash the soiled areas immediately
with soap and water and rinse with water.
Before filling the fuel tank, check that the unit is disconnected from the
mains supply.
When filling, observe the fuel tank for possible leaks. If a fuel leak is
detected, do not operate the appliance. Have it repaired by a specialist
service centre.
The fuel filler is located at the base of the heater. Open the side door (fig.
B), unscrew the fuel filler cap (fig. D, 2) and start refuelling. Keep a close
eye on the fuel level indicator (Fig. D, 3) while filling the tank. Do not allow
fuel to spill. Be sure to wipe up any spilled fuel with a dry cloth or dedicated
cleaner.
Do not store more than a single supply of fuel inside the building.
Fuel tanks must not be located within 8 m of the heater, the exception
being an integral tank that is part of the heater.
The fuel storage area must be maintained in accordance with current fire
protection and occupational safety regulations. Be sure to wipe up any
spilled fuel with a dry cloth or dedicated cleaner.
Check for any fuel leaks before starting. If fuel leaks are found due to e.g.
leaking tank or fuel lines, do not operate the heater. In this case, contact
the service department.
7. Connection to mains
Before connecting the appliance to the power supply, make sure that the
supply voltage corresponds to the value given on the rating plate.
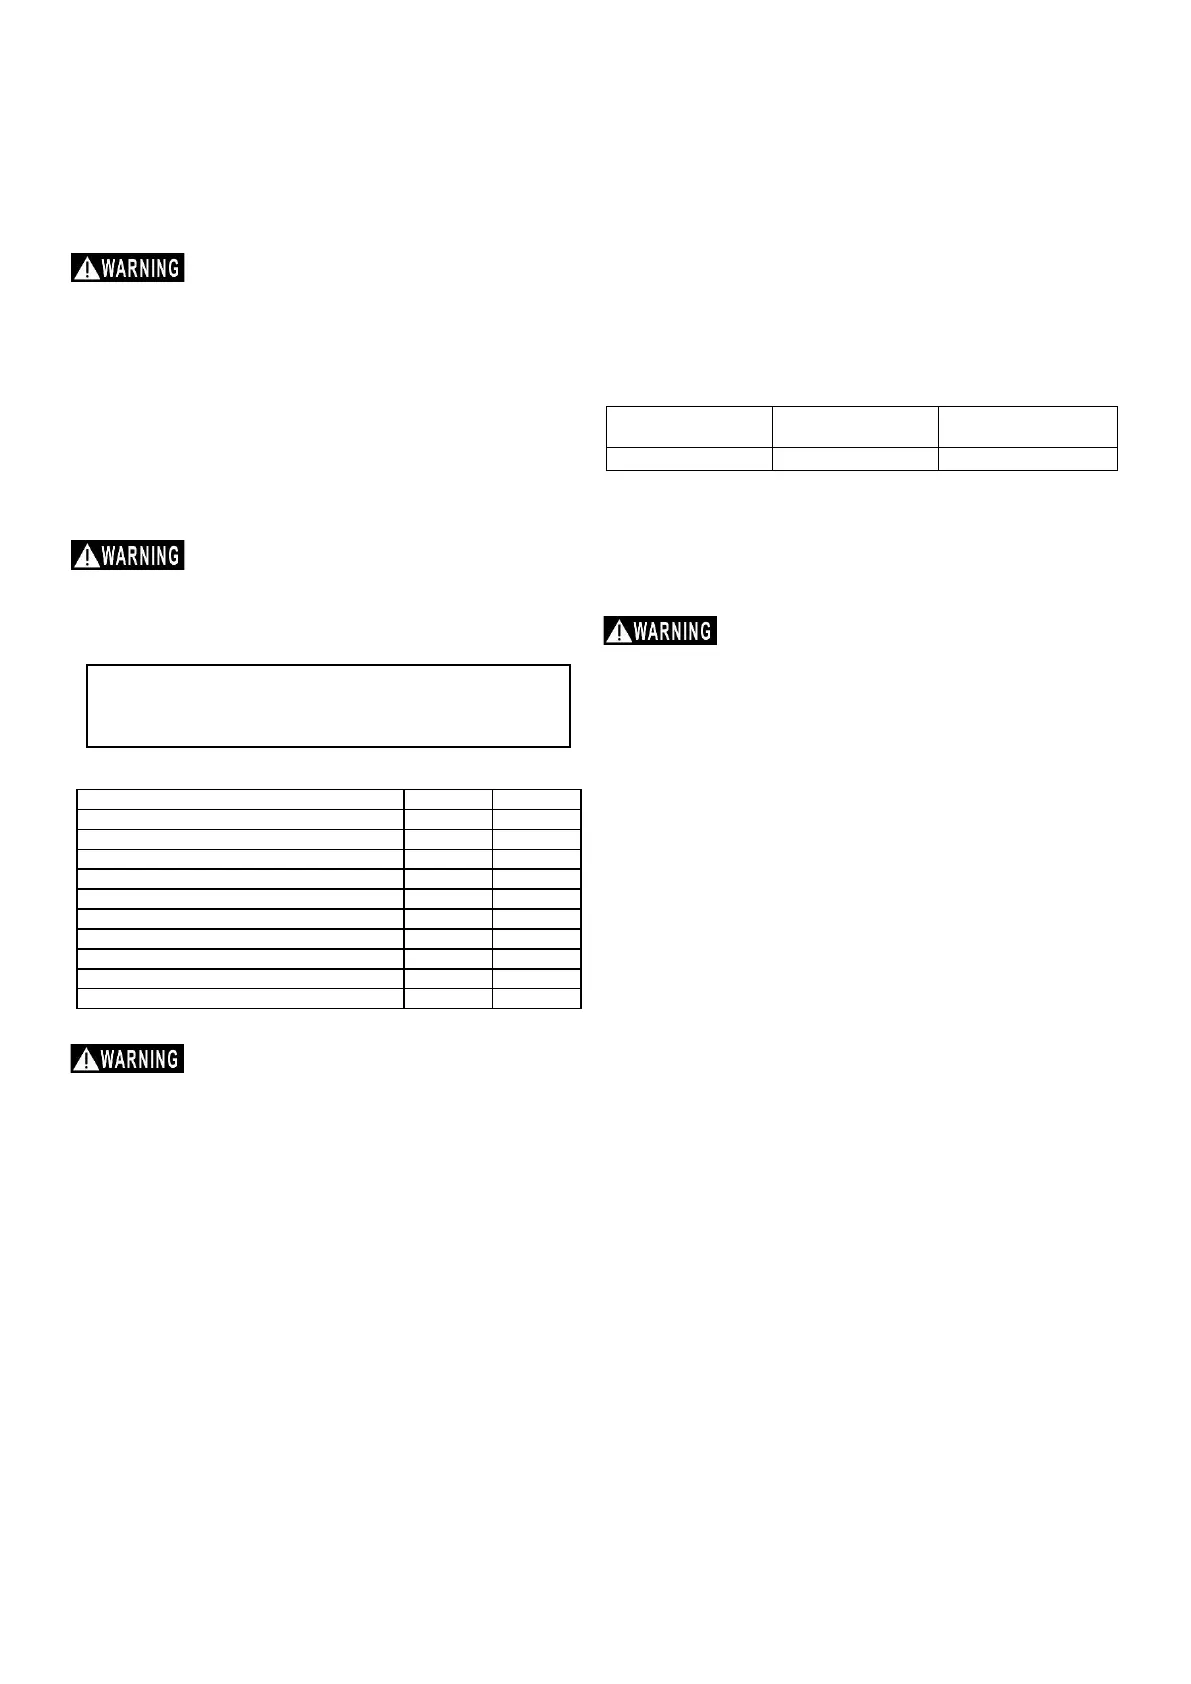
The supply installation should be made in accordance with the essential
requirements for electrical installations and meet the safety requirements
for use. The parameters for the minimum cross-section of the supply cable
and the nominal value of the fuse depending on the power of the appliance
are given in the table below:
Rated power [W]
Minimum conductor
cross-section [mm
2
]
Minimum value of type
C fuse [A]
<700
0,75
6
Installation should be carried out by a qualified electrician. When using
extension cords, ensure that the cable cross-section is not smaller than
required (see table). Arrange the electrical cable so that it is not at risk of
being cut during operation. Do not use damaged extension cords. Check
the condition of the power cable periodically. Do not pull on the power
cord.
8. Switching on the device
Before starting up the unit, it is essential to carry
out the steps described in the section ‘Preparing
for operation’.
Place the heater on a flat surface so that the heat emitted by the device is
not directed directly at flammable materials, people or animals. Leave a
clear space between the heater and objects in the work area: the left and
right sides of the heater, the back should be at least 20 cm apart, and the
front and top of the heater should be at least 1.5 m away from obstacles.
Connect the heater to the electrical supply.
Connect only to a grounded mains supply. If the mains plug or power
cord is found to be damaged, do not connect the appliance. Contact
the service centre for replacement of the cable with a defect-free one.
Switching on the heater
Press the ON/OFF button to switch the unit on. The heater will start when
it beeps. To stop, press the ON/OFF button again.
9. Operation of the device
The inlet and outlet openings of the heater must not be covered or
obstructed.
Infrared heaters, also known as IR heaters, use a heating element to
directly heat people and objects instead of heating the air.
Ensure free airflow for proper operation of the unit.
Switching the unit on
Press the ON/OFF button to switch the unit on. The heater will start when
you hear a beep. To stop, press the ON/OFF button again.
A metallic noise may be caused by the sudden expansion and
contraction of the tube during initial ignition.
Unit settings
Press the TEMP/TIME button to select the temperature and heating cycle.
The temperature can be adjusted from 0 to 40 degrees Celsius. The
heating cycle can be set between 5 and 25 minutes (30 minutes per cycle).
Press the UP/DOWN adjustment button to adjust the set temperature and
time. The set temperature must be higher than the room temperature. The
temperature can be adjusted by 1 C. The heating time can be adjusted by
5 minutes.
When switched on, the default mode of the heater is thermostat mode.
Timed shut-off (with delay)
If you want the heater to switch itself off, you can use the timer. Use the
TIMING OFF button to activate the switch-off function. Then select the
desired switch-off delay using the arrow buttons. The minimum delay is 1
hour and the maximum delay is 24 hours.
When the unit is switched off, all timer functions are reset and must be set
again if required.
When refuelling for the first time or when the fuel level in the tank is too
low, the electronic pump can easily suck in air. When the ignition fails,
start the heater by pressing the switch several times until it ignites (3 to 5
times). The solenoid valve will automatically switch off.
Stopping the heater
Press the power on/off button during operation. To cool the burner after
shutdown, the fan motor will continue to run for 5 minutes. Unplug the
power cord after the motor in the burner has stopped completely.
Bekijk gratis de handleiding van Dedra DED9976, stel vragen en lees de antwoorden op veelvoorkomende problemen, of gebruik onze assistent om sneller informatie in de handleiding te vinden of uitleg te krijgen over specifieke functies.
Productinformatie
| Merk | Dedra |
| Model | DED9976 |
| Categorie | Heater |
| Taal | Nederlands |
| Grootte | 12413 MB |

