Daikin RXYSA8AMY1B handleiding
Handleiding
Je bekijkt pagina 45 van 56
19 Commissioning
Installation and operation manual
45
RXYSA8~12AMY1B
VRV 5-S system air conditioner
4P752781-1C – 2024.10
Air inlet/outlet
Check that the air inlet and outlet of the unit is NOT
obstructed by paper sheets, cardboard, or any other
material.
Additional refrigerant charge
The amount of refrigerant to be added to the unit shall be
written on the included "Added refrigerant" plate and
attached to the rear side of the front cover.
Requirements for R32 equipment
Make sure the system meets all requirements that are
described in the following chapter: "2.1 Instructions for
equipment using R32 refrigerant"[48].
Field settings
Make sure all field settings you want are set. See
"18.1Making field settings"[441].
Field setting [2-54] (direct connection from outdoor to
indoor unit)
In case of a system with at least one indoor unit that has a
direct connection to the outdoor unit, make sure to change
field setting [2-54] from 0 to 1. See "[2‑54]"[443].
Installation date and field setting
Be sure to keep record of the installation date on the
sticker on the rear of the upper front panel according to
EN60335‑2‑40 and keep record of the contents of the field
setting(s).
19.3 Checklist during commissioning
To perform a SV unit test run. See the SV unit
installation manual for more information.
To perform a test run.
To perform a SV/indoor unit connection check
(optional).
19.4 About the SV unit test run
The SV unit test run has to be performed on all SV units in the
system, before the test run of the outdoor unit. The SV unit test run
has to confirm that the required safety measures are properly
installed. Even when no safety measures are required, it is
necessary to perform this SV unit test run and confirm the result,
because the test run of the outdoor unit checks this confirmation for
all SV units in the system. See the SV unit installation and operation
manual for more information.
NOTICE
It is very important that all refrigerant piping work is done
before the units (outdoor, SV or indoor) are powered.
When the units are powered, the expansion valves
initialise. This means that the valves close.
If any part of the system had already been powered before,
FIRST activate setting [2-21] on the outdoor unit to open
the expansion valves again THEN power off the unit to
conduct the SV unit test run.
19.5 About the system test run
NOTICE
Make sure to carry out the test run after the first
installation. Otherwise, the malfunction code will be
displayed on the user interface and normal operation or
individual indoor unit test run cannot be carried out.
The procedure below describes the test operation of the complete
system. This operation checks and judges following items:
▪ Check for incorrect wiring (communication check with indoor
unit(s)).
▪ Check of the stop valves opening.
▪ Judgement of piping length.
▪ Abnormalities on indoor units cannot be checked for each unit
separately. After the test operation is finished, check the indoor
units one by one by performing a normal operation using the user
interface. Refer to the indoor unit installation manual for more
details concerning the individual test run.
INFORMATION
▪ It may take 10 minutes to achieve a uniform refrigerant
state before the compressor starts.
▪ During the test operation, the refrigerant running sound
or the magnetic sound of a solenoid valve may become
loud and the display indication may change. These are
not malfunctions.
19.5.1 To perform a test run
1 Close all front panels to prevent misjudgement.
2 Make sure all field settings you want are set; see "18.1Making
field settings"[441].
3 Turn ON the power to the outdoor unit and the connected
indoor unit(s).
NOTICE
Turn ON the power 6 hours before operation in order to
have power running to the crankcase heater and to protect
the compressor.
4 Make sure the default (idle) situation is existing; see "18.1.3To
access mode 1 or 2"[4 42]. Push BS2 for 5 seconds or more.
The unit will start test operation.
Result: The test operation is automatically carried out, the
outdoor unit display will indicate " " and the indication "Test
operation" and "Under centralised control" will display on the
user interface of the indoor unit(s).
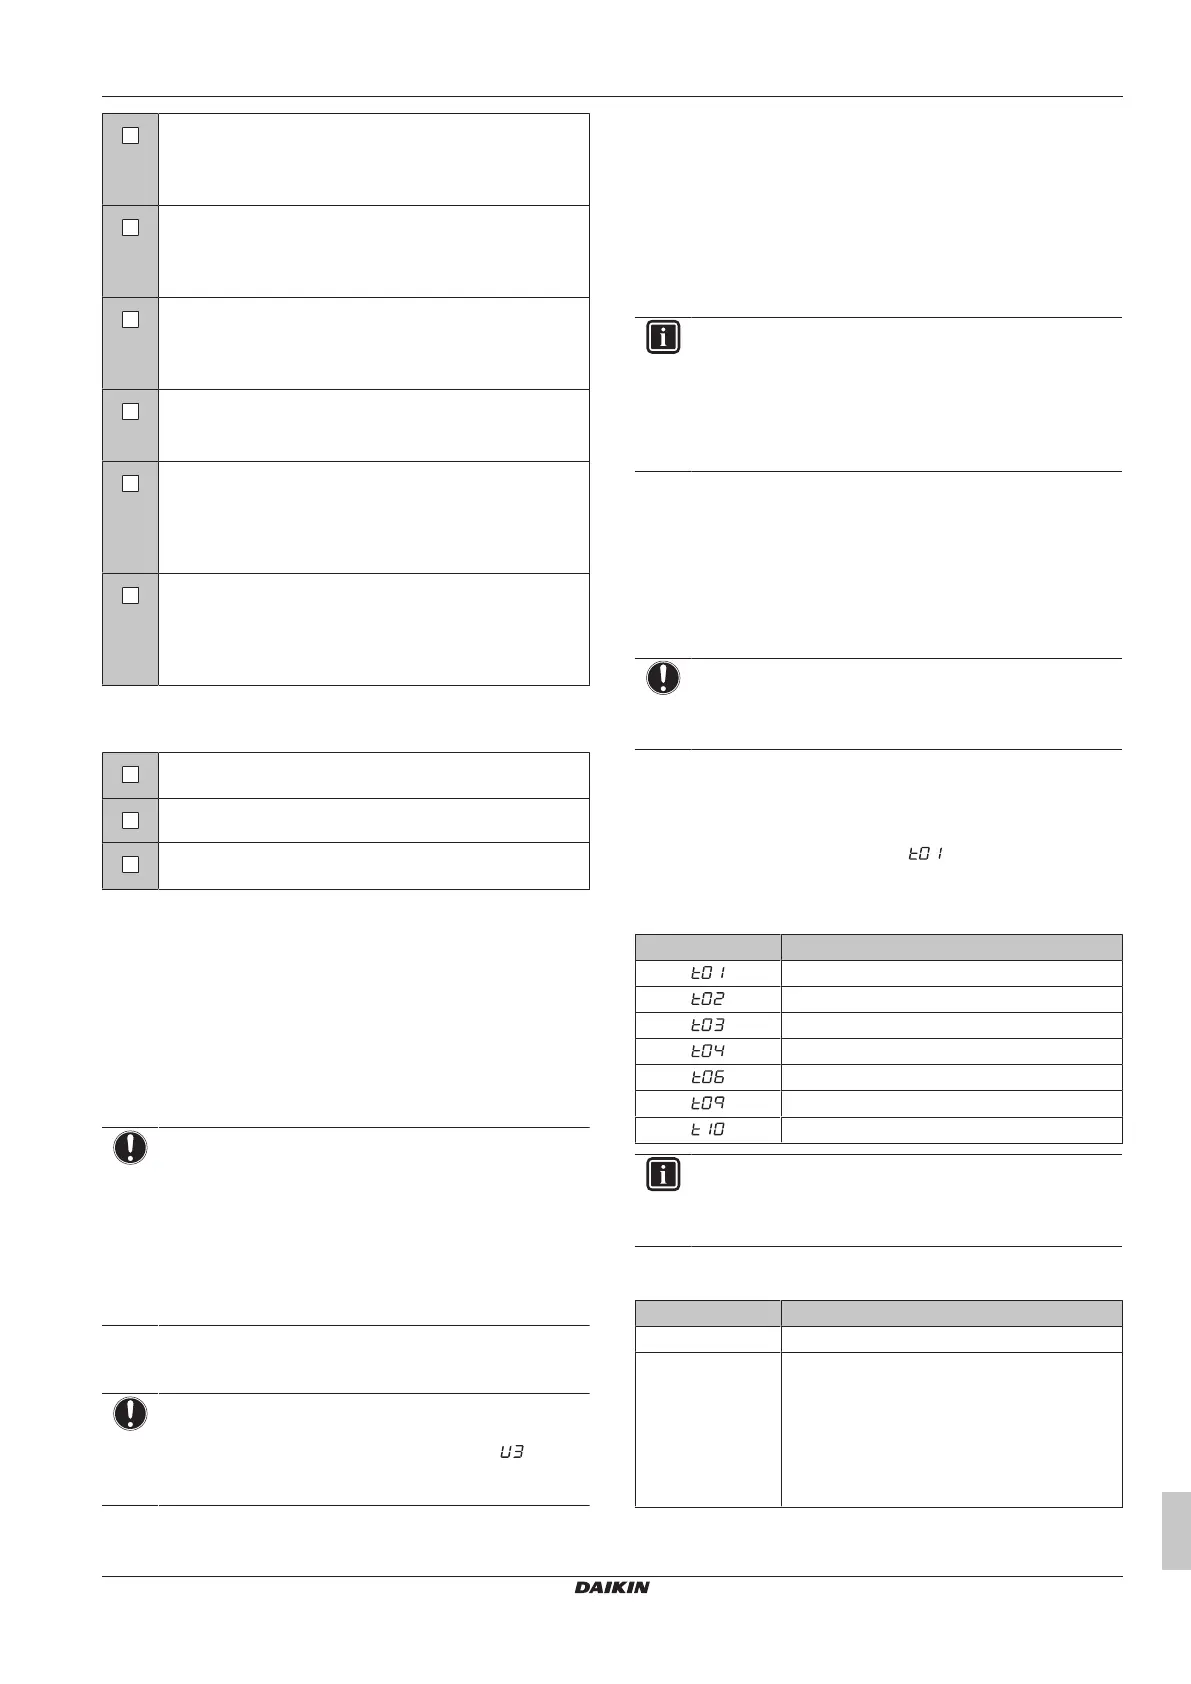
Steps during the automatic system test run procedure:
Step Description
Control before start up (pressure equalisation)
Cooling start up control
Cooling stable condition
Communication check and stop valve check
Pipe length check
Pump down operation
Unit stop
INFORMATION
During the test operation, it is not possible to stop the unit
operation from a user interface. To abort the operation,
press BS3. The unit will stop after ±30 seconds.
5 Check the test operation results on the outdoor unit 7‑segment
display.
Completion Description
Normal completion No indication on the 7‑segment display (idle).
Abnormal
completion
Indication of malfunction code on the
7‑segment display.
Refer to "19.5.2Correcting after abnormal
completion of the test run"[446] to take
actions for correcting the abnormality. When
the test operation is fully completed, normal
operation will be possible after 5 minutes.
Bekijk gratis de handleiding van Daikin RXYSA8AMY1B, stel vragen en lees de antwoorden op veelvoorkomende problemen, of gebruik onze assistent om sneller informatie in de handleiding te vinden of uitleg te krijgen over specifieke functies.
Productinformatie
| Merk | Daikin |
| Model | RXYSA8AMY1B |
| Categorie | Niet gecategoriseerd |
| Taal | Nederlands |
| Grootte | 9612 MB |


