CYP CR-UDC1 handleiding
Handleiding
Je bekijkt pagina 27 van 68
22
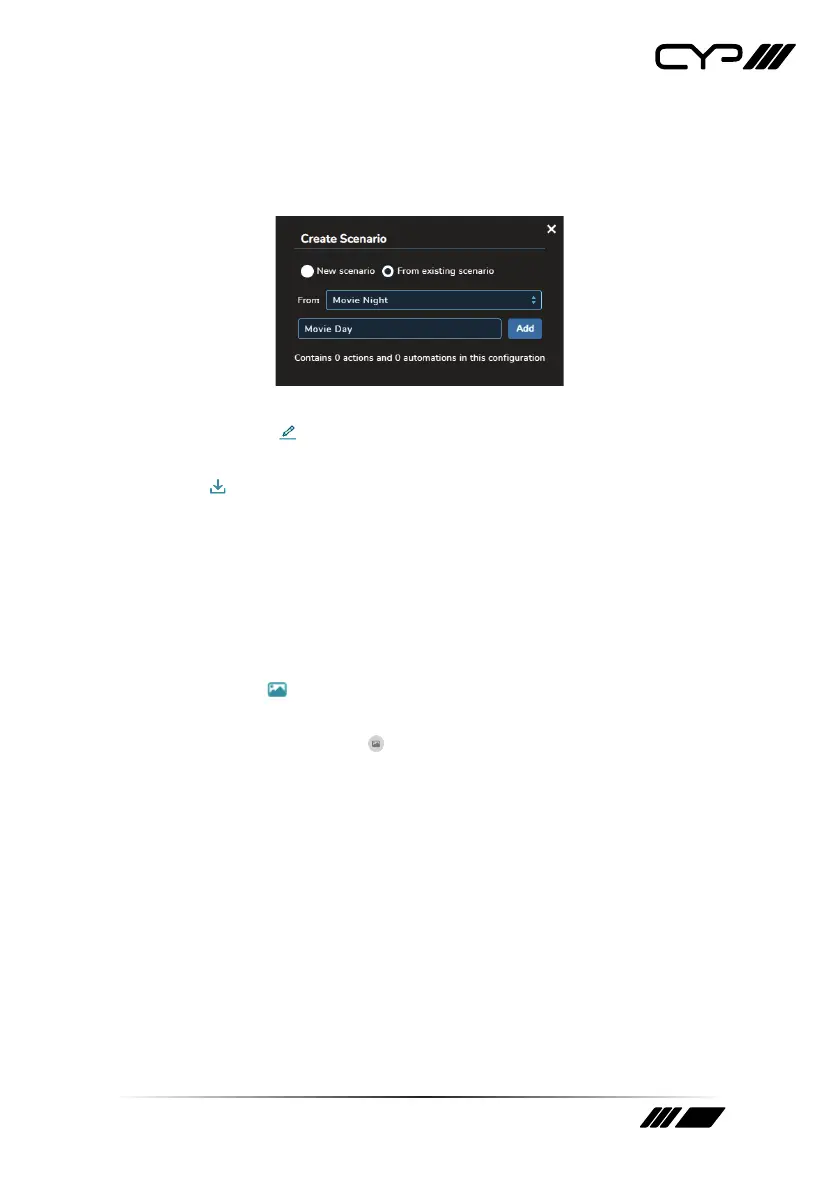
Add: To create a new scenario, click on the “+ Add” button and a
window will pop up allowing you to create a new empty scenario,
or duplicate an existing scenario. After entering the new scenario’s
name, click “Add” and the new scenario will be added to the list.
Edit Name: The name of the scenario can be edited by clicking on
the edit icon ( ).
Download: To export a scenario to your PC, click the download
icon (
) next to the preferred scenario and then select the
preferred save location on the local PC. Next, click the “Save” button
to complete the file export.
Note: The filename may be changed, if desired, but it MUST end with
“.scene.json” in order to be re-imported. The associated icon image will
not be included in the exported file.
Change Icon: To add or change the icon image assigned to a
scenario, click on the scenario’s associated icon, or on the change
image icon (
), and the “Select/Add Icon” window will open up.
Note: Scenarios without an icon currently assigned will display a
generic placeholder icon (
).
Select/Add Icon: This window is opened by clicking on a scenario’s
icon and allows the assignment of an existing icon to the scenario.
Simply find the preferred icon in the list, select it, and then click
on “Save” to assign it. The image will now be displayed next to the
scenario in the list and used as the scenario’s button on the Home
page.
Bekijk gratis de handleiding van CYP CR-UDC1, stel vragen en lees de antwoorden op veelvoorkomende problemen, of gebruik onze assistent om sneller informatie in de handleiding te vinden of uitleg te krijgen over specifieke functies.
Productinformatie
| Merk | CYP |
| Model | CR-UDC1 |
| Categorie | Niet gecategoriseerd |
| Taal | Nederlands |
| Grootte | 6150 MB |


