Bora MS 140 handleiding
Handleiding
Je bekijkt pagina 30 van 40
EN
76
Installation
www.bora.com
X Prepare the fitted unit taking into account the
dimensions specified.
X Remove the back panel of the unit to the rear of
the installation recess.
9.4 Installing the appliance
i
To ensure that the Push2Open mechanism
works correctly, there must be at least 3 mm
of clearance between the unit and the panel.
Working with the installation jig
The installation jig provided is used to position the
mounting angle in the unit, allowing for a clearance
of 3 mm between the unit and the panel for the
Push2Open mechanism. The installation jig enables
the mounting angle to be fitted in 2 different
positions:
O
Position 1: drawer with unit front
O
Position 2: drawer with BORA multi-drawer
glass front, flush to the front in the case of an
18–20 mm thick unit front
21
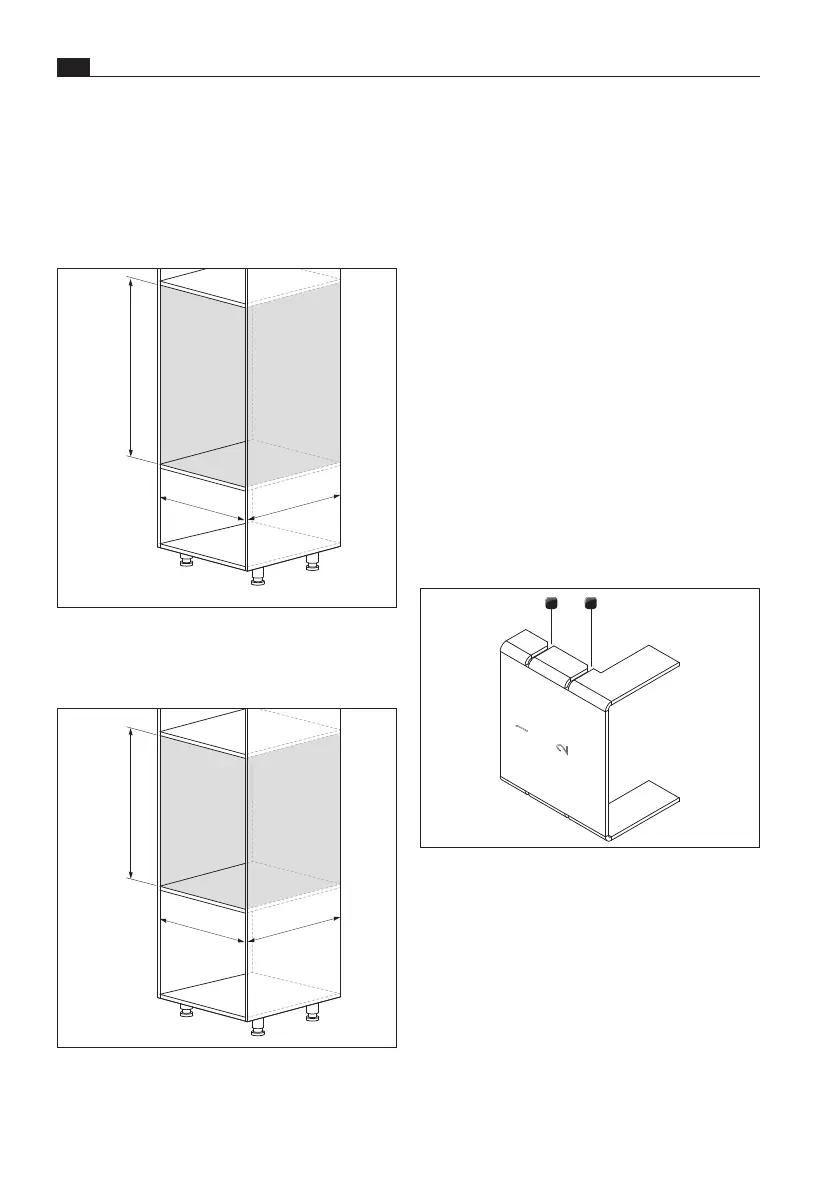
Fig. 9.6 Installation jig
[1] Installation position 1 for unit front
[2] Installation position 2 for BORA glass front
9.3.3 BORA multi-drawer fitted unit
+ BORA X BO steam oven
i
The BORAXBO assembly instructions must
be observed here.
MS290/MSS290 + BORA X BO
882+8
560+8
≥
564
Fig. 9.4 MS290/MSS290 + BORA X BO
installation dimensions
MS140/MSS140 + BORA X BO
732+8
560+8
≥
564
Fig. 9.5 MS140/ MSS140 + BORA X BO
installation dimensions
Bekijk gratis de handleiding van Bora MS 140, stel vragen en lees de antwoorden op veelvoorkomende problemen, of gebruik onze assistent om sneller informatie in de handleiding te vinden of uitleg te krijgen over specifieke functies.
Productinformatie
| Merk | Bora |
| Model | MS 140 |
| Categorie | Niet gecategoriseerd |
| Taal | Nederlands |
| Grootte | 4589 MB |