American Audio PRO-DJ handleiding
Handleiding
Je bekijkt pagina 13 van 26
1. OPENING AND CLOSING THE DISC TRAY/LOADING DISCS
This is an electronic operation and can only work when the power is on. Press the
OPEN/CLOSE BUTTON (4) to open or close the disc tray. Pressing the PLAY/PAUSE
BUTTON (11), will also automatically close the tray if it is open and immediately cue
any CD that is in it. If the transport tray is left open for more than 60 seconds it will
close automatically to prevent accidental damage to the transport. Again if a CD is
left in the transport tray it will immediately cue to the first song. The disc trays cannot
be opened during playback to prevent playback from being interrupted if the
OPEN/
CLOSE BUTTON (4) is pressed accidentally. Stop playback, then press the
OPEN/
CLOSE BUTTON (4).
2. LOADING DISCS
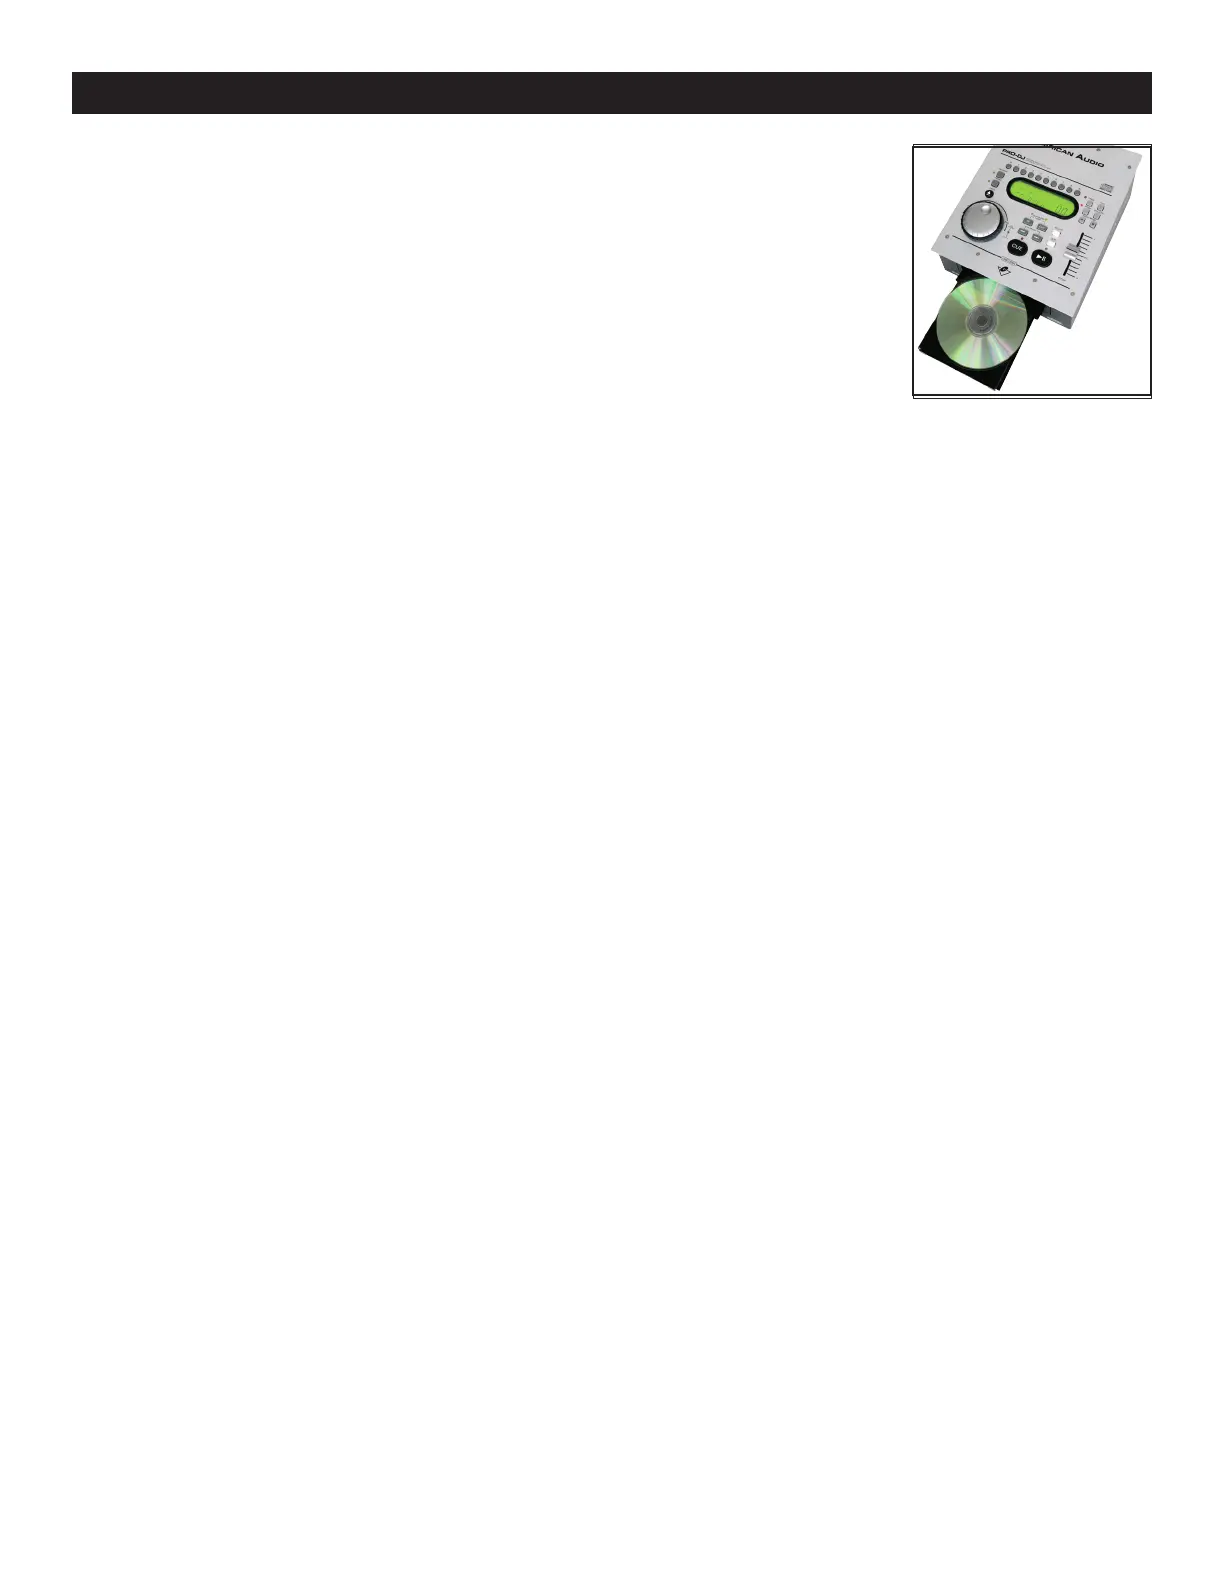
The Pro-DJ can play both 3 inch (8 cm) and 5 inch (12 cm) compact discs (CD’s). Odd
shaped and oval CD’s are not compatible. When loading a CD into the unit always hold the disc by its' edges
and place it in the disc tray. Never touch the signal surface (the glossy side). When using 5 inch/12 cm discs,
place the disc in the outer tray guides (figure 7), and when using 3 inch/8 cm discs, place them securely in the
inner guides.
CAUTION:
•
NEVER insert any foreign objects in the disc tray.
• NEVER attempt to insert more than one disc in the disc tray at a time. Doing so may result in severe
dam age to the unit.
•
NEVER force the transport tray open or closed when the power is off, as this may result in malfunction
and damage the transport system.
3. SELECTING TRACKS
Select a desired track by using either of the two
TRACK BUTTONS (8 & 10). Tapping the TRACK BUTTONS
(8 & 10)
once will select either a higher or lower track. You may hold down the TRACK BUTTONS (8 & 10) to
change tracks continuously at a higher speed. If you are using the
TRACK BUTTONS (8 & 10) to select a new
track during playback (a track already playing) the new track you selected will immediately begin playback as
soon as the search operation is completed.
4. STARTING PLAYBACK
Insert an audio CD as describe above (loading discs). Pressing the PLAY/PAUSE BUTTON (11) with an audio
CD inserted will immediately start playback. The PLAY INDICATOR (44)
will glow as soon as playback begins.
The point at which playback starts (cue point) will automatically be stored in the memory as the cue point. The
unit will return to this cue point (the point at which playback started) when the CUE BUTTON (9) is pressed.
5. STOPPING PLAYBACK
Stopping playback will not stop the drive mechanism, but merely pause or cue the track. There are two ways
to stop playback:
1) Press the PLAY/PAUSE BUTTON (11) during playback to pause at that point.
2) Press the CUE BUTTON (9) during playback to return the track to it’s last cue point.
6. PAUSING
Pausing temporarily stops playback. Pressing the PLAY/PAUSE BUTTON (11) changes the operating mode
between play and pause. The PAUSE INDICATOR (43) in the LCD (5) will glow when pause mode is activated
or when a track is in cue mode.
7. AUTO CUE
”Cueing” is the action of preparing for playback. When the unit is in cue mode the CUE INDICATOR (45) in
the LCD (5) will glow. The unit is designed to automatically cue at the first audible signal on the first of a disc
when a disc is inserted. If a track is selected before a disc is inserted, the unit will automatically cue to the first
audible signal for the selected track.
BASIC OPERATIONS
©American Audio® - www.americandj.com - Pro-DJ™ Instruction Manual Page 13
Figure 7
5 in. / 12cm disc
Bekijk gratis de handleiding van American Audio PRO-DJ, stel vragen en lees de antwoorden op veelvoorkomende problemen, of gebruik onze assistent om sneller informatie in de handleiding te vinden of uitleg te krijgen over specifieke functies.
Productinformatie
| Merk | American Audio |
| Model | PRO-DJ |
| Categorie | Niet gecategoriseerd |
| Taal | Nederlands |
| Grootte | 3562 MB |


