Handleiding
Je bekijkt pagina 5 van 39
DURATION
When the icon flashes on the display, use the
adjustment knob to set the cooking time you require
and then press
to confirm.
You do not have to set the cooking time if you want
to manage cooking manually: Press
to confirm
and start the function. In this case, you cannot set the
end cooking time by programming a delayed start.
Please note: You can adjust the cooking time that has been
set during cooking by pressing
: Turn the knob to change
the hour and press to conrm.
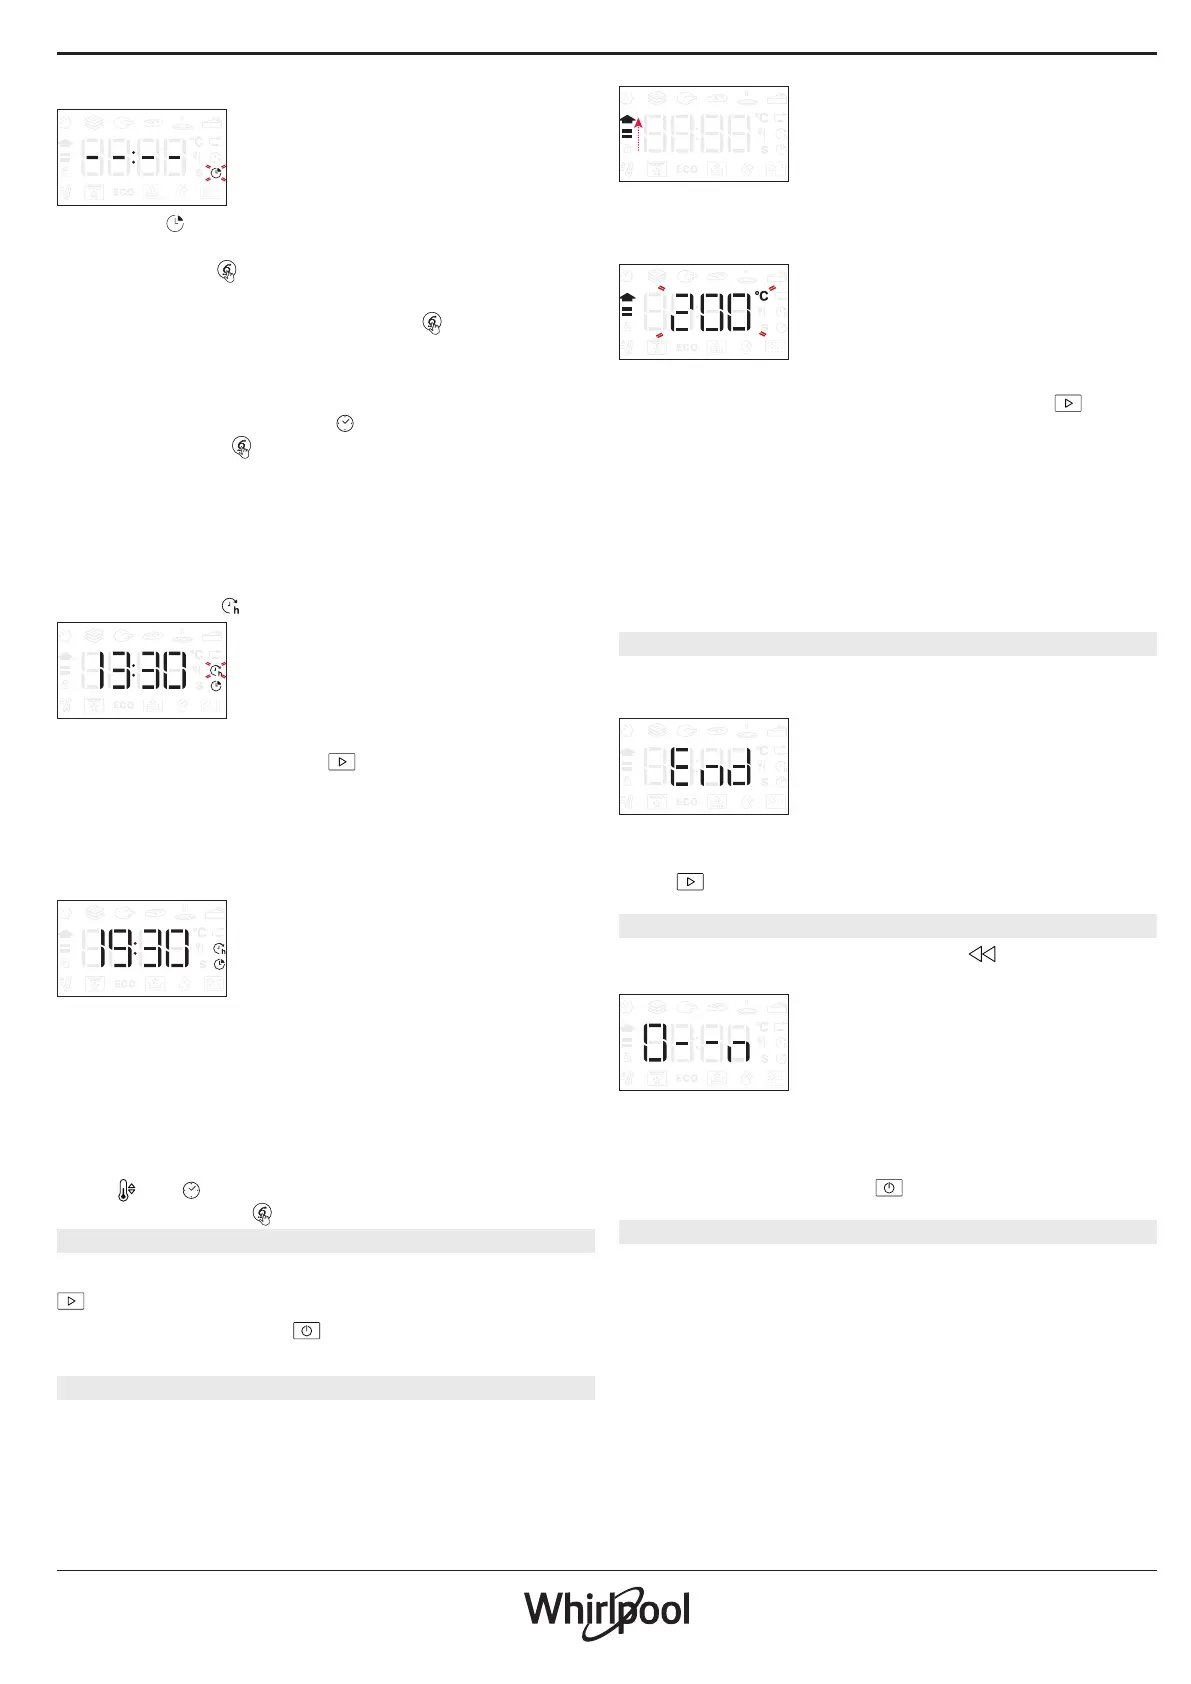
SETTING THE END COOKING TIME/DELAYED START
In many functions, once you have set a cooking time
you can delay starting the function by programming
its end time. Where you can change the end time, the
display will show the time the function is expected to
finish while the
icon flashes.
If necessary, turn the knob to set the time you want
cooking to end, then press
to confirm and start
the function.
Place the food in the oven and close the door: The
function will start automatically after the period of
time that has been calculated in order for cooking to
finish at the time you have set.
Please note: Programming a delayed cooking start time
will disable the oven preheating phase: The oven will
reach the temperature your require gradually, meaning
that cooking times will be slightly longer than those
listed in the cooking table.
During the waiting time, you can use the knob to
change the programmed end time.
Press
or to change the temperature and cooking
time settings. Press to confirm when finished.
3. ACTIVATE THE FUNCTION
Once you have applied the settings you require, press
to activate the function.
You can press and hold
at any time to pause the
function that is currently active.
4. PREHEATING
Some functions have an oven preheating phase: Once
the function has started, the display indicates that
the preheating phase has been activated.
Once this phase has finished, an audible signal will
sound and the display will indicate that the oven has
reached the set temperature.
At this point, open the door, place the food in the oven,
close the door and start cooking by pressing
.
Please note: Placing the food in the oven before
preheating has finished may have an adverse effect on
the final cooking result.
Opening the door during the preheating phase will
stop pause it.
The cooking time does not include a preheating phase.
You can always change the temperature you want the
oven to reach using the knob.
5. END OF COOKING
An audible signal will sound and the display will
indicate that cooking is complete.
To extend the cooking time without changing the
settings, turn the knob to set a new cooking time and
press
.
7. K E Y LO CK
To lock the keypad, press and hold for at least five
seconds.
Do this again to unlock the keypad.
Please note: This function can also be activated during
cooking. For safety reasons, the oven can be switched
off at any time by pressing
.
. NOTES
• Do not cover the inside of the oven with
aluminium foil.
• Never drag pots or pans across the bottom of the
oven as this could damage the enamel coating.
• Do not place heavy weights on the door and do
not hold on to the door.
• Due to the higher temperature of the Pizza cycle it
is expected to experience slightly higher cooling
fan noise.
Bekijk gratis de handleiding van Whirlpool WOI4S8CM0SBA, stel vragen en lees de antwoorden op veelvoorkomende problemen, of gebruik onze assistent om sneller informatie in de handleiding te vinden of uitleg te krijgen over specifieke functies.
Productinformatie
| Merk | Whirlpool |
| Model | WOI4S8CM0SBA |
| Categorie | Oven |
| Taal | Nederlands |
| Grootte | 5980 MB |


