Warmup VLo Nexxa-12 handleiding
Handleiding
Je bekijkt pagina 12 van 24
12
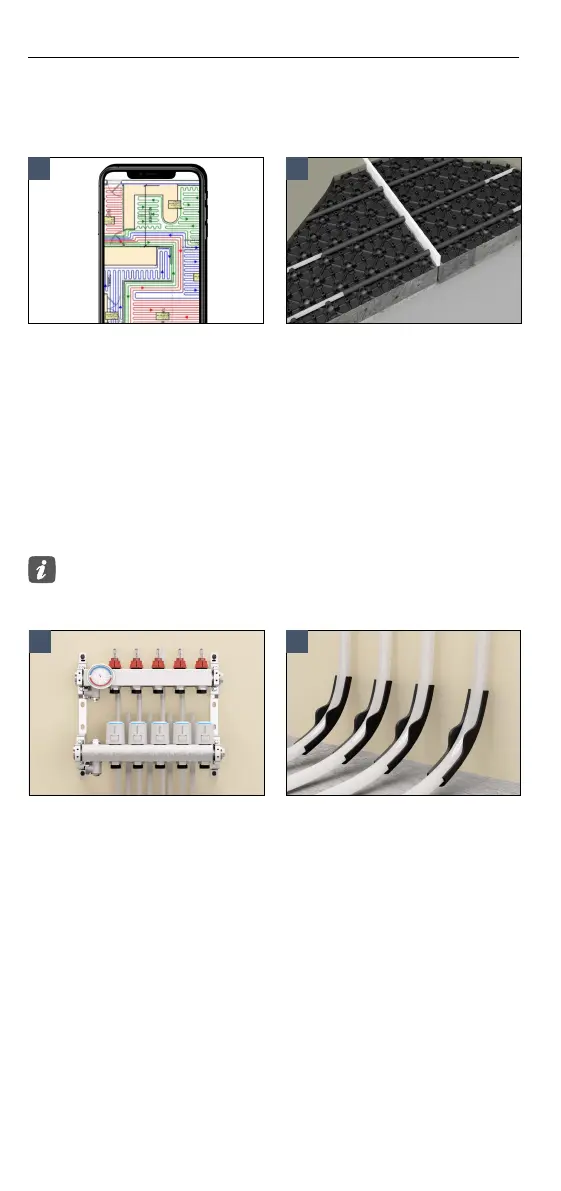
Step 3 - Lay the pipe
• Begin installing the pipe from the
manifold location. Leave excess
pipe at the manifold location
which can be cut later after the
pipe has been laid.
• Plan the circuit layout ensuring
that the ow and return pipes
can connect from the manifold
to their respective heated area
without crossing each other
and to minimize instances where
the pipe passes through
expansion joints.
• Any expansion joints present in
the sub oor must be continued
through the Nexxa-12 installation
layer.
Pipes that cross expansion
joints must be straight and
perpendicular to the joints. The
straight section must have a
length of conduit 600 mm long
centered on the expansion joint
to allow for movement.
1 2
3
Feed pipes normally go through doorways but to minimise
congestion, pipes can be fed through walls. Ensure holes drilled in the
wall are at oor level and the pipe is protected with a conduit.
If the project has been supplied with a set of working drawings, follow
the provided pipe layout. Ensure each circuits details are recorded in the
commissioning log provided in the Warmup Manifolds installation manual.
• Use Warmup Pipe Bend Supports
where the pipe exits the oor at
the manifold location.
4
Bekijk gratis de handleiding van Warmup VLo Nexxa-12, stel vragen en lees de antwoorden op veelvoorkomende problemen, of gebruik onze assistent om sneller informatie in de handleiding te vinden of uitleg te krijgen over specifieke functies.
Productinformatie
| Merk | Warmup |
| Model | VLo Nexxa-12 |
| Categorie | Niet gecategoriseerd |
| Taal | Nederlands |
| Grootte | 4711 MB |