Vevor 2402-UV25 handleiding
Handleiding
Je bekijkt pagina 10 van 118
9
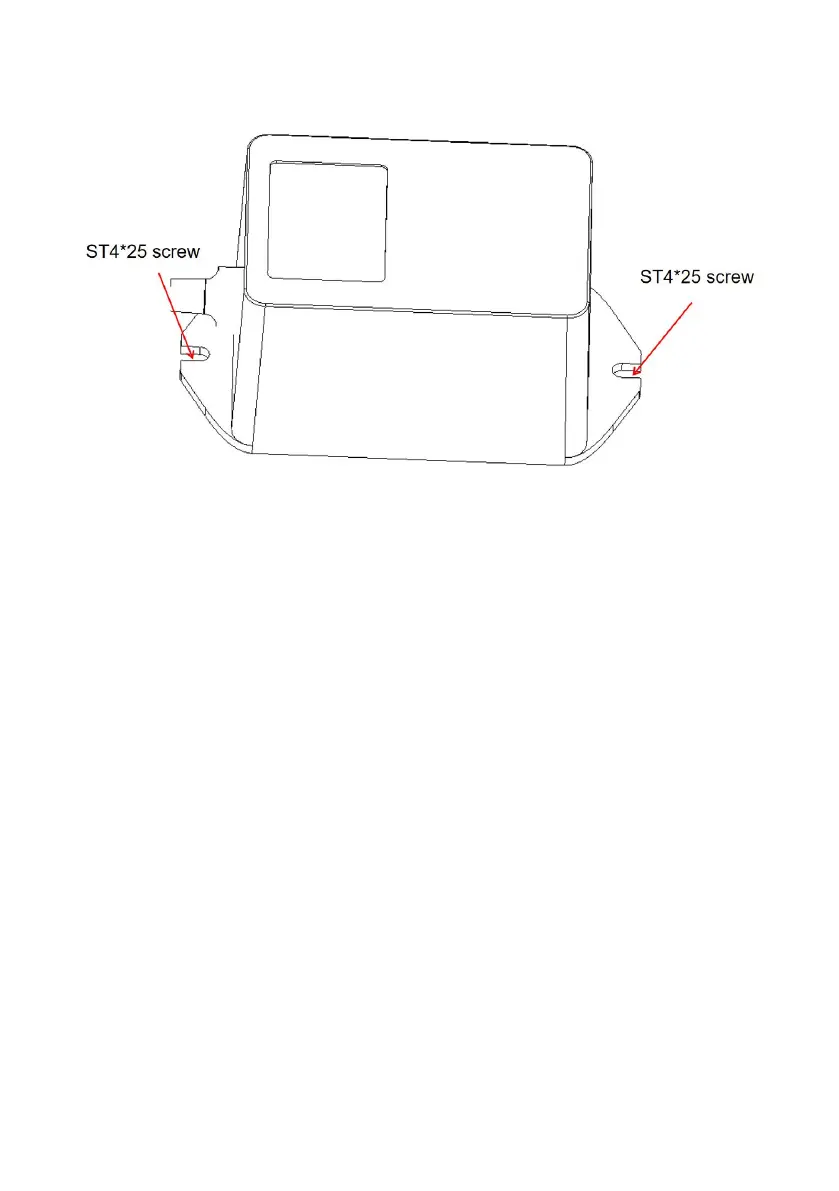
4.The ballast can be secured to the pipe wall by two screws.
Bulb Cleaning and Replacement
1. Disconnect the power to the HVAC system, unplug unit, and allow UV
bulb(s) to cool for at least 15 minutes before attempting to remove the unit.
2. Remove the 2 support screws and slide the unit from the pipe work
system.
3a. To Clean: Hold the unit securely and wipe the UV bulb(s) with a soft
cloth dampened with glass cleaner. If you touch the glass with your hand,
be sure to wipe away any fingerprints or dirt with cloth. Make sure the bulb
is clean and dry before installing unit back into duct.
3b. To Replace: Use of any bulb not approved for the unit will void the
warranty and could cause serious injury or damage. Hold the unit securely
and push the bulb release button to remove the UV bulb. Install the new
bulb into the unit by sliding the bulb in from the outside until the bulb snaps
into place. If you touch the bulb with your hand, be sure to wipe away any
fingerprints or dirt with a soft damp cloth. Make sure the bulb(s) is/ are
clean and dry before installing the unit back into the duct.
Bekijk gratis de handleiding van Vevor 2402-UV25, stel vragen en lees de antwoorden op veelvoorkomende problemen, of gebruik onze assistent om sneller informatie in de handleiding te vinden of uitleg te krijgen over specifieke functies.
Productinformatie
| Merk | Vevor |
| Model | 2402-UV25 |
| Categorie | Luchtreiniger |
| Taal | Nederlands |
| Grootte | 14310 MB |


