Handleiding
Je bekijkt pagina 26 van 185
Preparation Before Use
2-6
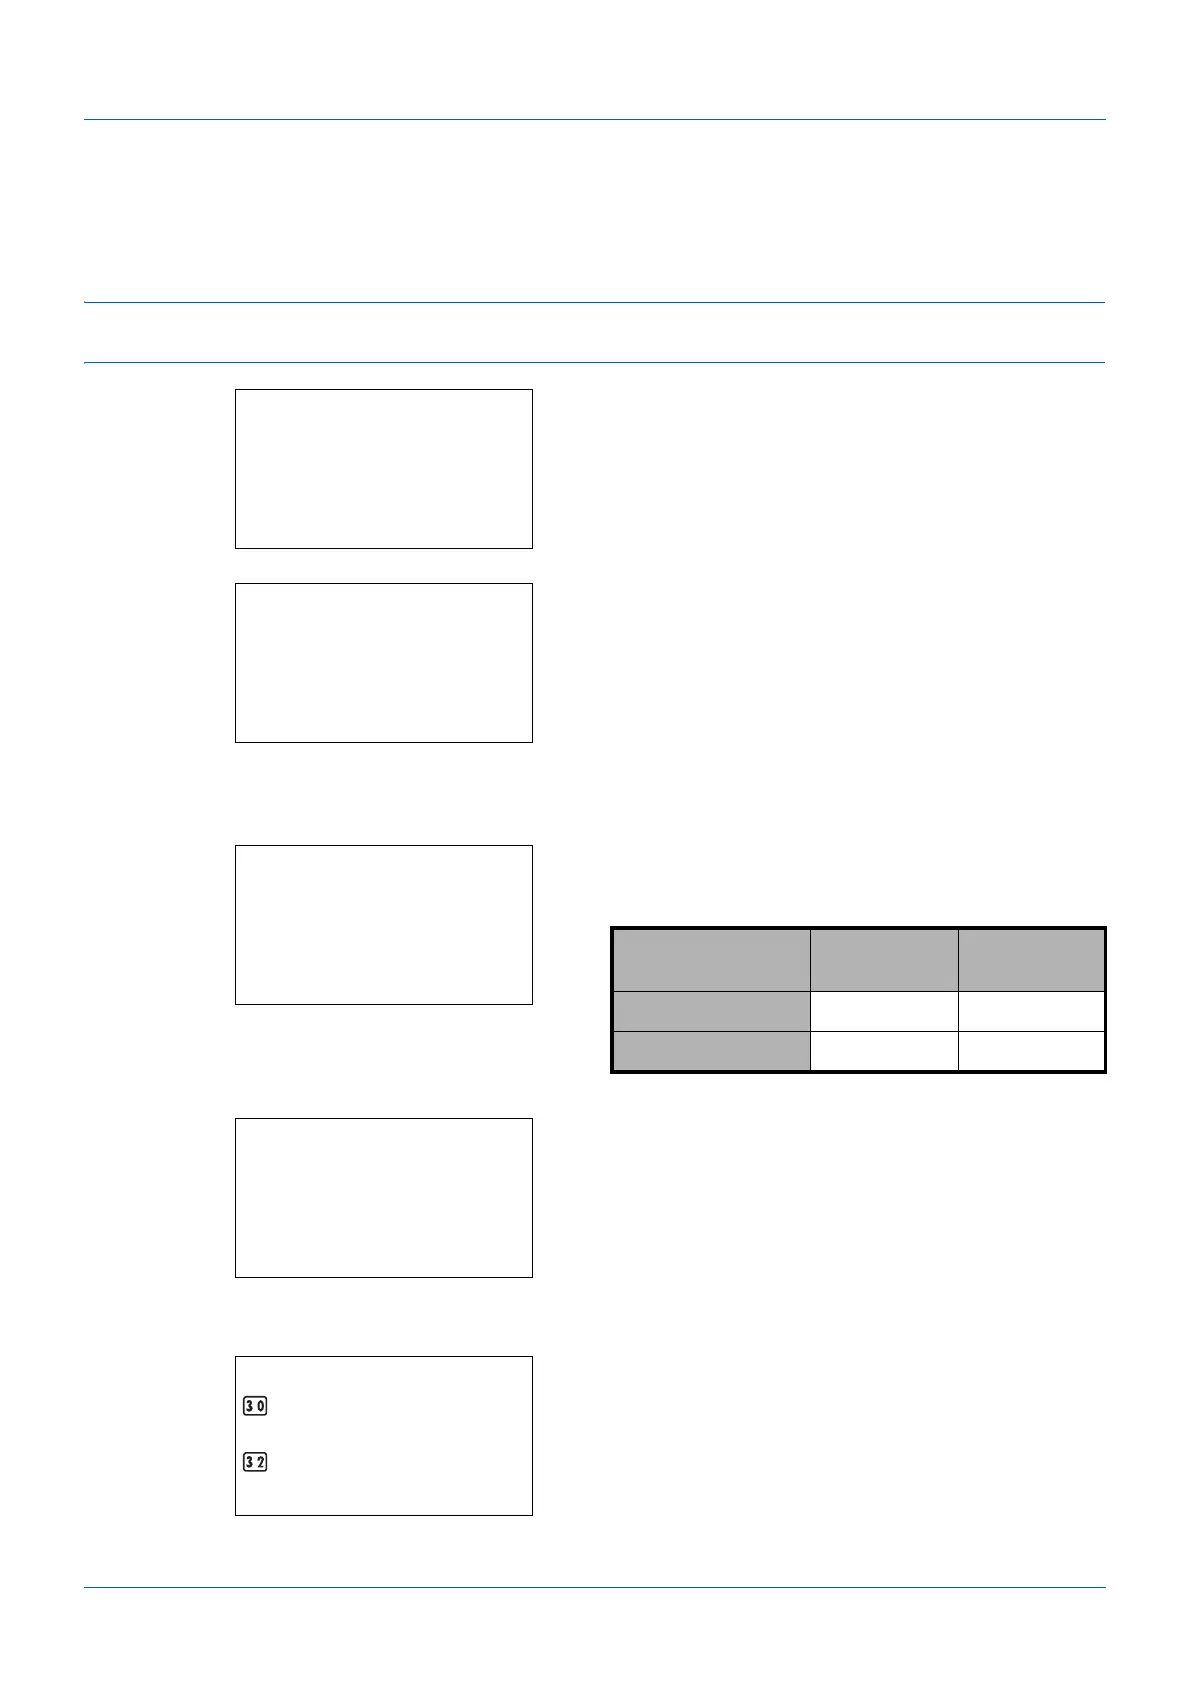
Date and Time Entry
Register the date and time of the machine’s built-in clock. Because the FAX delayed transmission is conducted based
on the time registered here, be sure to register the correct date and time.
IMPORTANT: Correct the time displayed on the operation panel regularly. The time displayed may deviate from the
current time due to errors.
1 In the Sys. Menu/Count. menu, press the or key to
select [Common Settings].
2 Press the OK key. The Common Settings menu appears.
3 Press the or key to select [Date Setting], and press
the OK key.
A login screen will appear. Then, enter the user ID and
password with administrator privileges to log in, and
press [Login] (the Right Select key).
4 The Date Settings menu appears.
5 Press the or key to select [Time Zone].
6 Press the OK key. Time Zone appears.
Sys. Menu/Count.:
a
b
3
System
4
User/Job Account
*********************
[ Exit ]
5
Common Settings
Common Settings:
a
b
*********************
2
Default Screen
3
Sound
[ Exit ]
1
Language
Login User Name:
L
b
*******************
Login Password:
[ Login ]
Model 30 ppm
model
35 ppm
model
Login User Name 3000 3500
Login Password 3000 3500
Date Setting:
a
b
*********************
2
Date Format
3
Time Zone
[ Exit ]
1
Date/Time
Time Zone:
a
b
GMT Casablanca
*********************
+01:00 Amsterdam
*GMT Greenwich
Bekijk gratis de handleiding van UTAX P-3525 MFP, stel vragen en lees de antwoorden op veelvoorkomende problemen, of gebruik onze assistent om sneller informatie in de handleiding te vinden of uitleg te krijgen over specifieke functies.
Productinformatie
| Merk | UTAX |
| Model | P-3525 MFP |
| Categorie | Printer |
| Taal | Nederlands |
| Grootte | 16460 MB |
Caratteristiche Prodotto
| Kleur van het product | Black, Grey |
| Gewicht | 18000 g |
| Breedte | 494 mm |
| Diepte | 430 mm |
| Hoogte | 448 mm |


