Handleiding
Je bekijkt pagina 146 van 267
5-40
Operation on the Machine > Scanning
Scan the Image by Selecting the Destination (Quick Scan)
Execute scanning from Client Tool.
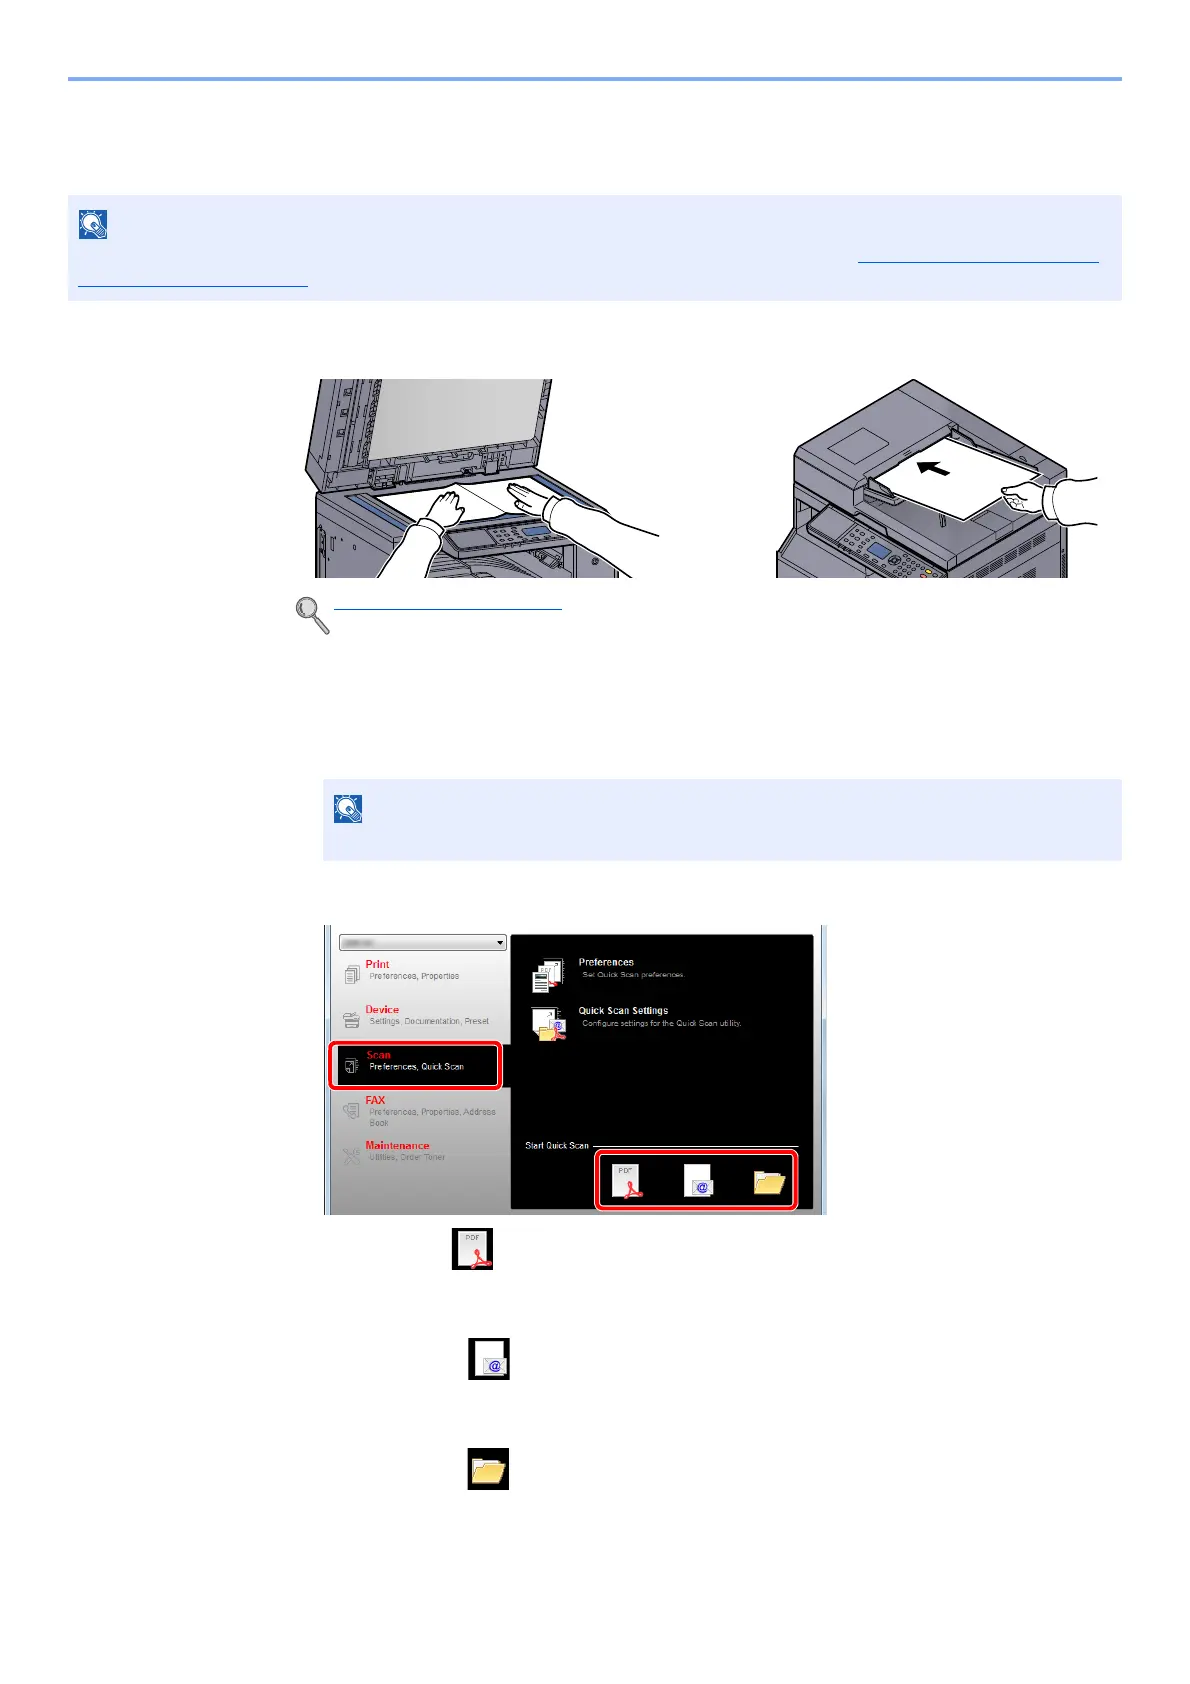
1
Place the originals on the machine.
2
Execute scanning on the Host PC.
1 Click [Start] button on the Windows and then select [All Programs], [Client Tool] and
[Client Tool] to start Client Tool.
2 Click [Scan to PDF], [Scan to E-mail] or [Scan to Folder] icon on the [Scan] tab.
• Scan to PDF
Scanning starts. When scanning finishes, the [Save PDF File As] dialog appears. Specify
the PDF file name and the folder in which the image will be saved.
• Scan to E-mail
Scanning starts. When scanning finishes, the mailer starts and the scanned image is
attached. Enter the address, subject and message, and then send.
• Scan to Folder
The [Browse for Folder] dialog appears. Specify the folder in which the image will be
saved, and click [OK]. Scanning starts.
NOTE
You need to configure the settings of Quick Scan and TWAIN using Client Tool. Refer to Default Settings on the PC
(Client Tool) on page 7-22.
Loading Originals (page 5-2)
NOTE
In Windows 8, select [Search] in charms, [Apps], and then [Client Tool].
1
2
Bekijk gratis de handleiding van UTAX 2256, stel vragen en lees de antwoorden op veelvoorkomende problemen, of gebruik onze assistent om sneller informatie in de handleiding te vinden of uitleg te krijgen over specifieke functies.
Productinformatie
| Merk | UTAX |
| Model | 2256 |
| Categorie | Printer |
| Taal | Nederlands |
| Grootte | 31573 MB |
Caratteristiche Prodotto
| Kleur van het product | Zwart |
| Ingebouwd display | Ja |
| Gewicht | 26000 g |
| Breedte | 565 mm |
| Diepte | 527 mm |


