Supermicro X14SBH handleiding
Handleiding
Je bekijkt pagina 28 van 140
2.3 Processor and Heatsink Installation
This section provides procedures to install the processor(s) and heatsink(s).
Notes:
l
Take industry standard precautions to avoid ESD damage. For details, see "Static-
Sensitive Devices" on page 25.
l
Before starting, make sure that the plastic socket cap is in place and none of the
socket pins are bent. If any damage is noted, contact your retailer.
l
Do not connect the system power cord before the processor and heatsink installation
is complete.
l
When handling the processor, avoid touching or placing direct pressure on the LGA
lands (gold contacts). Improper installation or socket misalignment can cause
serious damage to the processor or processor socket.
l
Install the processor in the socket and the motherboard into the chassis before
installing the heatsink.
l
When buying a processor separately, use only a Supermicro certified heatsink.
l
Refer to the Supermicro website for the most recent processor support.
l
Thermal grease is pre-applied on a new heatsink. No additional thermal grease is
needed.
LGA 4710 Socket E2 Processors
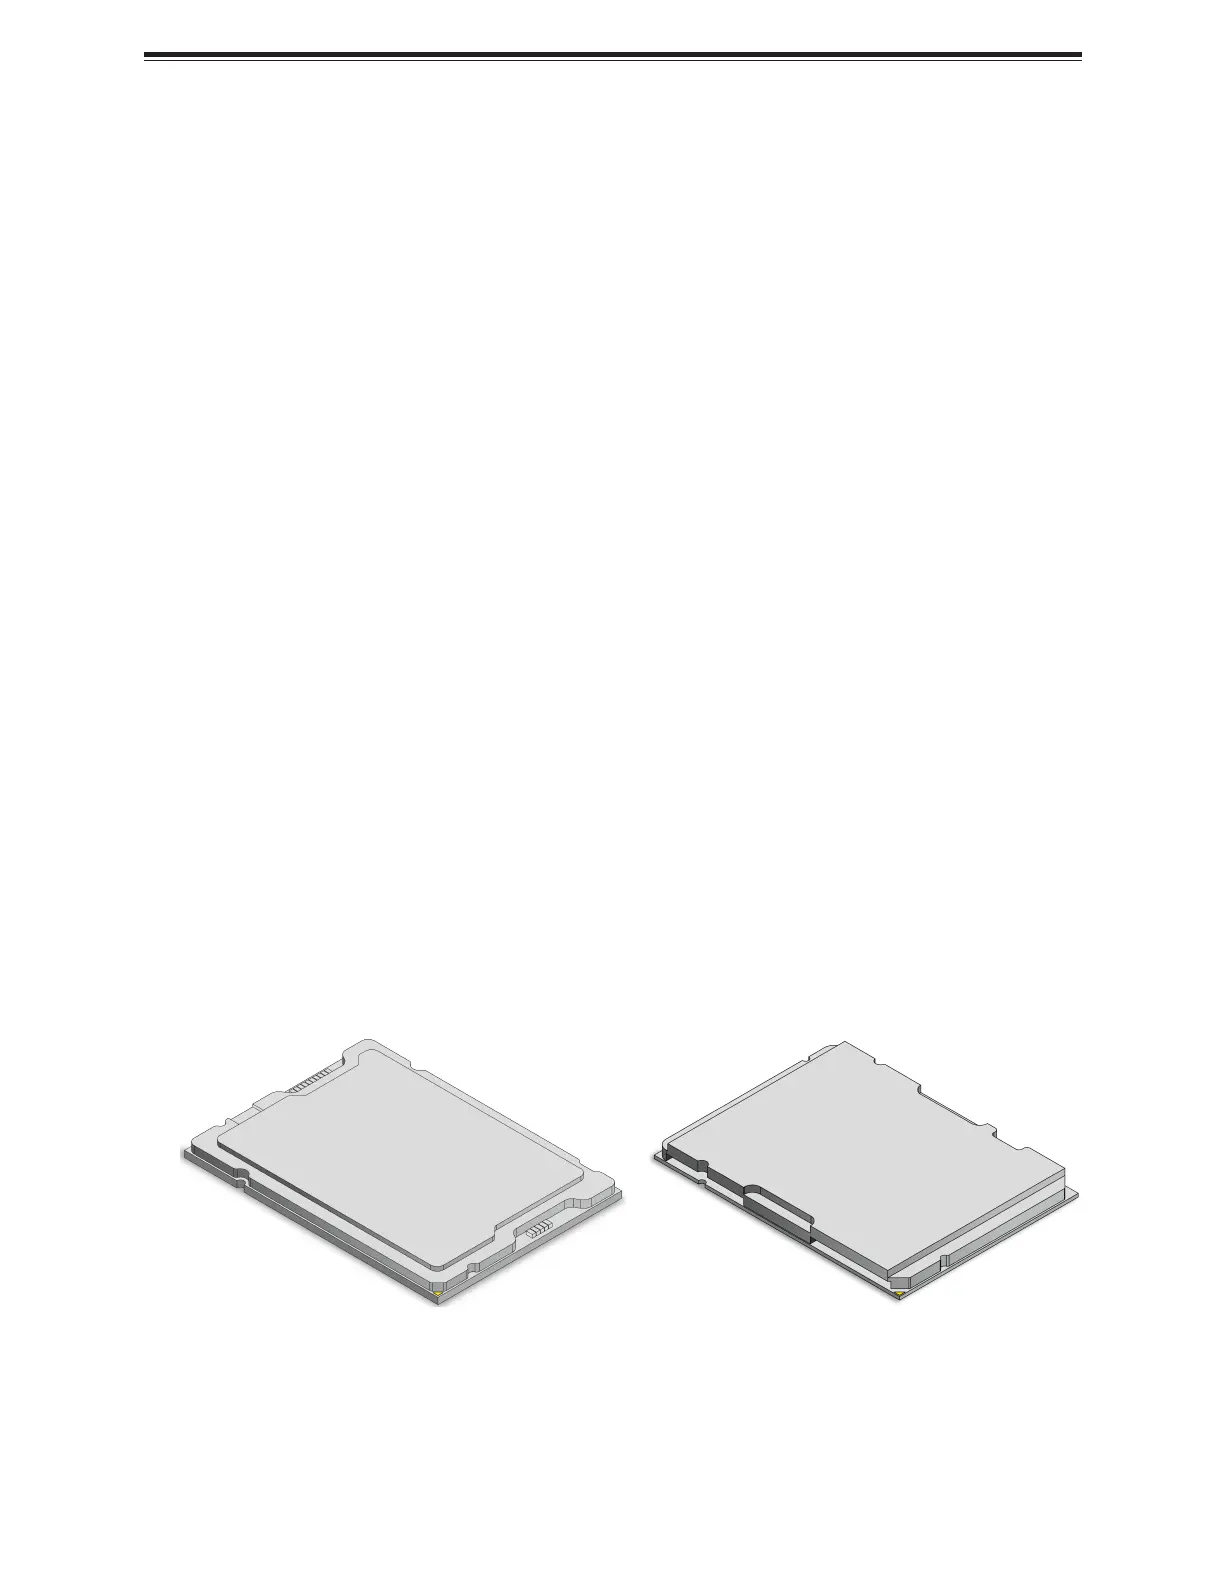
Processor Top View
Figure 2-3. Processor (SP XCC left, SP HCC/LCC right)
28
X14SBH: Component Installation
Bekijk gratis de handleiding van Supermicro X14SBH, stel vragen en lees de antwoorden op veelvoorkomende problemen, of gebruik onze assistent om sneller informatie in de handleiding te vinden of uitleg te krijgen over specifieke functies.
Productinformatie
| Merk | Supermicro |
| Model | X14SBH |
| Categorie | Niet gecategoriseerd |
| Taal | Nederlands |
| Grootte | 18469 MB |


