Stairville DJ Lase RGB Pro Advanced 3000 handleiding
Handleiding
Je bekijkt pagina 63 van 72
9 Plug and pin assignments
This chapter will help you select the right cables and plugs to connect your valuable equip‐
ment so that a perfect light experience is guaranteed.
Please take our tips, because especially in ‘Sound & Light’ caution is indicated: Even if a plug
ts into a socket, the result of an incorrect connection may be a destroyed DMX controller, a
short circuit or ‘just’ a not working light show!
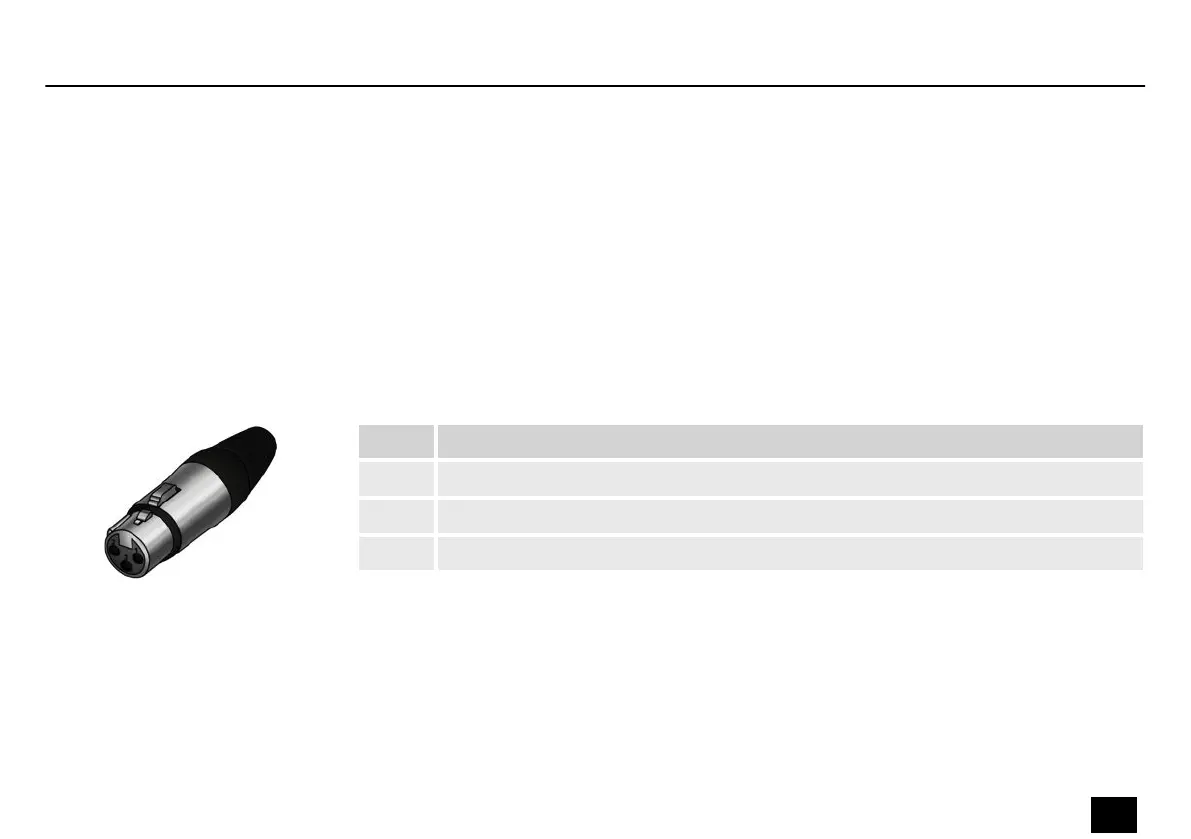
The unit oers a 3-pin XLR socket for DMX output and a 3-pin XLR plug for DMX input. Please
refer to the drawing and table below for the pin assignment of a suitable XLR plug.
Pin Conguration
1 Ground, shielding
2 Signal inverted (DMX–, ‘cold signal’)
3 Signal (DMX+, ‘hot signal’)
You can connect laser control units, that generate signals as standardized by the International
Laser Display Association to the ILDA input. The ILDA output of the unit can be connected to
other laser devices.
The ILDA interfaces are designed as 25-pin D-sub connectors. The drawing and table below
show the pin assignment.
Introduction
DMX connections
ILDA interface
Plug and pin assignments
DJ Lase RGB Pro Advanced 3000
63
Showlaser
Bekijk gratis de handleiding van Stairville DJ Lase RGB Pro Advanced 3000, stel vragen en lees de antwoorden op veelvoorkomende problemen, of gebruik onze assistent om sneller informatie in de handleiding te vinden of uitleg te krijgen over specifieke functies.
Productinformatie
| Merk | Stairville |
| Model | DJ Lase RGB Pro Advanced 3000 |
| Categorie | Verlichting |
| Taal | Nederlands |
| Grootte | 4580 MB |


