Handleiding
Je bekijkt pagina 51 van 63
51
E
Menu Items
■ Schedule
You can set the time to switch the monitor on and off.
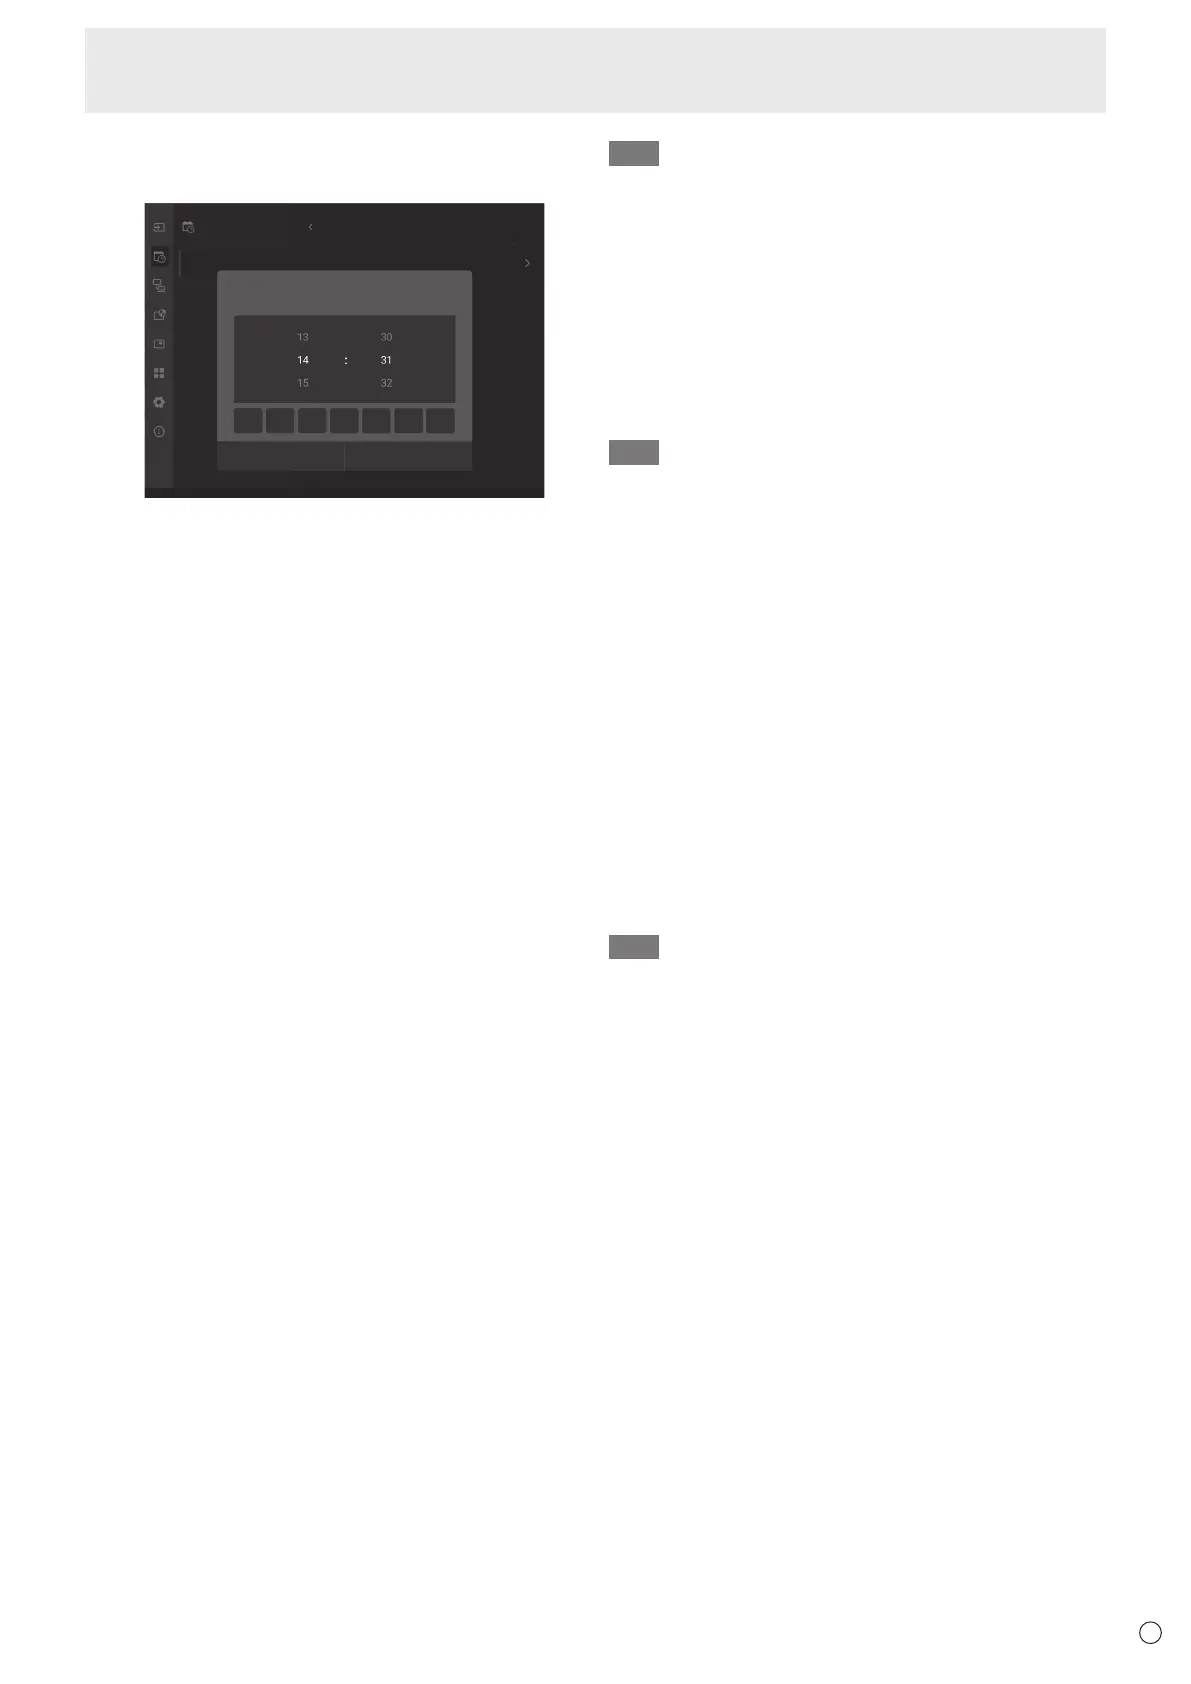
Schedule Add Power On Schedule
Power
O
Reboot
Overvie
w
Reset
Power On
Power On Schedule
Cancel Save
Sun. Mon. Tue. Thu. Fri.Web.
Add Power On Schedule
Sat.
First, display “Schedule” from the Admin Settings menu. (See page
46.)
Turning on the power at a specified time
1. Touch “Add Power On Schedule” under “Power On”.
2. Select the time you want to specify.
3. Touch the day of the week you want to specify.
4. Touch “Save”.
Turning off the power at a specified time
1. Touch “Add Power O Schedule” under “Power O ”.
2. Select the time you want to specify.
3. Touch the day of the week you want to specify.
4. Touch “Save”.
Reboot at a specified time
1. Touch “Add Reboot Schedule” under “Reboot”.
2. Select the time you want to specify.
3. Touch “Save”.
Android system can be restarted at the specied time.
Displaying a list of set schedules
1. Touch “Overview” under “Schedule”.
2. Touch the schedule you want to change.
If you want to change the time, etc., or delete a schedule, you can
do so from the details screen.
TIP
• Do not switch o the main power after setting the schedule.
• The Date and time/Set time needs to be set before setting the
Schedule. (See page 49.)
• Each schedule must be set at an interval of 6 minutes or more.
• Up to 15 dierent schedules can be created.
• To ensure stable operation, the Android system needs to be
restarted once a day.
■ About remote control numbers
If there is another monitor nearby, you can change the remote control
number to prevent the other monitor from being operated by the
remote control unit.
Set the same number in the monitor and in the remote control unit.
TIP
• You can set remote control numbers to values from 0 to 25.
• When the remote control unit batteries become exhausted and
when you replace the batteries, the number on the remote control
unit may be reset to 0.
Changing the remote control number on the monitor
This is set in “Monitor ID” in the Admin Settings menu.
(See page 48.)
Set the remote control number on the remote control side
1. While pressing the REMOTE ID SET button on the remote
control, press the numbers for the remote control number.
• The number that can be set is between 0 and 25. Enter the
numbers without any gaps.
• If set to “0”, all displays can be operated, regardless of the
remote control number on the display side.
2. Release the REMOTE ID SET button.
The remote control number is set on the remote control unit.
Checking the remote controller number
1. Press the REMOTE ID SET button on the remote control unit.
The remote control number will appear on this monitor.
If it appears in red, the remote control numbers on this monitor and
remote control unit match.
If it appears in white, the remote control numbers do not match.
TIP
• To disable the remote control number on the remote control side,
press and hold the REMOTE ID CLEAR button for more than 5
seconds.
Bekijk gratis de handleiding van Sharp LM551, stel vragen en lees de antwoorden op veelvoorkomende problemen, of gebruik onze assistent om sneller informatie in de handleiding te vinden of uitleg te krijgen over specifieke functies.
Productinformatie
| Merk | Sharp |
| Model | LM551 |
| Categorie | Monitor |
| Taal | Nederlands |
| Grootte | 8112 MB |


