Handleiding
Je bekijkt pagina 232 van 516
Specifying the forwarding destination using Web Image Monitor
1. Start the web browser and access the machine by entering its IP address.
The top page of Web Image Monitor appears.
2. Click [System Settings].
3. Click the [Fax] tab.
4. Specify the forwarding destination in [Forwarding Destination].
• [E-mail Address]: Enter a destination e-mail address.
• [Scan Destination]: Select a scan destination as a forwarding destination.
5. Enter the administrator password.
6. Click [OK].
7. Close the web browser.
For details about using Web Image Monitor, see page 341 "Configuring the System Settings".
Configuring the storing conditions
To specify the storing conditions for received faxes, configure the machine as follows:
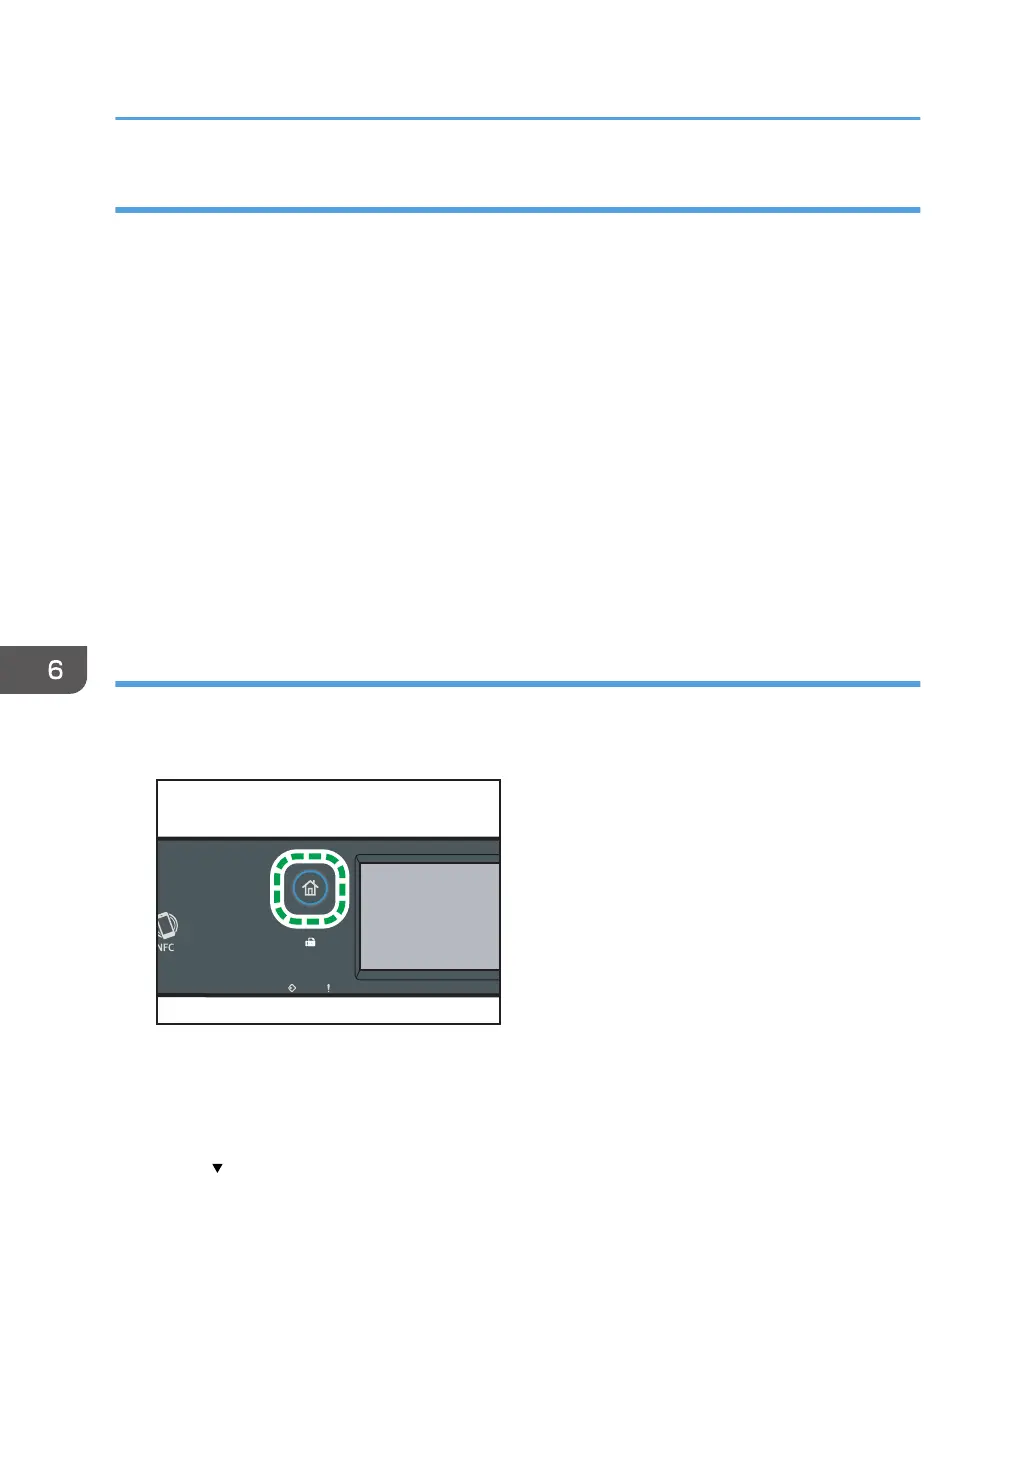
1. Press the [Home] key.
DYG322
2. Press the [Setting] icon on the [Home] screen.
3. Press [Fax Features].
4. Press [Reception Settings].
5. Press [ ].
6. Press [Reception File Sett.].
7. Select [Print] or [Forward].
8. Press [Print Received File].
6. Sending and Receiving a Fax
230
Bekijk gratis de handleiding van Ricoh M 320F, stel vragen en lees de antwoorden op veelvoorkomende problemen, of gebruik onze assistent om sneller informatie in de handleiding te vinden of uitleg te krijgen over specifieke functies.
Productinformatie
| Merk | Ricoh |
| Model | M 320F |
| Categorie | Printer |
| Taal | Nederlands |
| Grootte | 35151 MB |
Caratteristiche Prodotto
| Soort bediening | Touch |
| Kleur van het product | Black, White |
| Ingebouwd display | Ja |
| Gewicht | 18000 g |
| Breedte | 405 mm |


