RaySafe Pro Digi Phantom handleiding
Handleiding
Je bekijkt pagina 3 van 6
3
Pro-Digi User Manual – Test procedure
TEST PROCEDURE
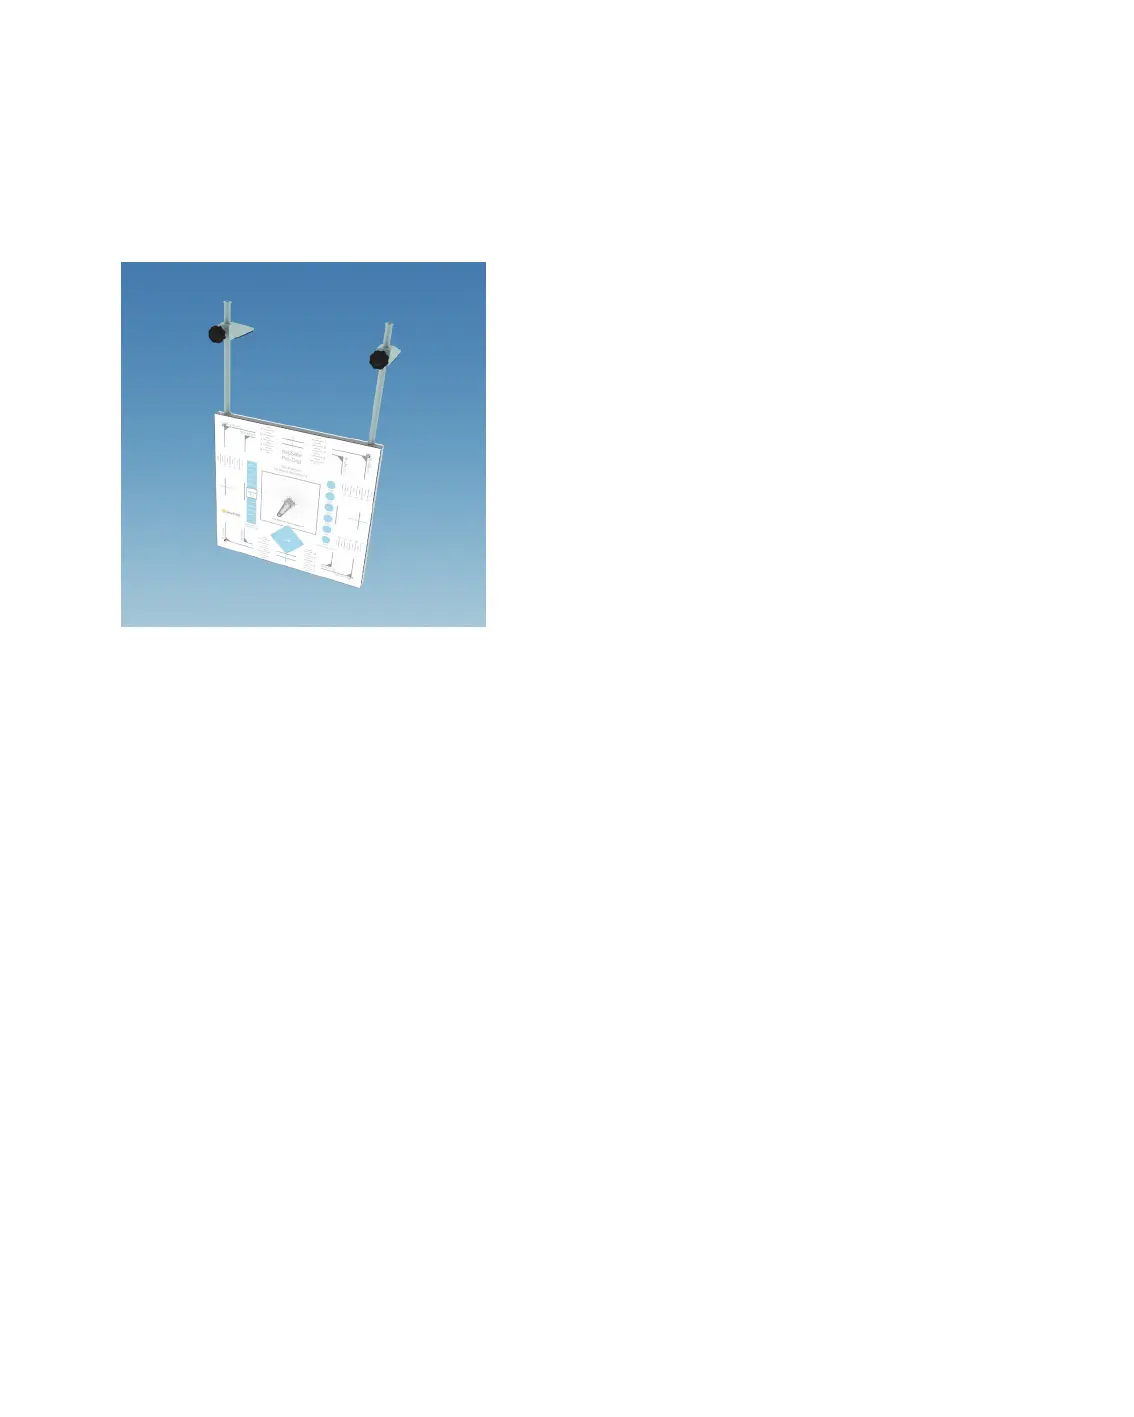
1. Place the Pro-Digi phantom on the table. (Bucky holder should be used when performing tests on bucky
grid wall stand).
2. Set the distance between the focal spot and the detector (FDD) to at least 1 m. Make a note of the FDD.
3. Position the phantom so its center and main axis align with the light marker of the apparatus.
4. Narrow the light field (which should represent the X-ray field) to the chosen markings on the phantom.
5. It is advised to use an additional 25 mm aluminium filter (patient equivalent) in this test. The Al 25 filter
should be mounted in rails under the X-ray tube or placed above the phantom on the Stand. An additional
Cu 1 mm filter should be attached to Al 25 while performing tests above 100kV.
6. Mount the cone if the perpendicularity will be tested. (See “Central beam alignment” on page 5.)
7. Make the exposure. You can use automatic or manual mode to produce desired contrast.
8. For constancy testing, be sure to always use the same generator settings.
9. Send the image to the workstation. All test results should be evaluated using raw images (without any post-
processing) and diagnostic quality monitors. Analyze the image and evaluate according to the examples on
the following pages.
NOTE! Be sure to comply with your local regulations.
Bekijk gratis de handleiding van RaySafe Pro Digi Phantom, stel vragen en lees de antwoorden op veelvoorkomende problemen, of gebruik onze assistent om sneller informatie in de handleiding te vinden of uitleg te krijgen over specifieke functies.
Productinformatie
| Merk | RaySafe |
| Model | Pro Digi Phantom |
| Categorie | Niet gecategoriseerd |
| Taal | Nederlands |
| Grootte | 1058 MB |


