PAX Eos 100H handleiding
Handleiding
Je bekijkt pagina 33 van 42
33
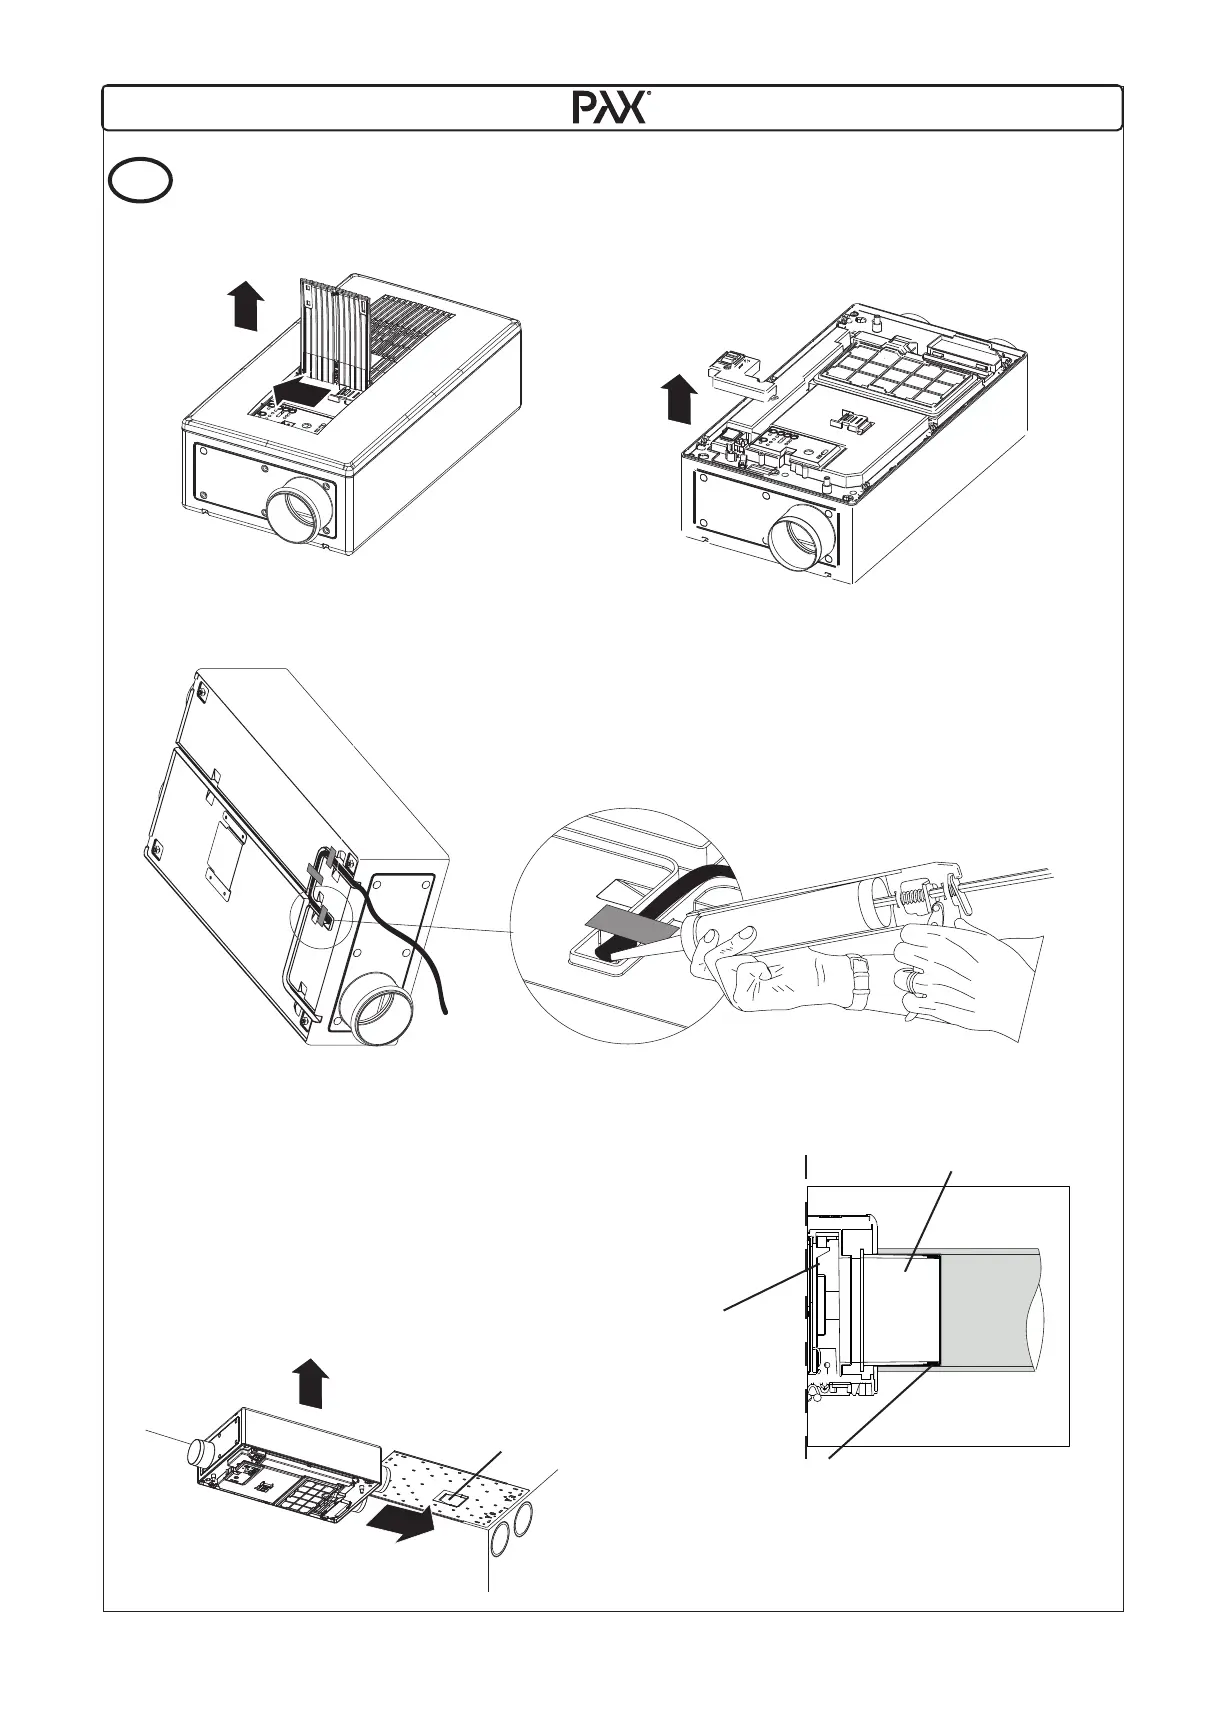
[13] If Eos has no connection cable, must it pre-installed before Eos is put into place.
A: Pull the lever sideways to unlock the front panel
B: Remove the front panel to release it.
C: Remove the two screws holding the terminal box cover.
[13]
[15] When the unit is lifted into place:
Press the assembly against the ceiling mounting plate
while as the unit moved against SA / EA air ducts.
The mounting plate has a hook arrangement (A)
matches in a corresponding part of the unit.
The hook is an aid that unit temporary can hang out in
while the screws pulled, see Figure [16].
[14] The back of the unit is prepared with cable channels for cable.
There are three possible ways to assemble the connecting cable.
Place the unit on the side and through a sufficient length of cable,
then fix the cable with tape pieces so it stays in place
in the channel when the unit is mounted.
Seal the entrance with sealant.
[14]
[15]
Sealing rings are pre-in-
stalled around the adap-
ter to seal the between
adapter and duct.
Installation.
UK
(C)(B)
(A)
Duct.
Adapter
Unit
(A)
Bekijk gratis de handleiding van PAX Eos 100H, stel vragen en lees de antwoorden op veelvoorkomende problemen, of gebruik onze assistent om sneller informatie in de handleiding te vinden of uitleg te krijgen over specifieke functies.
Productinformatie
| Merk | PAX |
| Model | Eos 100H |
| Categorie | Ventilator |
| Taal | Nederlands |
| Grootte | 6150 MB |


