NovaStar H9 handleiding
Handleiding
Je bekijkt pagina 13 van 95
H Series Video Wall Splicers User Manual
www.novastar.tech
10
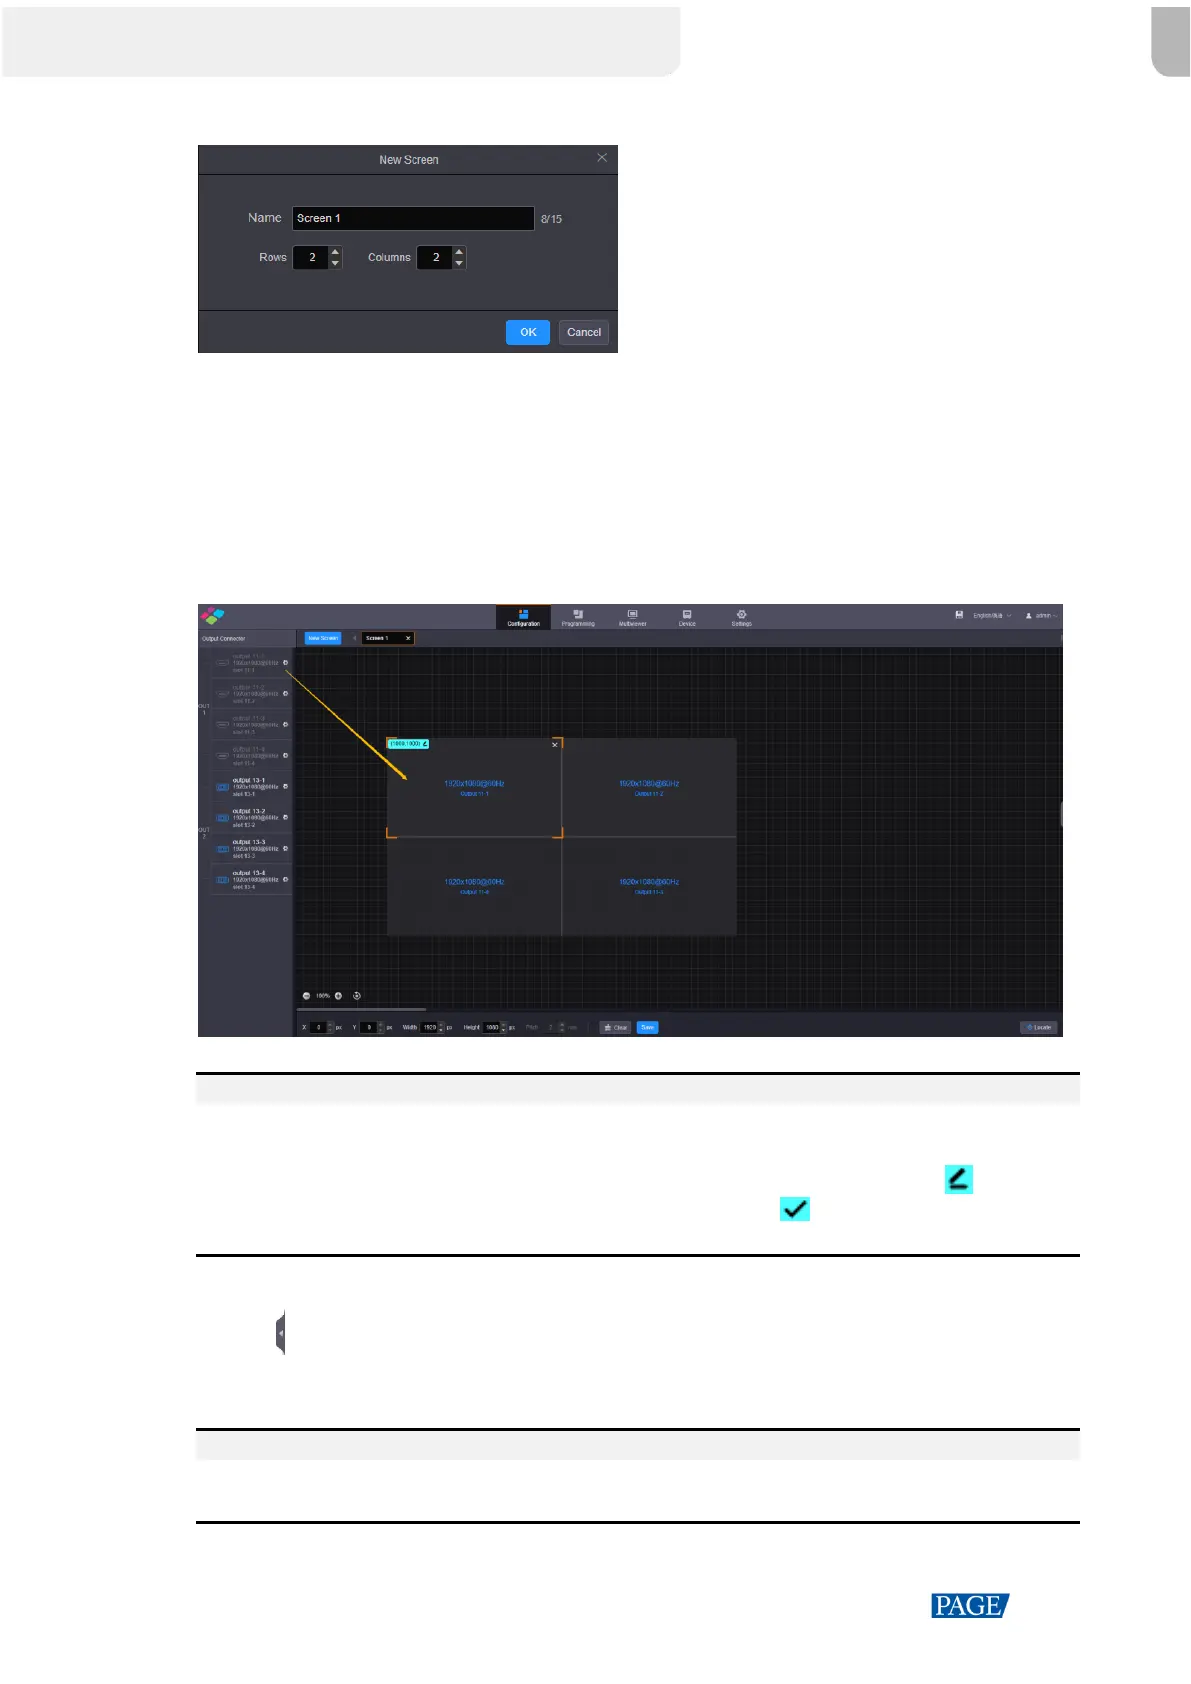
Figure 3-6 New screen
Step 3 Enter a screen name. You can name the screen according to its location or input, which is easier for you to
identify the screen quickly and precisely when operating the layers, presets and so on.
Step 4 Set the quantities of the rows and columns based on the screen structure.
Step 5 Select the desired output card to load the screen, and then click and drag the video output card to the screen.
Step 6 Click Save to save the screen settings.
Figure 3-7 LCD screen configuration
Notes
On the screen configurations page, click Locate at the bottom right, and the location information appears on
the loaded screen, which is easier for you to configure the screen.
For quickly locating the screen position in the editing area, select the loaded screen and click at the top
left next to the coordinates to enter the values of X and Y, and then click . The initial position is at the top
left of the editing area.
Step 7 Set the LCD bezel compensation.
1. Click on the right edge to expand the screen properties pane.
2. Check the box in front of LCD Bezel Compensation to turn on the bezel compensation function.
3. Enter the values in the H Spacing and V Spacing text boxes based on the LCD edge width.
Note
When there is a spacing between two screens, the values of H Spacing and V Spacing are set to the edge
width plus the half spacing. The unit is pixel.
Bekijk gratis de handleiding van NovaStar H9, stel vragen en lees de antwoorden op veelvoorkomende problemen, of gebruik onze assistent om sneller informatie in de handleiding te vinden of uitleg te krijgen over specifieke functies.
Productinformatie
| Merk | NovaStar |
| Model | H9 |
| Categorie | Niet gecategoriseerd |
| Taal | Nederlands |
| Grootte | 17657 MB |


