Nord Piano 6 handleiding
Handleiding
Je bekijkt pagina 8 van 40
8 | NORD PIANO 6 USER MANUAL OS V1.1X
3
GETTING STARTED
Let’s spend a few minutes getting acquainted with the most
fundamental features of the Nord Piano 6, and go through some
common tasks and scenarios in a stepwise fashion.
HOOKING IT UP
1 Connect the power cord to the Nord Piano 6 and a mains power
supply, connect the sustain pedal and a set of headphones or a
sound system.
2 Make sure to turn on the Nord Piano 6 first, before the sound
system. Please be careful with the output volume!
For more information on all the connections of the Nord Piano 6, see the
Connections section on page 31.
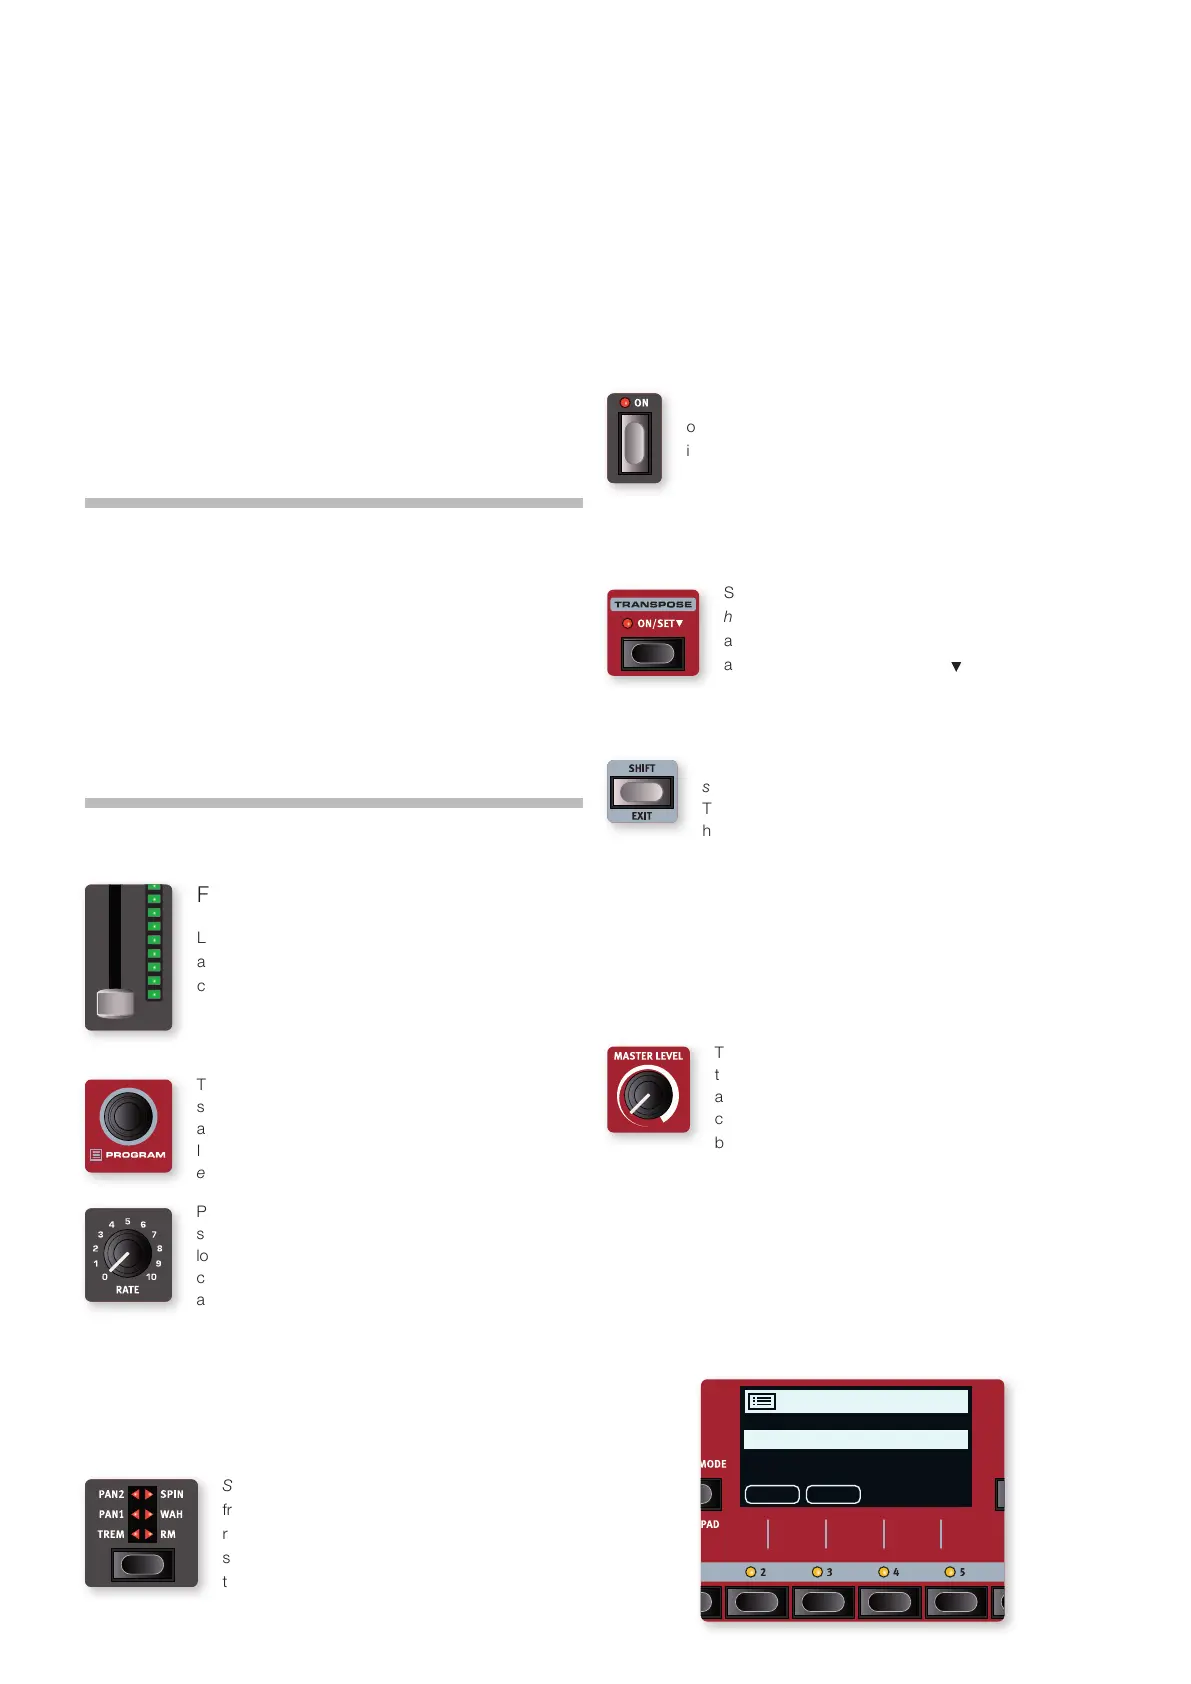
PANEL CONTROLS
FADERS
Layer A and B faders consist of a physical slider and
an LED graph which provides a visual indication of the
current volume level of a Layer.
DIALS AND KNOBS
The dials on the Nord Piano 6 are knobs without fixed
start and stop positions, used for navigating parameters
and settings. The PROGRAM dial is one such example.
In this manual, dials are sometimes also referred to as
encoders.
Potentiometer-type knobs are used for most panel
settings on the Nord Piano 6. When a program is
loaded the physical positions of these knobs will in most
cases not correspond to the stored values. As soon
as a knob is turned however, its associated parameter
value will “snap” to the knob’s position.
l To monitor the current value of any knob parameter, press and hold
the SHIFT button while turning that knob.
BUTTONS
Selector buttons are used for selecting one setting
from a group of available options. They have a set of
round or triangular LEDs to indicate the current
setting. Press the button several times to cycle
through the possible settings.
ON/OFF buttons are used for activating a function or a group
of functions such as effects and have a LED close to them to
indicate the on/off status.
BUTTON HOLD FUNCTIONS
Some buttons, such as that for the Transpose, can be
held down in order to access a function or make
additional settings, indicated by the text being
accompanied by a down arrow ( ).
THE SHIFT BUTTON
Many panel controls on the Nord Piano 6 have a
secondary function, which is printed immediately below it.
These additional functions are accessed by pressing and
holding SHIFT while operating the control.
l Most Shift functions can also be activated by keeping their
associated button pressed for a short period of time.
The Shift button is also used to EXIT a menu or to cancel an ongoing
Store operation.
MASTER LEVEL
The Master Level knob sets the overall output level of
the instrument, both for the Left/Right outputs and for
any connected headphones. Unlike most other panel
controls, its value is not stored with individual programs
but will always have the level to which it is physically set.
SOFT BUTTONS
Menu and settings pages – as well as the Organize view, shown below
– may contain several related options in which case “soft buttons” are
used for focusing a setting or performing a task. Soft buttons are placed
at the bottom of the display and are controlled with the PROGRAM 2-5
buttons. For example, pressing Program button 2 in the example below
will select Program A:24 for a Swap operation.
Program Organize
Swap
Move
A:23 Pearl Drops
A:24 Bright Vibe Mk I
A:25 Noir Split
A:26 2 Osc Bass
Bekijk gratis de handleiding van Nord Piano 6, stel vragen en lees de antwoorden op veelvoorkomende problemen, of gebruik onze assistent om sneller informatie in de handleiding te vinden of uitleg te krijgen over specifieke functies.
Productinformatie
| Merk | Nord |
| Model | Piano 6 |
| Categorie | Niet gecategoriseerd |
| Taal | Nederlands |
| Grootte | 5117 MB |


