NEO Tools 90-002 handleiding
Handleiding
Je bekijkt pagina 6 van 28
9. Rear Grill
10. Motor
11. Motor Cover
12. Grill Ring Lock Nut
13. Grill Ring
14. Control Panel
15. Fixed Screw
16. Power cord
17. SS Holder
18. Holder Lock Nut
19. Main Holder
20. Base
21. Gasket
22. Fixed Screw
CONTROL PANEL
23. Mode : Nature / Sleep/Normal
24. Speed: Low/Mid/High
25. Timer : 0.5H - 7.5H
26. Button
27. Speed select
28. Power
REMOTE CONTROL
29. Oscillation
30. Speed
31. Timer
32. Mode
33. Power
ASSEMBLY INSTRUCTION
34. Take all of the appliance parts out of the packaging and remove all
packaging materials and inserts.
35. Insert the main holder (15) into the base (16), and tight up by the
holder fixed screw (17) (18).
36. Turn up the SS holder (13), and tight up by holder lock nut (14)
37. Insert the control panel (10), into the SS holder (13), and tight up by
fixed screw (11)
38. Put the rear grill (5) on the motor cover (7), and tight up by the grill
lock nut (4)
39. Put the blade (3) on the motor (6), and tight up by blade lock nut (2)
40. Put the front grill (1), to match the rear grill (5), and tight up the grill
ring, fixed by grill ring lock nut.
OPERARION INSTRUCTION
POWER
Press the button of ON/OFF (6), to select power on / off the appliance.
SPEED
Press the button of ON/OFF (6) , to power on the appliace.
Press the button of SPEED (5), to select the fan speed.
3 speed for select: (Low - Mid - High).
MODE
Press the button of ON/OFF (6) , to power on the appliace.
Press the button of MODE, to select the fan mode.
3 mode for select: (NATURE / SLEEP/ NORMAL).
The default mode is NORMAL, and the SLEEP/NATURE mode with the
indicator
TIMER
Press the button of ON/OFF (6) , to power on the appliance.
Press the button of TIMER to the desired time period (0.5-7.5 Hours).
It will now remain in operation until the selected period of time runs out.
After the timer runs over , the device will turn off.
OSCILLATION
Press the button of ON/OFF (6) , to power on the appliace.
Press the button of OSCILLATION, appliance will swing from Left to Right.
REMOTE CONTROL
All the function above can be setting by remote control
BATTERY CHANGE
Pull out the battery holder on the bottom of the remote control by
pushing the latch inside the remote control, then slide out the handle.
Insert a new CR 2025 battery, observing the correct polarity (+/-).
Close the battery cover.
RECYCLING
Electrical equipment must not be disposed off
household waste and, instead, should be utilized at
appropriate facilities. Information on utilization can be
provided by the product vendor or the local authorities.
Waste electrical and electronic equipment contains
substances that are not neutral to the natural
environment. Equipment that is not recycled constitutes
a potential hazard to the environment and to human
health.
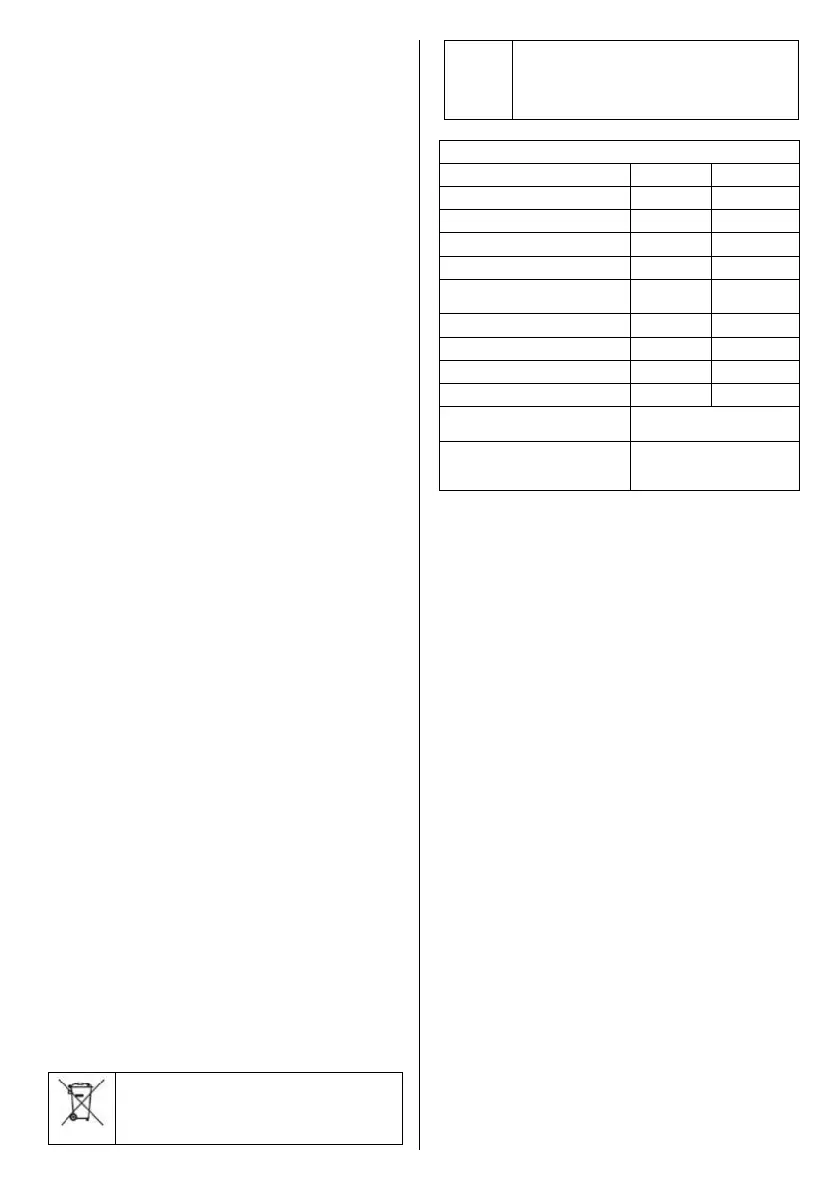
APPLIANCE SPECIFICATIONS
90-002
PARAMETR
SYMBOL
VALUE
Rated voltage
V
230V
Rated frequency
f
50Hz
Maximum fan flow rate
F
60.88 m3/min
Rated power
P
45 W
Service value
SV
1.79
(m3/min)/W
Standby power consumption
P
SB
0.39 W
Fan sound power level
L
WA
53.5 dB(A)
Maximum air velocity
c
2.73 m/s
Protection class
II
Standard for measuring operational
value
Commission Regulation (EU)
206/2012 of 6 March 2012
Additional information
Grupa Topex Sp. z o. o. Sp. k.
ul. Pograniczna 2/4, 02-285
Warszawa
DE
BEDIENUNGSANLEITUNG
STAND & TISCHLÜFTER 40 CM
90-002
HINWEIS: BEVOR DAS GERÄT ZUM ERSTEN MAL VERWENDET WIRD,
LESEN SIE DIESE BEDIENUNGSANLEITUNG UND BEWAHREN SIE SIE
FÜR ZUKÜNFTIGE REFERENZEN AUF.
DETAILLIERTE SICHERHEITSVORSCHRIFTEN
a) Dieses Gerät darf von Kindern im Alter von mindestens 8 Jahren sowie
von Personen mit eingeschränkten körperlichen und geistigen
Fähigkeiten und Personen, die mit dem Gerät nicht vertraut sind,
verwendet werden, sofern dies überwacht oder in Bezug auf die
sichere Verwendung des Geräts überwacht wird dass die Bedrohungen
verständlich waren. Kinder sollten nicht mit dem Gerät spielen.
Unbeaufsichtigte Kinder sollten die Geräte nicht reinigen oder warten.
b) Vergewissern Sie sich vor dem Entfernen der Abdeckung, dass der
Lüfter von der Stromversorgung getrennt ist.
WARNUNG! Das Gerät wird für Arbeiten in Innenräumen verwendet.
Warnung:
1. Führen Sie Ihre Finger oder andere Gegenstände nicht in das Gitter
oder bewegliche Teile ein wenn der Lüfter läuft.
2. Stellen Sie den Ventilator nicht in der Nähe von Fenstervorhängen
oder auf unebenen Böden auf.
3. Vermeiden Sie Orte mit Benzin, Benzin und solchen, die den Lüfter
bedrohen nass werden.
4. Bei ungewöhnlichen Geräuschen oder anderen Unregelmäßigkeiten
im Betrieb, Sofort aus dem Betrieb nehmen und den Lüfter an den
Hersteller zurücksenden oder ein autorisierter Reparaturdienst.
5. Wenn das Versorgungskabel beschädigt ist, muss es vom Hersteller
ersetzt werden.Servicevertreter oder ähnlich qualifizierte Person, um
dies zu vermeiden Bedrohungen.
6. Versuchen Sie nicht, den Lüfter zu zerlegen oder zu reparieren, falls
er falsch ist Arbeit. Senden Sie den Lüfter zur Reparatur an ein
autorisiertes Servicecenter.
7. Dieser Lüfter ist nicht zur Verwendung durch Personen
(einschließlich Kinder) mit eingeschränkter Leistung vorgesehen
körperliche, sensorische oder geistige Fähigkeiten oder mangelnde
Erfahrung und Wissen, es sei denn, sie wurden beaufsichtigt oder
unterwiesen über die Verwendung des Lüfters durch eine für ihre
Sicherheit verantwortliche Person.
8. Kinder sollten beaufsichtigt werden, damit sie nicht mit dem
Ventilator spielen können.
Bekijk gratis de handleiding van NEO Tools 90-002, stel vragen en lees de antwoorden op veelvoorkomende problemen, of gebruik onze assistent om sneller informatie in de handleiding te vinden of uitleg te krijgen over specifieke functies.
Productinformatie
| Merk | NEO Tools |
| Model | 90-002 |
| Categorie | Ventilator |
| Taal | Nederlands |
| Grootte | 5802 MB |


