Milwaukee M12 2446-20 handleiding
Handleiding
Je bekijkt pagina 4 van 16
4
Bulk Grease Loading
Bulk grease can be loaded 2 ways, using the cylinder
for suction loading, or using a pump to load grease
through a coupler.
Suction Loading
1. Remove the battery pack.
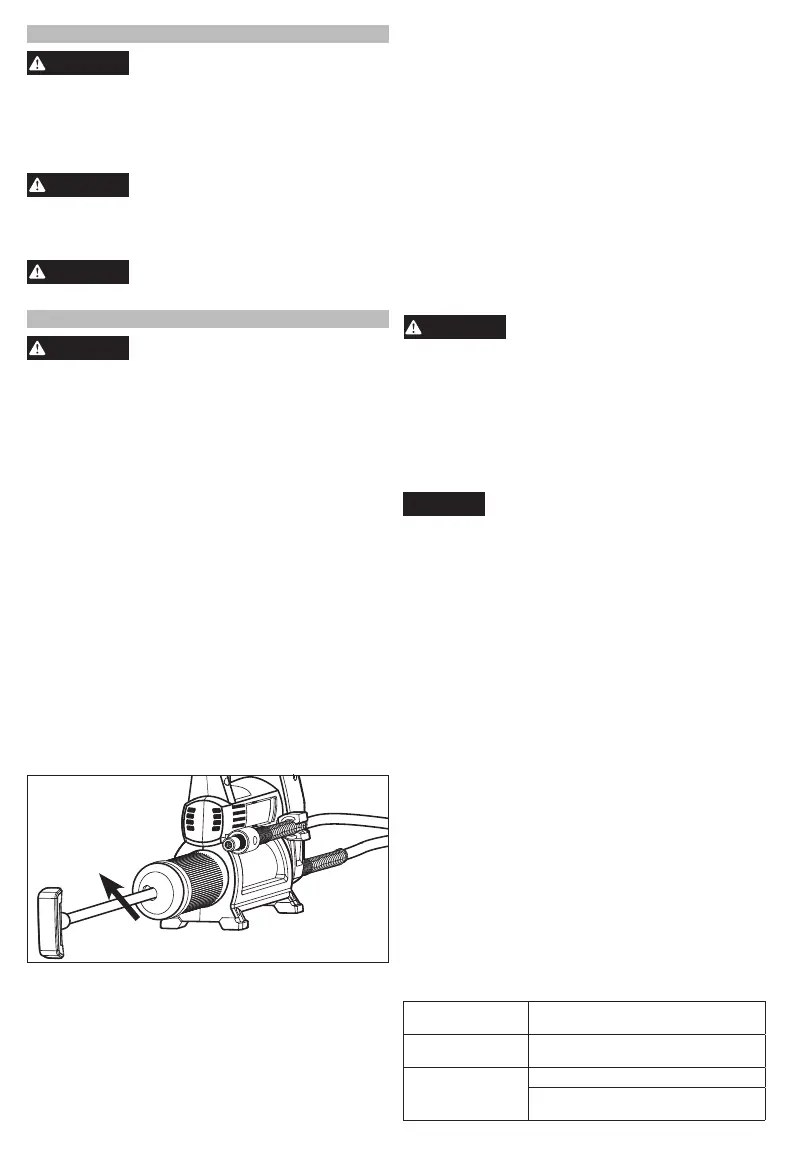
2. Unscrew and remove the cylinder.
3. Insert the open end of the cylinder below the
surface of the bulk grease.
4. Pull back the rod, and push it sideways into the
retaining slot.
5. Remove the cylinder from the bulk grease.
6. Wipe excess grease from the outside of the cylin-
der and screw it into the grease gun.
7. Release the rod from the retaining slot and press
it completely into the cylinder.
8. Prime the grease gun according to "Priming the
Grease Gun"
WARNING
To reduce the risk of injury, use
only low pressure loader ttings.
Excessive pressure can be caused by high pres-
sure loader ttings.
Pump Loading
1. Remove the battery pack.
2. Pull back the rod and turn the rod handle to lock
into the plunger. Release the rod/plunger. Do NOT
push the rod into the retaining slot.
3. Insert the loader tting into the grease gun loader
coupler.
CAUTION
To avoid damage to the grease gun
and pump, the loader tting MUST be
compatible with the coupler and rated for at least
10,000 psi (690 bar).
4. Operate the loader pump until the rod has been
pushed out of the cylinder approximately 8".
5. Rotate the rod handle to release the plunger.
Press the rod completely into the cylinder.
6. Prime the grease gun according to "Priming the
Grease Gun"
Priming the Grease Gun
1. Insert battery pack.
2. Hold the hose assembly by the spring strain relief
and point away from your body.
3. Pull the trigger for 3 seconds, release, and repeat
until grease begins to ow from the tting.
4. If after several attempts grease does not appear,
manually prime the grease gun
a. Pull back the rod and turn the rod handle to lock
into the plunger.
b. Press in the bleed valve while manually pressing
in the rod.
c. Once grease begins to ow from the tting,
rotate the rod handle to release the plunger.
Press the rod completely into the cylinder.
NOTE: This tool has been tested to factory stan-
dards, which results in a small amount of grease be-
ing left in the pump body, hose and coupler assembly.
It is recommended that you purge this tool with the
brand of grease you will be using before actual use.
Troubleshooting
Unable to pull
back rod
Press the bleeder to release
pressure
Unable to push
rod forward
Rotate rod 90° to disengage it
from plunger
No grease when
trigger is pulled
Cylinder is empty, add grease
Air pockets in the cylinder, prime
the grease gun
ASSEMBLY
WARNING
Recharge only with the charger
specied for the battery. For spe-
cic charging instructions, read the operator’s
manual supplied with your charger and battery.
Removing/Inserting the Battery
To remove the battery, push in the release buttons
and pull the battery pack away from the tool.
WARNING
Always lock the trigger or remove
the battery pack any time the tool
is not in use.
To insert the battery, slide the pack into the body
of the tool. Make sure it latches securely into place.
WARNING
Only use accessories specically
recommended for this tool. Others
may be hazardous.
OPERATION
WARNING
Always remove battery pack before
changing or removing accesso-
ries. Only use accessories specically recom-
mended for this tool. Others may be hazardous.
To reduce the risk of injury, always wear proper
eye protection marked to comply with ANSI Z87.1.
Fuel Gauge
To determine the amount of charge left in the battery,
turn the tool ON. The Fuel Gauge will light up for 2-3
seconds. When less than 10% of charge is left, 1 light
on the fuel gauge will ash 4 times.
To signal the end of charge, 1 light on the fuel gauge
will ash 8 times and the tool will not run. Charge
the battery pack.
If the battery becomes too hot, the fuel gauge lights
will ash and the tool will not run. Allow the battery
to cool down.
Installing a Fitting/Coupler
Screw the appropriate coupler to the end of the hose
assembly. Use only accessories rated for at least
10,000 psi (690 bar).
Grease Cartridge Loading
1. Remove the battery pack.
2. Pull back the rod, and push it sideways into the
retaining slot. Ensure the rod is securely seated
in the slot or it may spring back.
3. Unscrew and remove the cylinder.
4. Remove the cap from the cartridge.
5. Insert the cartridge, open end rst, into the cyl-
inder.
6. Remove the seal from the cartridge.
7. Screw the cylinder into the grease gun.
8. Release the rod from the retaining slot and press
it completely into the cylinder.
9. Prime the grease gun according to "Priming the
Grease Gun"
Bekijk gratis de handleiding van Milwaukee M12 2446-20, stel vragen en lees de antwoorden op veelvoorkomende problemen, of gebruik onze assistent om sneller informatie in de handleiding te vinden of uitleg te krijgen over specifieke functies.
Productinformatie
| Merk | Milwaukee |
| Model | M12 2446-20 |
| Categorie | Niet gecategoriseerd |
| Taal | Nederlands |
| Grootte | 2917 MB |


